Let's say that your client wants to know exactly how much you will charge them for your services, so they can compare with your competitors and decide whether they will do business with you.
The "Estimates" function will come in handy, as you can use it to add your services and charges and send it to your client.
To utilize the feature, enter "Estimates" from the main menu and click +Add.
1) Choose your client (contact)
First of all, you need to select your client. If the client is not an existing one, already available in your lists of contacts, choose the +Add new client option and create your contact on the spot.
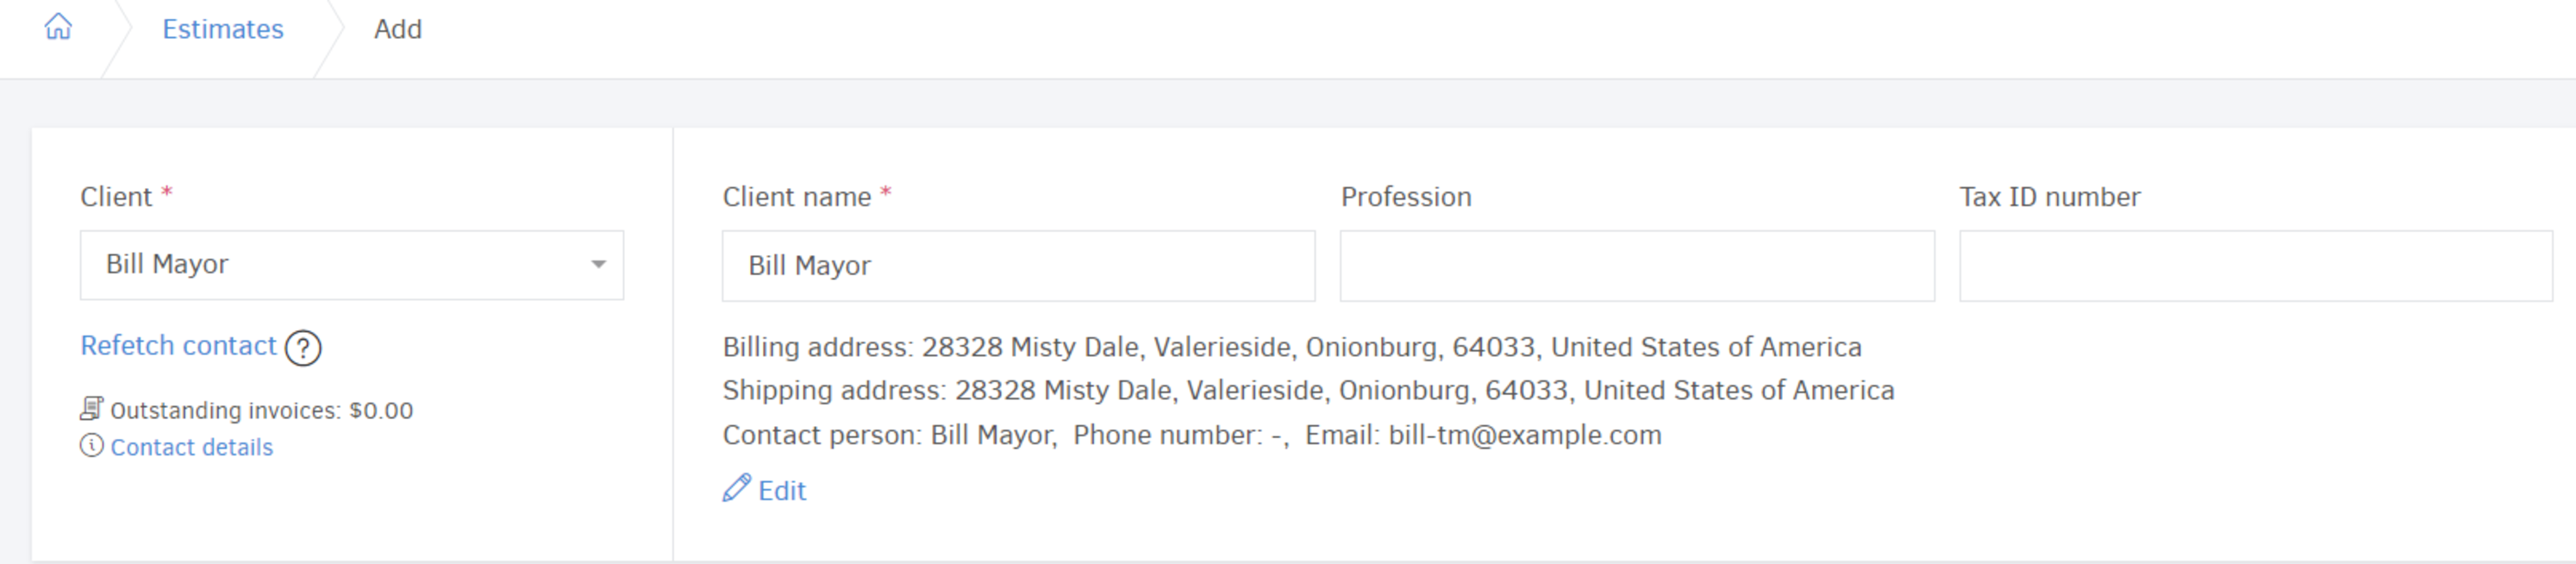
Once your client selection is complete, you will be able to proceed with adding any other information about them.
2) Document type, Date (of issue), Number
In the next step, you have to choose a document type (Estimate, Offer, Proforma invoice etc). Review the available types in the related functionality ("Settings-> Document types").
Tip! Check for the ones that apply in "Estimates"
If no choice is made, Elorus will use the document type you set as default for the estimates.
Date of issue is mandatory and you can select by opening the calendar (with a click on the field) or typing it in.
Estimates take part in Elorus's serial numbering. This means that you can also apply a numbering sequence.
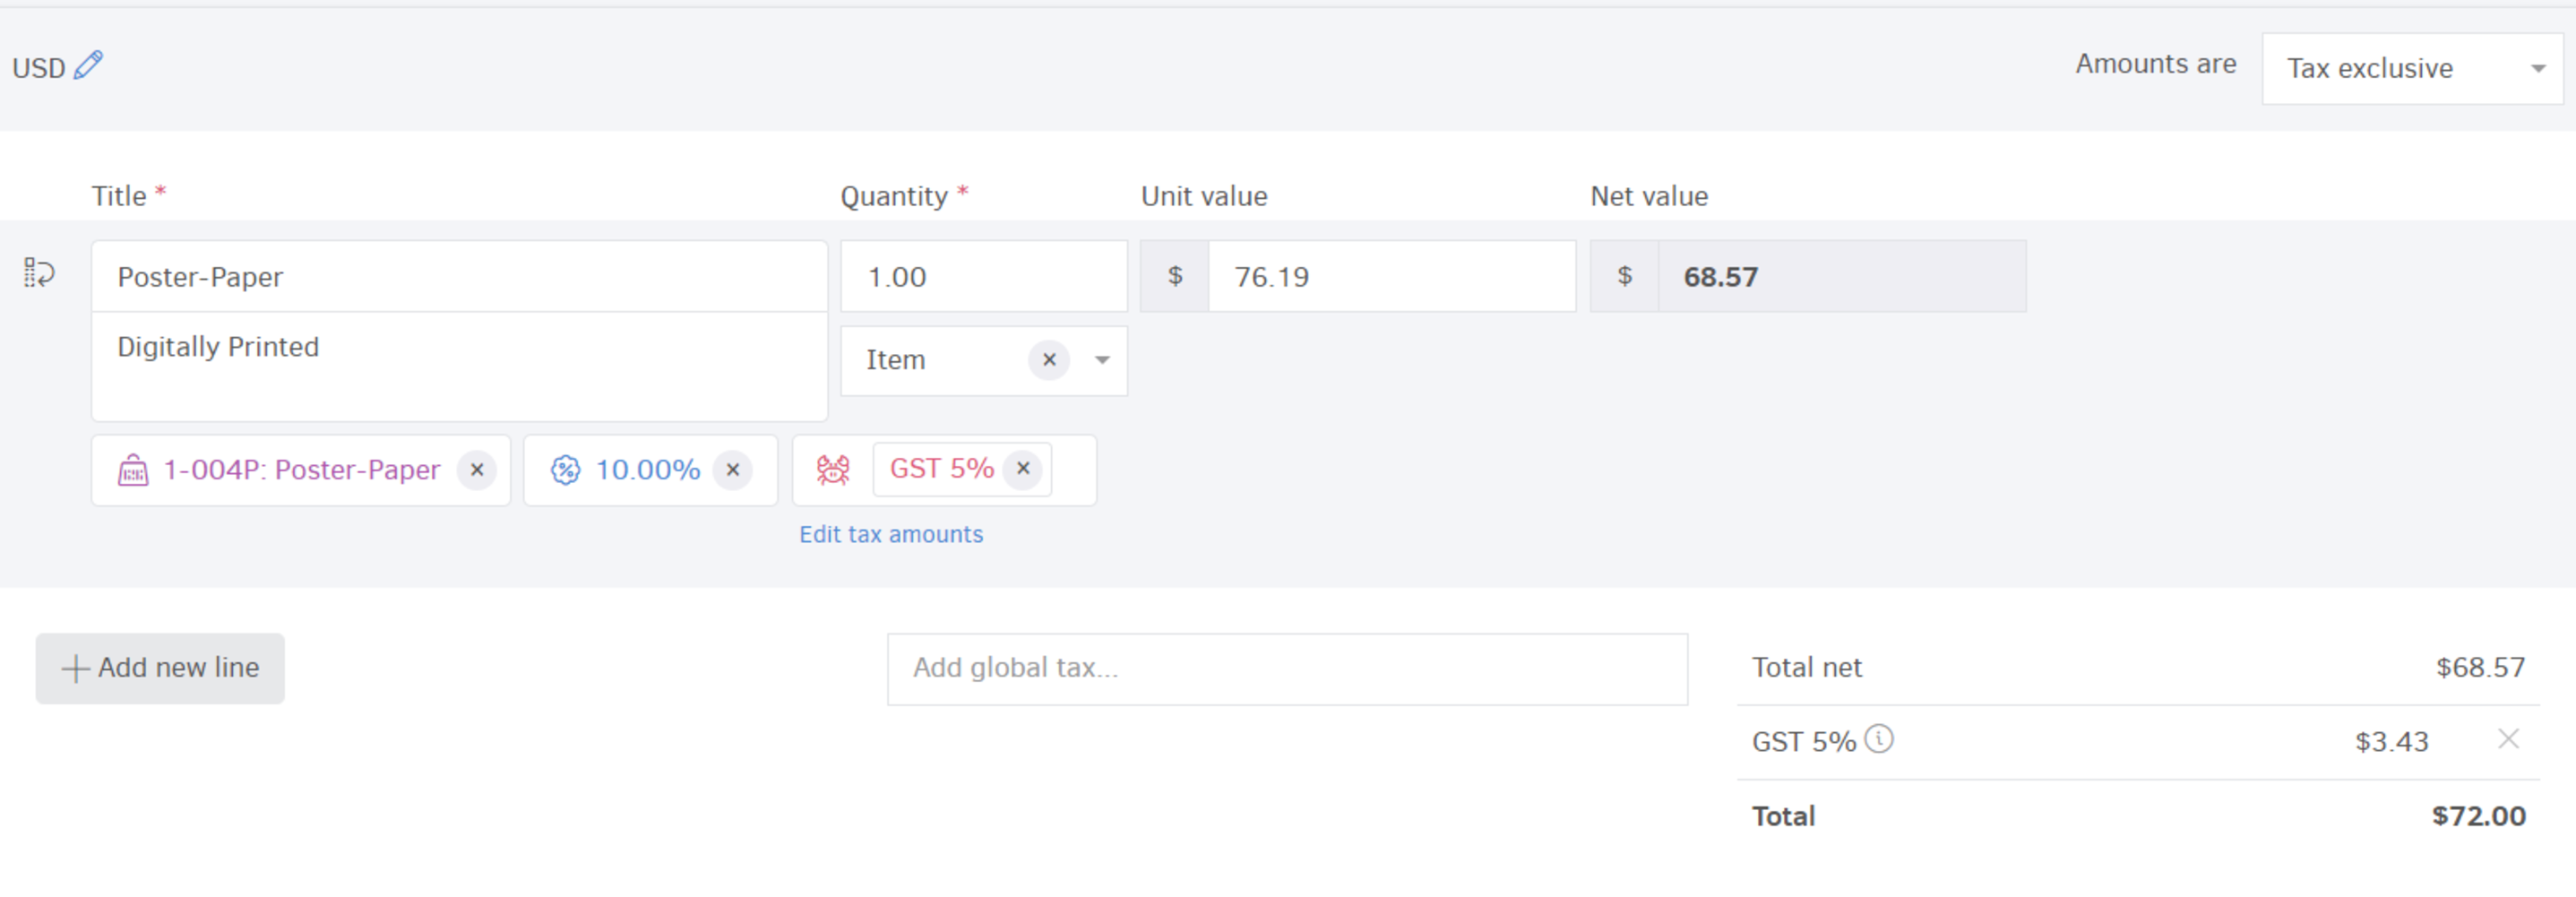
3) Currency, Amount calculations, Item lines
The default currency is the one you set for your organization or within the client's contact : you can change currency on the spot, if you wish.
From the “Amounts are ” field you can determine how Elorus will calculate taxes and discounts for your products/services.
- Tax exclusive: The user enters the unit price (net price); taxes and discounts are calculated separately.
- Tax inclusive, after discounts: User enters the final unit price, with taxes and discounts already included.
- Tax inclusive, before discounts: User enters the gross unit price (including tax); discounts are then applied separately.
For more information please visit the related article.
You can have one or more item lines in your estimate. If the product or service you are planning to offer is already registered under your 'Items', you can select products by typing the initial letters in the field. The rest of the amounts will be automatically filled in. You can also type in a product/service and the related amounts on the spot.
*The process of creating an Estimate is very similar to the one of the Invoices - you can always check the related "Add Invoices" article to get more details.
4) Template, Public notes, Terms & conditions
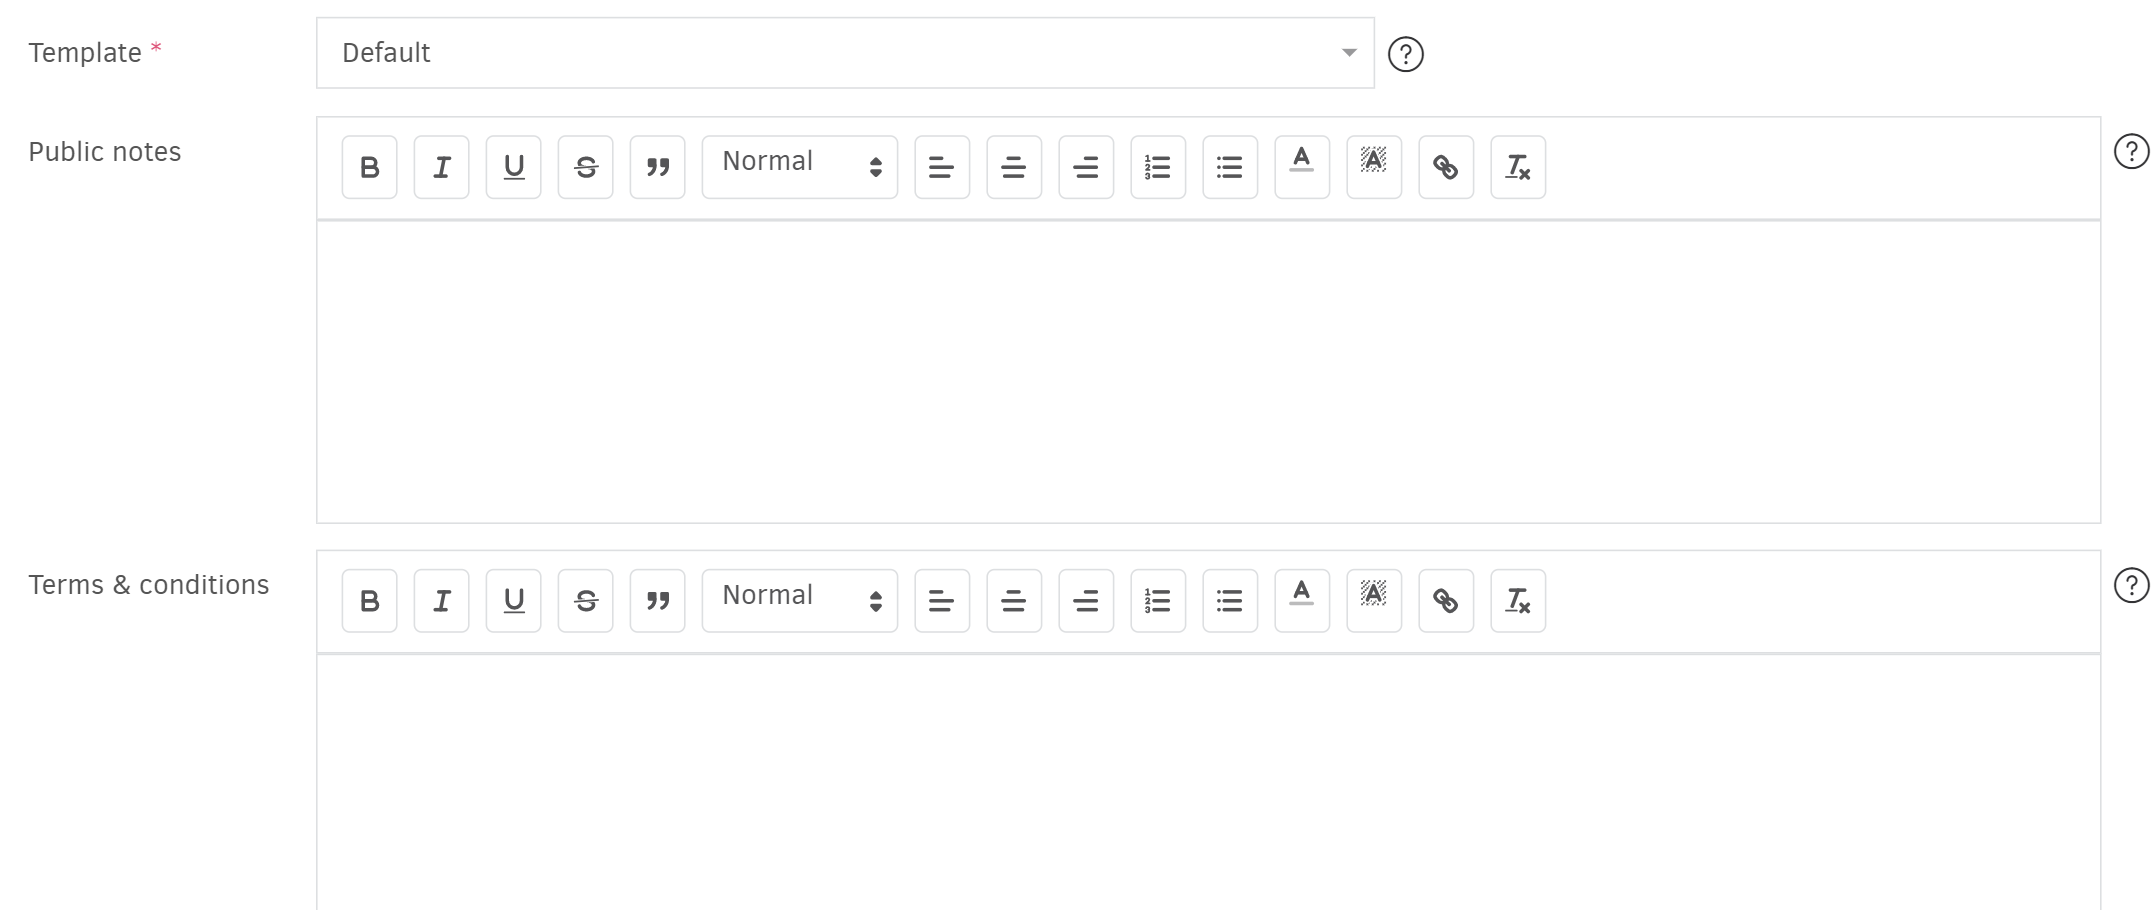
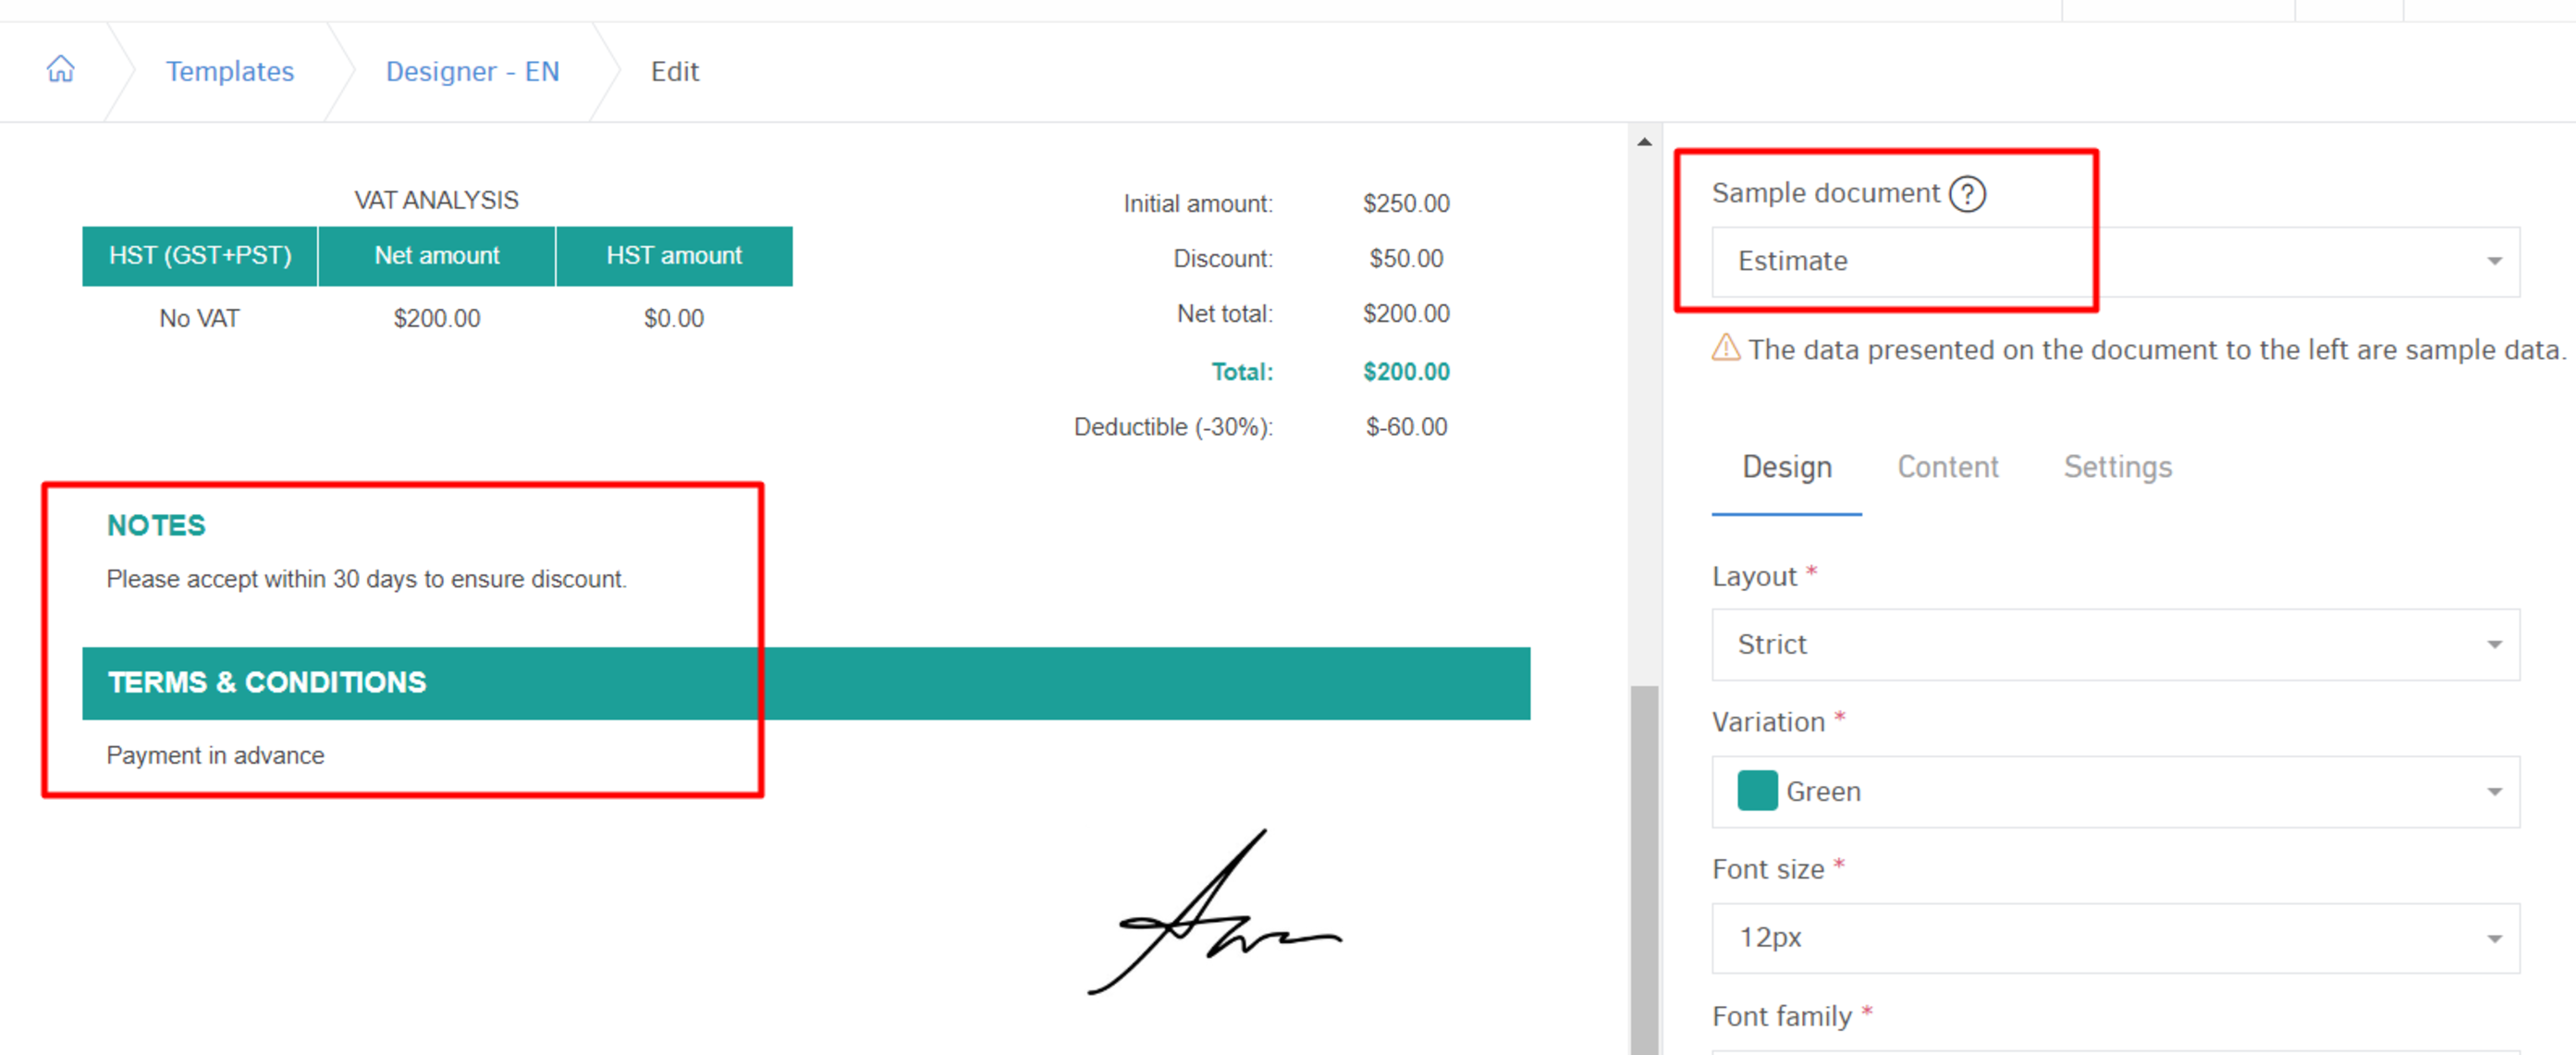
The Template you choose sets the appearance of your estimates, along with the language, content and notes included in the estimate. The fields below can actually be pre-filled according to the template settings.
Public notes can contain any additional information, such as the means of transferring the products.
Similarly, you can use the Terms and conditions field to give further information to your customer, such as preferable time of acceptance.
To specify the information that will appear οn the Public Notes & Terms & Conditions in all your Estimates you must have "Sample Document - Estimate" selected when editing the template.
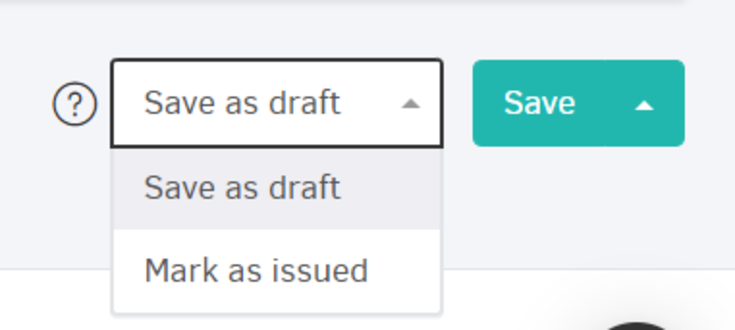
5) Save your Εstimate
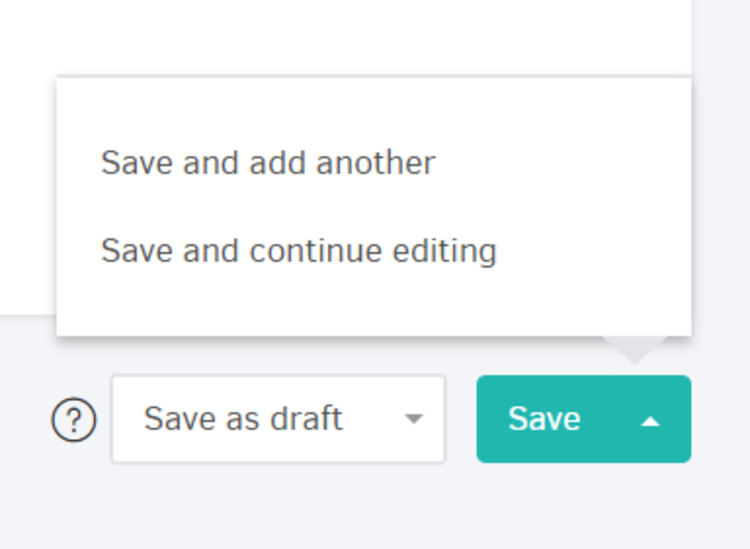
There are two status options when saving an estimate: Draft or Issued.
In both cases, you can save and add another estimate, if you will. By clicking that, you save the estimate (as issued or draft), while a new form opens to add the next estimate.
In case of draft estimates, you also have the option to make changes while staying on the page with the help of the "Save and continue editing" option. If it's closed by mistake, you can find the estimate as a draft so you add the missing details.