


Through the Expenses menu, you can add receipts that have already been paid. This way they are recorded instantly as a cash outflow.
Date, category and amount are the three mandatory fields when adding an expense. Depending on the details of your receipt, you can break down the receipt information into multiple lines.
If the expense includes items from your inventory, record it as a Bill to update your stock automatically.
To start, from the main menu select Expenses and click +Add. In addition to the mandatory fields, you can fill in the remaining fields, for a more detailed expense record.
Attach the receipt
To record an expense, it means that -most likely- you have received a receipt or invoice from your supplier. To make it easier to enter the information from that receipt, we recommend that you attach it to the field on the right, either by drag and drop or with just a click.

Date
Next, you need to specify the date of the receipt or the date of the payment you made. Simply click on the related field to make your selection from the calendar or type it manually.
Category
This is vital to your reporting. Grouping your expenses will allow you to figure out where your spending goes and assist you with your taxes. In the example, the Rent & Lease category is a perfect match.
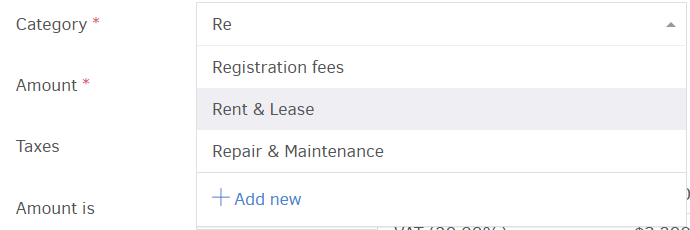
The category comes in as long as "Re" (for rent, renting or rental) is being typed: you don't need to remember the exact name of the category or go through the whole list in order to locate the desired one. If, however, a relevant group cannot be found on the list, you can always add a new one using the shortcut. Alternatively, click on the Expense categories functionality, where you can manage the rest of the available categorization options.
The category is applied to each item in your expense's registration. More than one category can be applied (see multiple items). This is not to be mixed up with the tracking category you could apply on the registration as a whole.
Amount
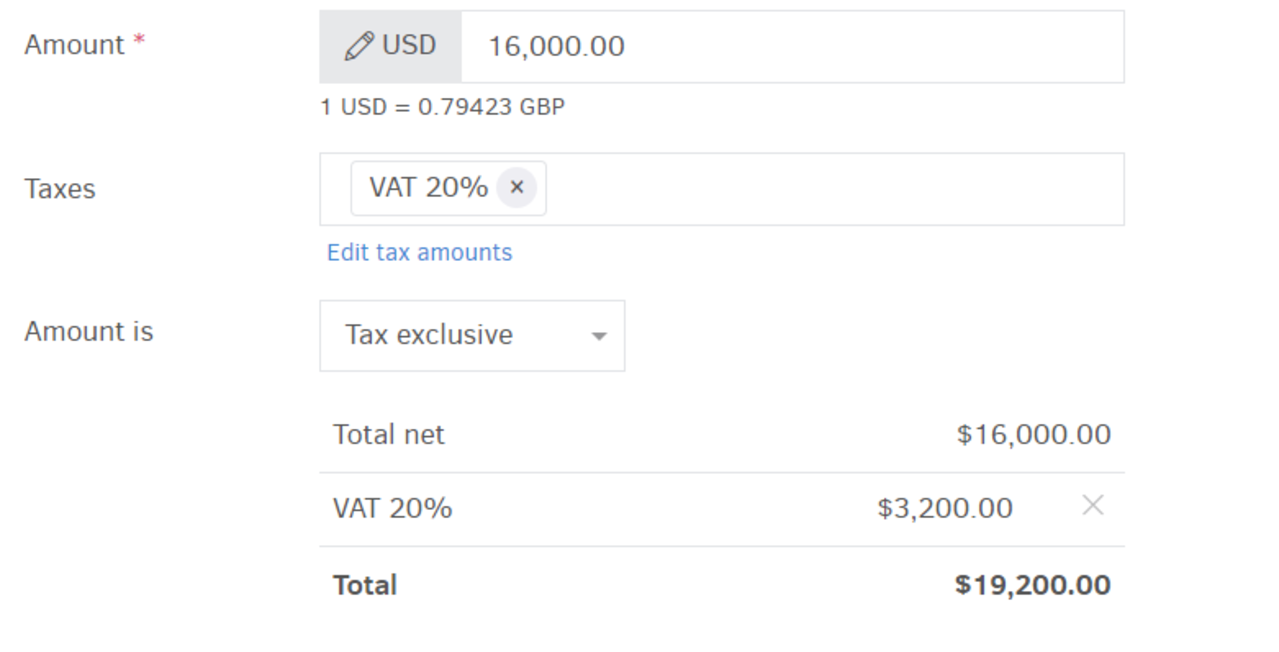
Enter the amount you have paid to complete the payment. Note that the default currency is the one you chose for your organization: you can change currency on the spot, if you wish.
Taxes & Amount calculator
Any taxes that have been included in the amount above - or ones that need to be added - can be calculated here.
Simply click inside the field and select the tax (percentage). The application calculates the tax amount automatically; however you can set the tax amount manually by editing it.
If the filed "Amount is Tax exclusive" is selected, Elorus will consider the amount as initial value.
If, however, the amount you registered above is actually after tax, simply indicate "Tax inclusive" to enable Elorus to calculate correctly.
Description
Use your own words to describe the expense. Example: "Burbank-March 2019" could be an indication of what property and month the payment (rent) was for.
Project
You can optionally select a project that you made the expense for. This will help you keep track of the cost of purchases made in association with the project. On top of that, you may also bill the expense directly to your client. All you need to do is mark it as "Billable".
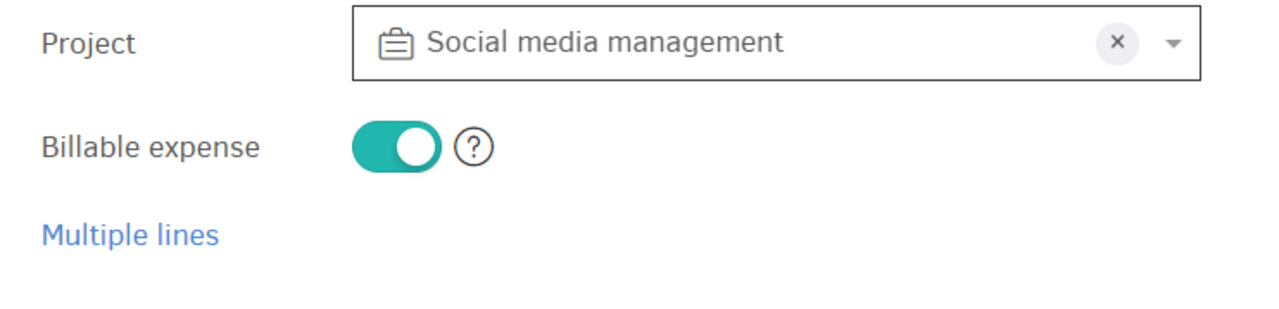
Multiple lines
Let's say, that seconds after you entered your rent, you remembered that there was also some maintenance work done in the past month that you have already paid for. By clicking Multiple lines, the category, amount, tax and description that you already registered will be united in one product line, while tax amount indication (exclusive or inclusive) will remain as a setting for every calculation in the same expense registration form.
Hit "+Add new line" to include more lines. Category will be selected anew, this time for the second expense, which in this case would be "Repair and Maintenance". Fill-in the amount, tax and description of your choice, i.e. "Burbank-heating system".

Reference number & Supplier
Both fields are optional: Reference # could be the number of your receipt and you may include it for internal use.
Supplier selection is also optional: you can add your expense even if no supplier is involved. If you do select one from the list of contacts, the amounts will appear on their statement. Have in mind that if the products you just bought are items you wish to add in your inventory, you would need to submit them using the bills where itemization is supported.
The two fields remain the same whether your expense has been added in one or more item lines.

Tracking categories
If you have set up tracking categories to tag purchases or payments (sent), you may associate expenses with these categories. First, you have to select the category and next the option. By clicking Add New, you can create a new tracking option on the spot.
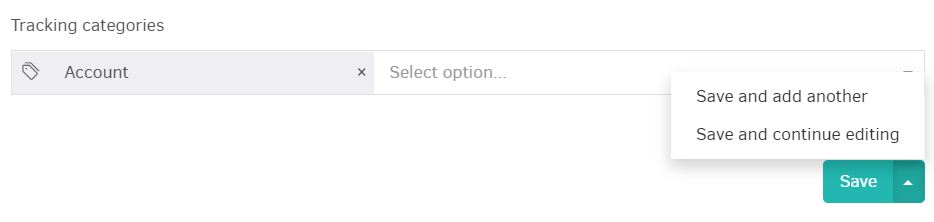
You can also assign a tracking category from the expense's view page, once it is saved.