Utilize "Attachments" to upload files related to your project. These files could be project specifications, deadlines for tasks, even instructions for your teammates. Anything that you believe could help your internal procedures with regards to the project.
At the same time, you can take advantage of the feature to upload documents to directly share with your client as well with your team, provided that you have enabled the project on client portal.
Add Attachment(s)
1. From the main menu, click "Projects" .
-
Open the project you are working on. If this is regarding a new project, you first need to 'Add' it.
-
From the project page, click on the attachments button, paperclip shown below:

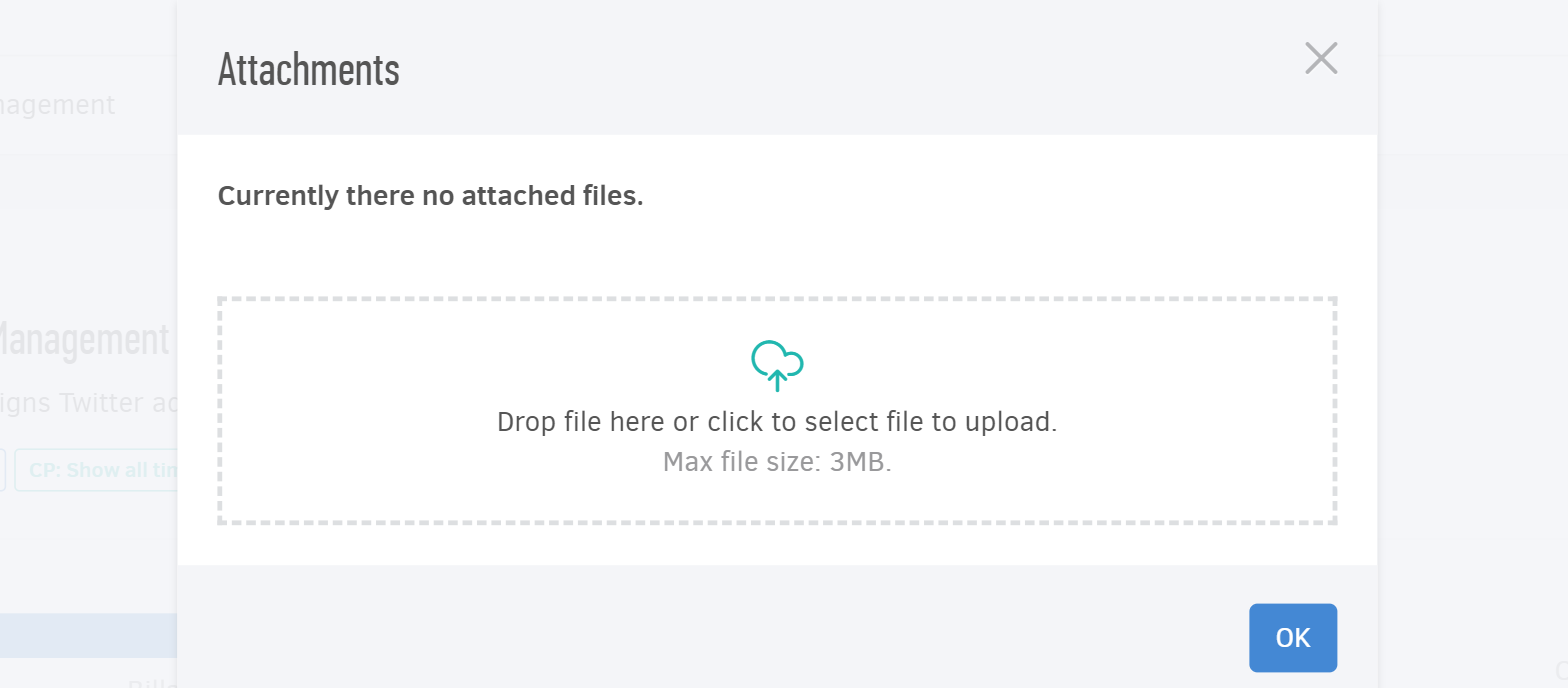
4. This will prompt open the file upload field:

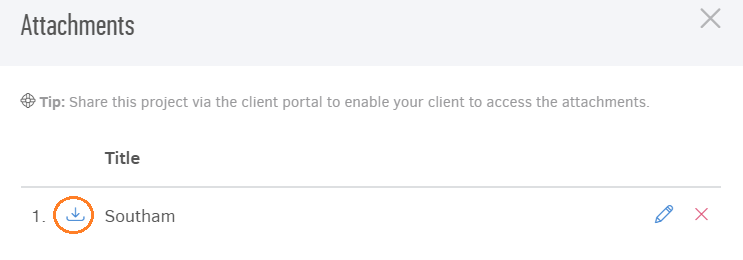
5. Drop or select the files you wish to upload from your computer or portable device. When the file(s) is/are uploaded, press ok. The attachment(s) will appear inside the window, as shown below:

The information is now available to all teammates assigned to the project! They will be able to access all uploaded documents by entering the project and clicking on the attachment button. They could then download if needed by clicking on the arrow down symbol, circled in the image above.
Repeat the process any time you need to add more files.
Attachment settings
1. Share with your client
To allow your client view the attachment in their portal, check the "Client portal" box next to the attachment. In case you do not see the option, you need to Edit the project and enable project information to appear in client portal.

2. Edit the title
After the attachment is uploaded, you can edit with a title your teammates/clients can recognize the file. Click on the "pencil" icon and type the name of your choice in the title field.

3. Delete attachment
You can also delete a file you do not need attached to the project anymore by clicking on the 'x' .

You will need to confirm deletion by clicking yes, as shown below:

