The Attachments feature is available in some of the application's submenus and its usefulness lies in the fact that you can store documents related to your transactions. Practically, Elorus works as cloud storage service and each file can reach up to 3MB in size.
By clicking the "Attachments" button at the top right of each record page, you can upload the files you wish (one at a time), making sure they do not exceed the 3MB in size.

This feature is available within:
- each Contact
- each Sales invoice and Credit note
- Estimates
- Bills and Expenses
- Payments received/Payments sent
- Projects
Especially for purchase documents (Bills and Expenses), the Attachments feature is essential since it allows you to upload supplier invoices and receipts. Note that this feature is different from the "receipt'' you attach when you add a Bill.
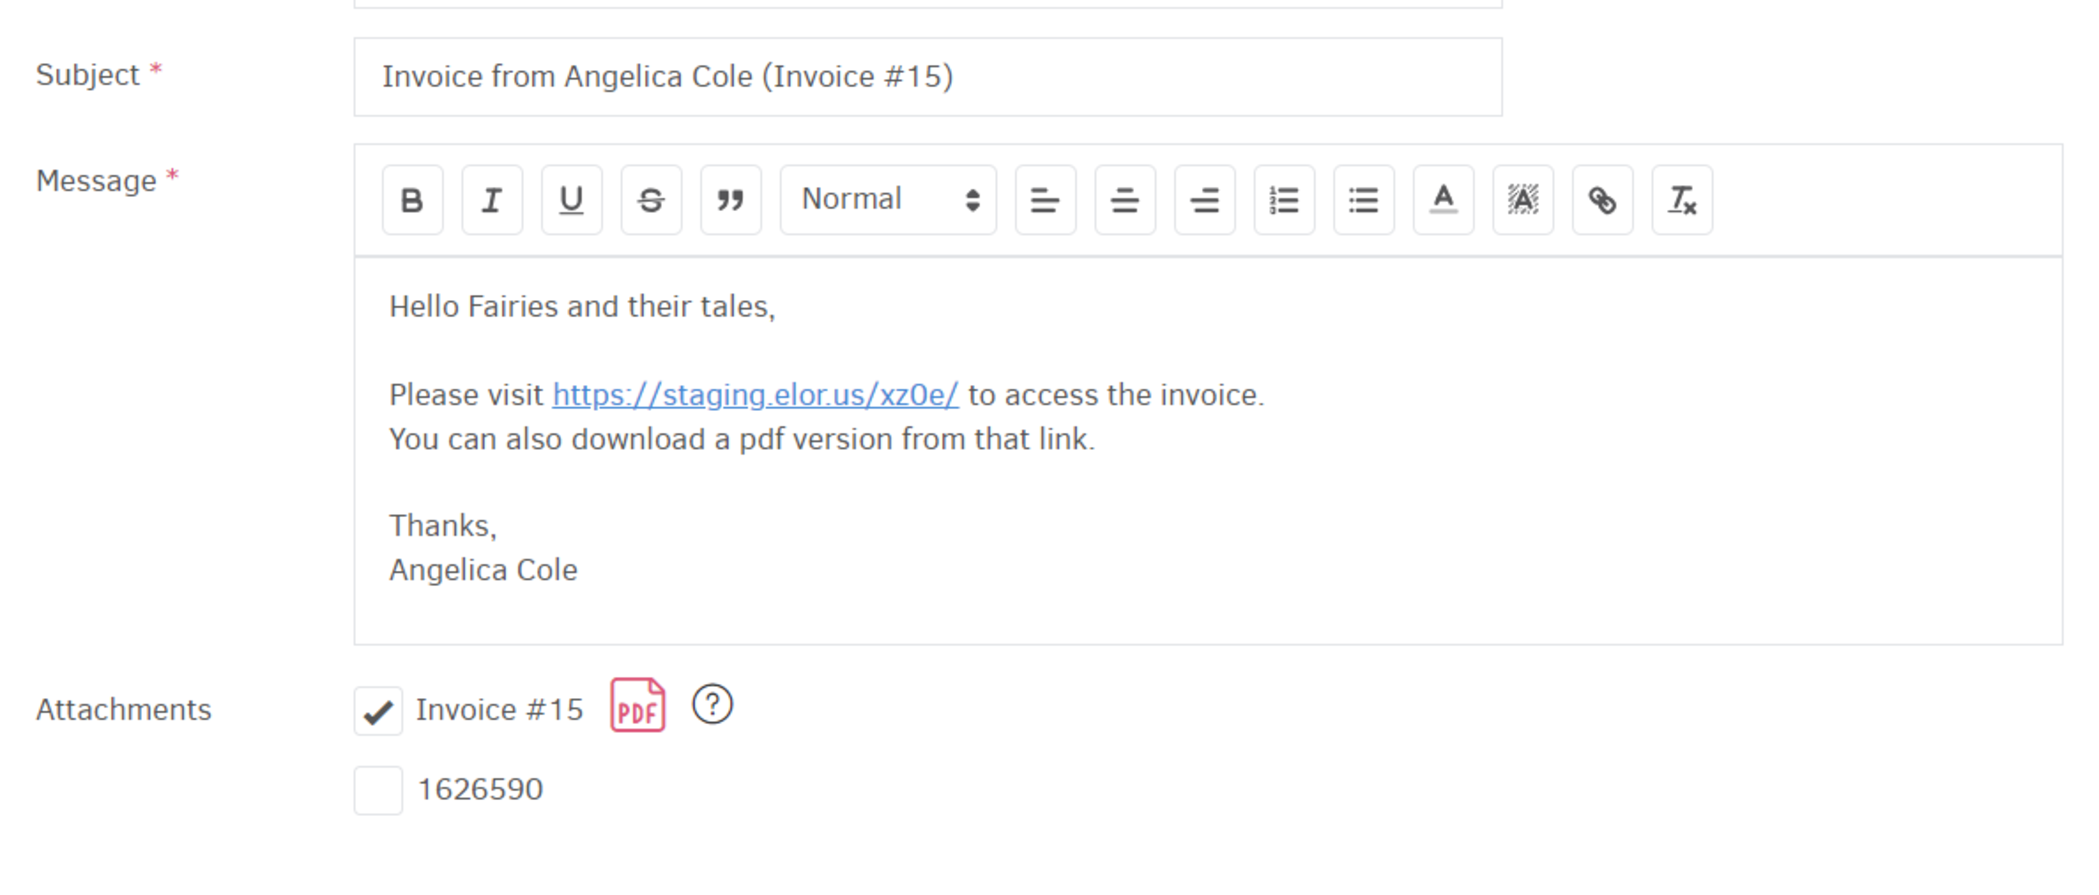
If there are attached files to a record sent via Email (such as debit/credit documents, Estimates etc.), these files are included by default as attachments and they will be sent along with the Invoice/Estimate. If you don't want this, just uncheck the box.
Attaching files to Projects makes it easy to share useful documents with your partners and with the client, as long as the Project is shown via the client portal.
Centralized attachment management
In the application, there is an option to view all the files you have attached to your records in one consolidated place.
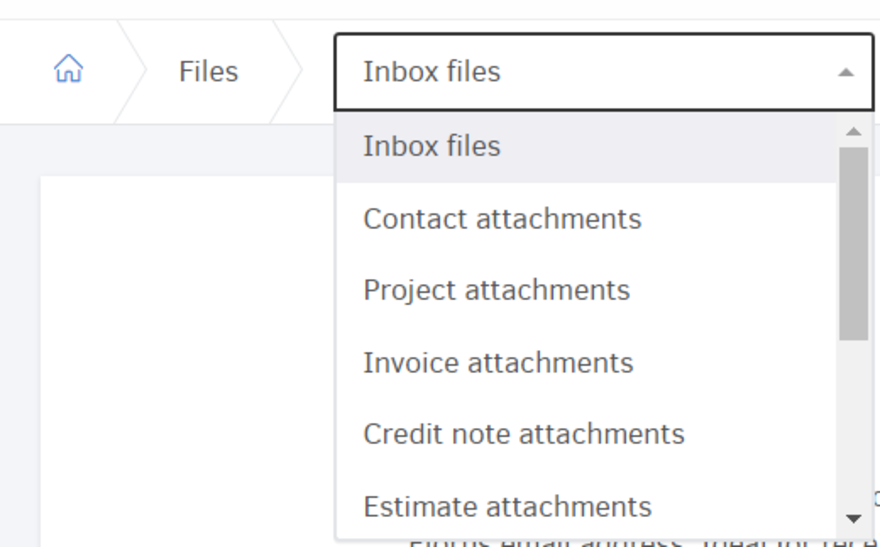
While logged into your organization, start by clicking on the hard drive icon located at the top right, which takes you to the Inbox Files management page.

From there, use the button on the left to navigate through the available pages for a consolidated view of attachments (Attachments of contacts, projects, invoices, etc.), as shown in the image below.
Bulk actions
By selecting one or more attachments from the results table and using the Actions menu, you are able to perform the following actions:
Export to a ZIP file
Choose the files and then hit Actions > Save selected to a ZIP file. Elorus will create a ZIP file containing the requested files.
Delete selected attachments
Select the attachments, click Actions > Delete Selected, and finally confirm the operation.