In order to accept online payments via Authorize.Net for the documents you create in Elorus, you will first need to have an account in Authorize.Net. If you want to create a new account, you can visit www.authorize.net and follow the registration instructions from there.
Authorize.Net allows you to accept credit cards and cash deposits from clients directly to your bank account. Also, with Authorize.Net you can accept payments in multiple currencies, allowing you to get paid from all over the world.
Note: For each currency you wish to receive payments in, you will need to create multiple accounts in Authorize.Net, allowing each one to process payments in a particular currency. Then, by putting a different currency in the relevant field, you should create separate payment gateways in Elorus, always following the procedure described below.
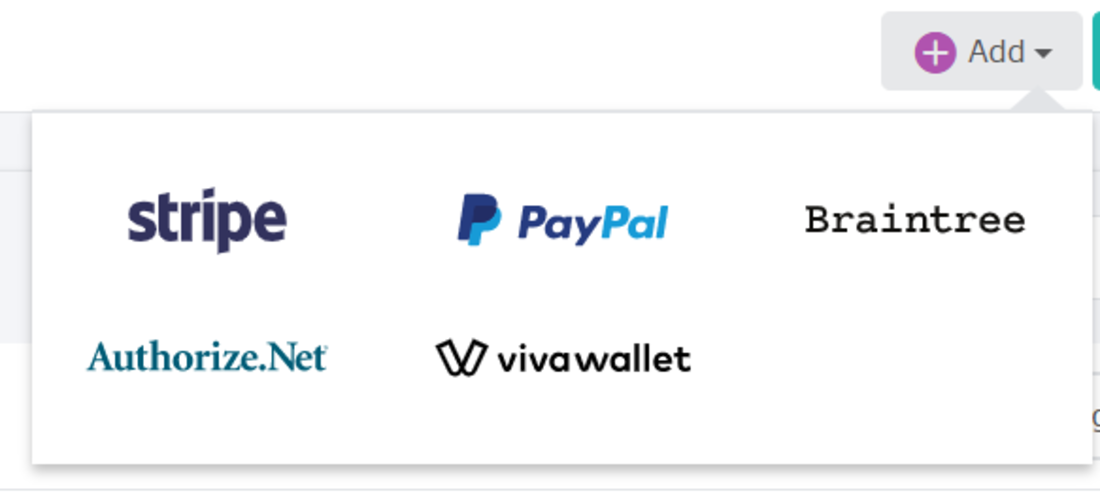
If you already have an account in Authorize.Net, its integration with Elorus is quite simple. From the main menu choose "Settings -> Payment Gateways". Press the "Add" button and from the available options choose Authorize.Net.

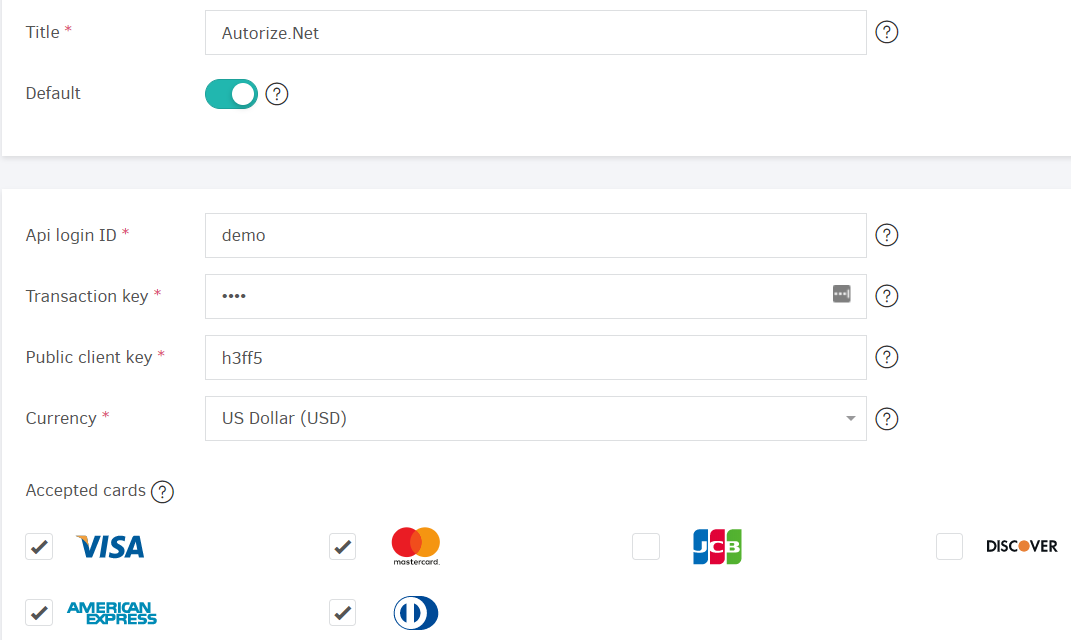
In the form of creating new payment gateway you will first have to enter a Title. This title will be visible from your customers when they make a payment online. Make sure the gateway is active and activate the Default field in case you want this to be a default option for every new document you create.

Regarding Authorize.Net, the information you must provide to Elorus is:
-
the API Login ID: You can find out your API Login ID in your Authorize.net account, under the settings menu.
-
the Transaction Key: You can find out your Transaction Key in your Authorize.net account, under the settings menu.
-
the Public client key: You can find out your Public Client Key in your Authorize.net account, under the settings menu.
-
The payment gateway's currency.
Finally, you can select the supported card types for your Authorize.Net account which your clients can use to pay you. When using this gateway, selected card types will appear on the commercial document's printable form.

Make sure you have filled in all the fields correctly, then click Save.
You have now successfully integrated Elorus with Authorize.Net and can accept payments automatically! For more information about payment gateways and online payments instructions, you can refer to the related article.
