

Client portals help businesses in sharing their customers' sensitive financial data and messages without exchanging emails. Once you activate the client portal for your contacts, they will be able to download documents issued and review them at any moment, as well as dicusss them with you and your team, in a more collaborative and secure environment. Essentially it's a private website that contains all financial transactions that have taken place between you and your clients, over which you can have complete control since you get to choose who gets access to it.
In particular, Elorus's client portal is very simple to use, as your client can login with their own password set and review your transactions' records including estimates, invoices you've issued and their current balance. Moreover, they can pay you online, provided that you have active payment gateways in Elorus.
The Client Portal feature is available with the Elorus Complete product.
Inviting clients to the portal
IMPORTANT NOTES
-
To send an invitation, you must first verify your email address via the link you received upon registration.
-
The maximum number of invitations to customers is 40 per day.
In order for your clients to access all the above, you will have to send them an invitation following the instructions given below.
Inside each client's contact, you can invite them from two points.
#1 From the email addresses tab, by clicking on the "Send invitation" button

#2 Or from the client portal field
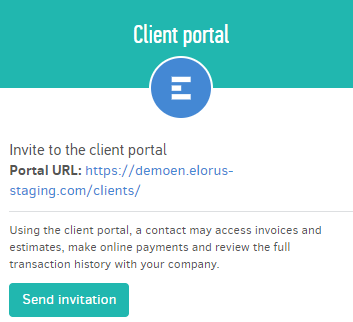
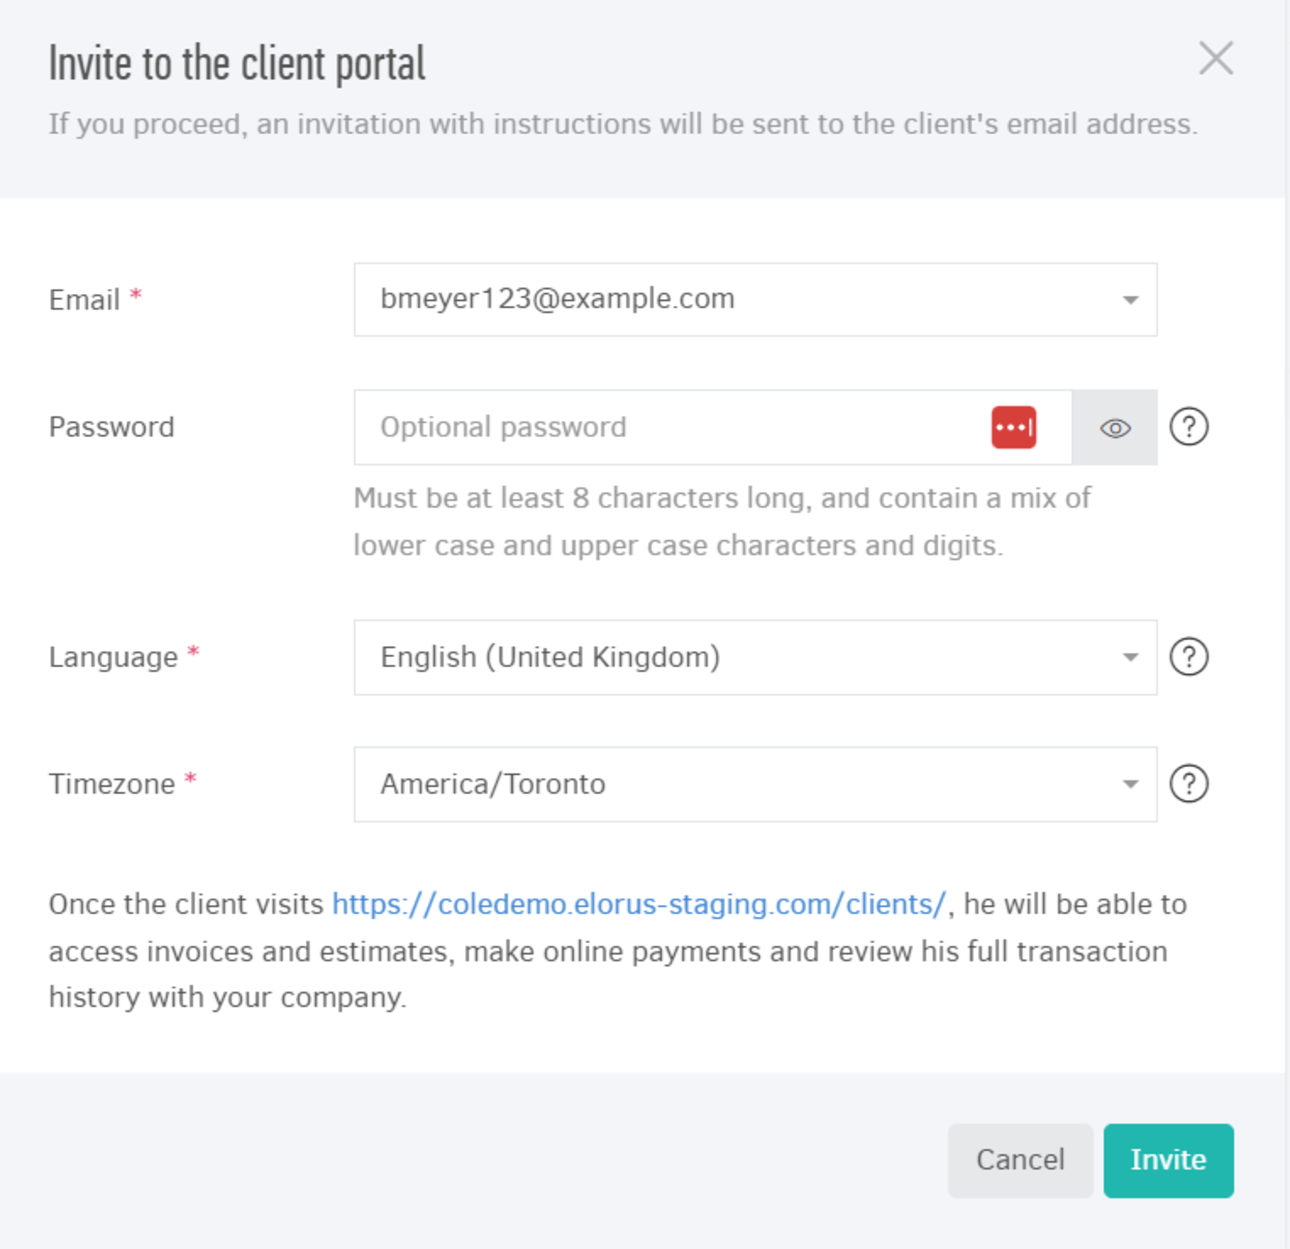
By clicking on "Send invitation" the following window will open where you can enter an optional password for your customer and the interface language of the portal (Greek or English), as appropriate.
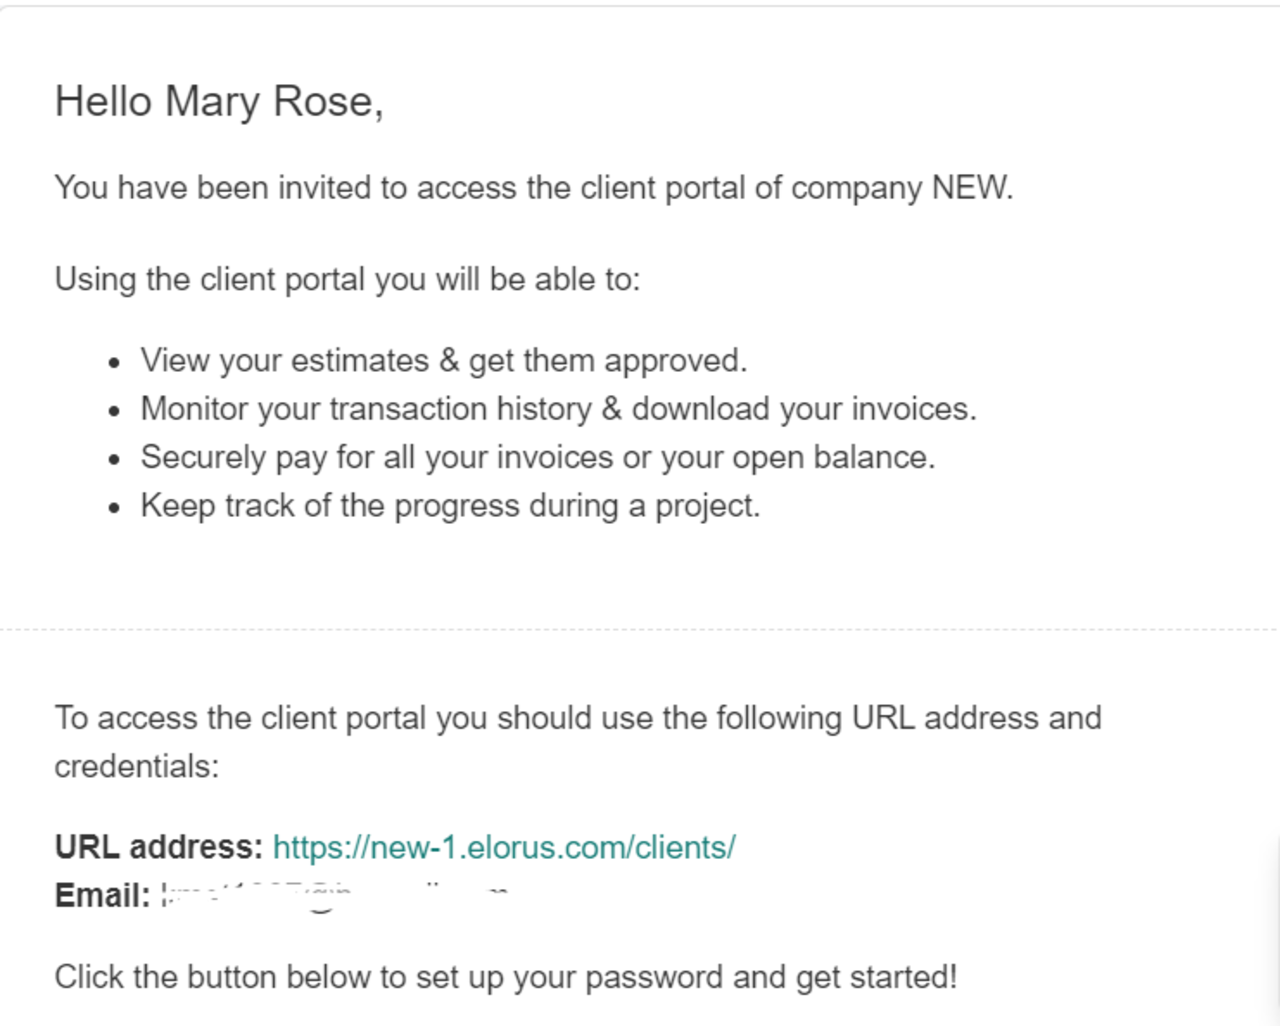
After you fill in those fields and press "Invite", your client will receive an email in their inbox, similar to the picture below:
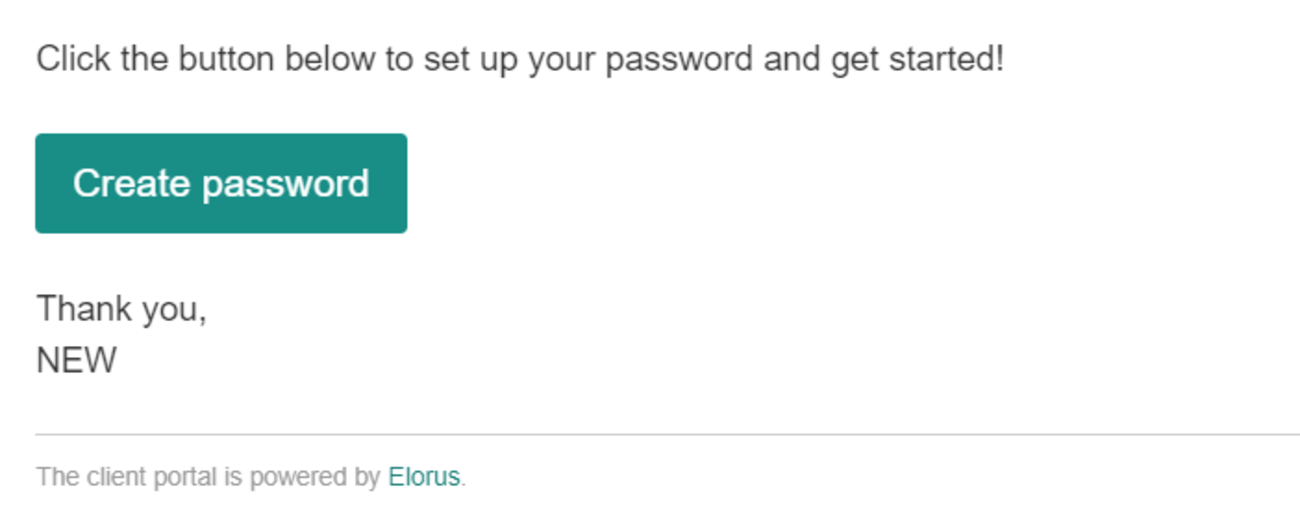
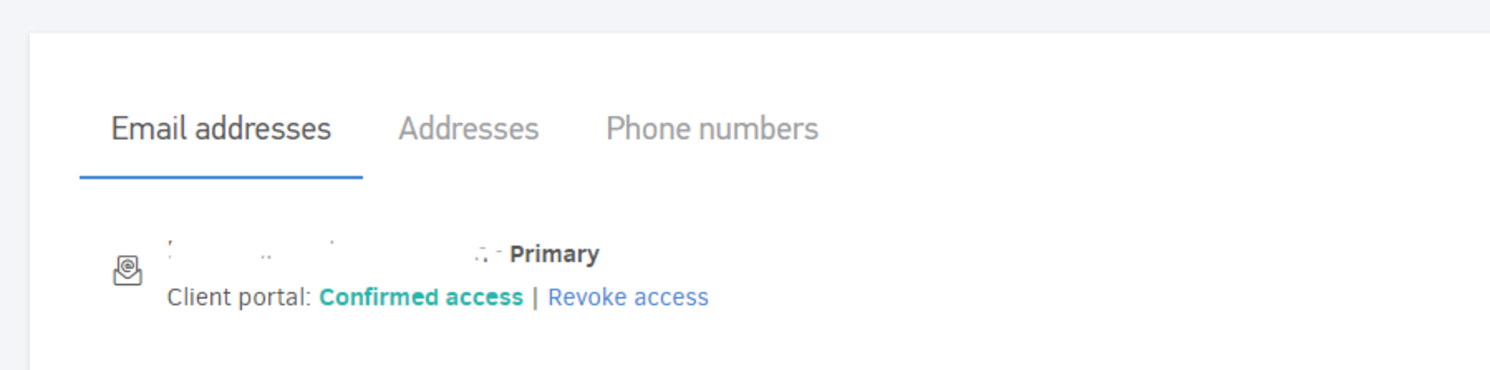
By clicking on "Create password", the client will submit a password if you haven't set one for them upon invitation. After accepting, the invitation's status inside the contact is updated, as you can see below. This way, you know to whom you have given access to the client portal, at any given moment. From the same point, you can choose to "Revoke invitation" whenever you see fit and the owner of the email address will no longer have access to the portal.
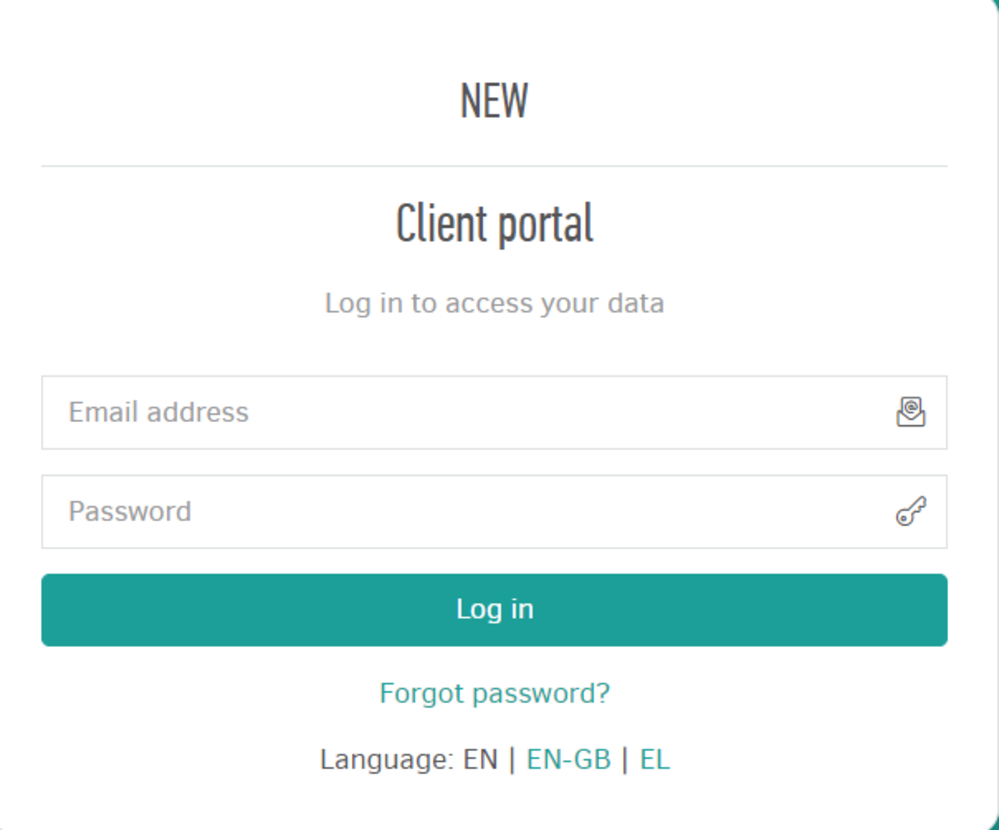
After this simple process, your client is now ready to log in to the client portal via the unique permalink for your organization's portal (mycompany.elorus.com/clients/), using their email and password created upon invitation.
Dashboard
Τhe first page your customer sees is similar to the one shown below. The portal's dashboard provides aggregated information in the form of indices, describing your business relationship.
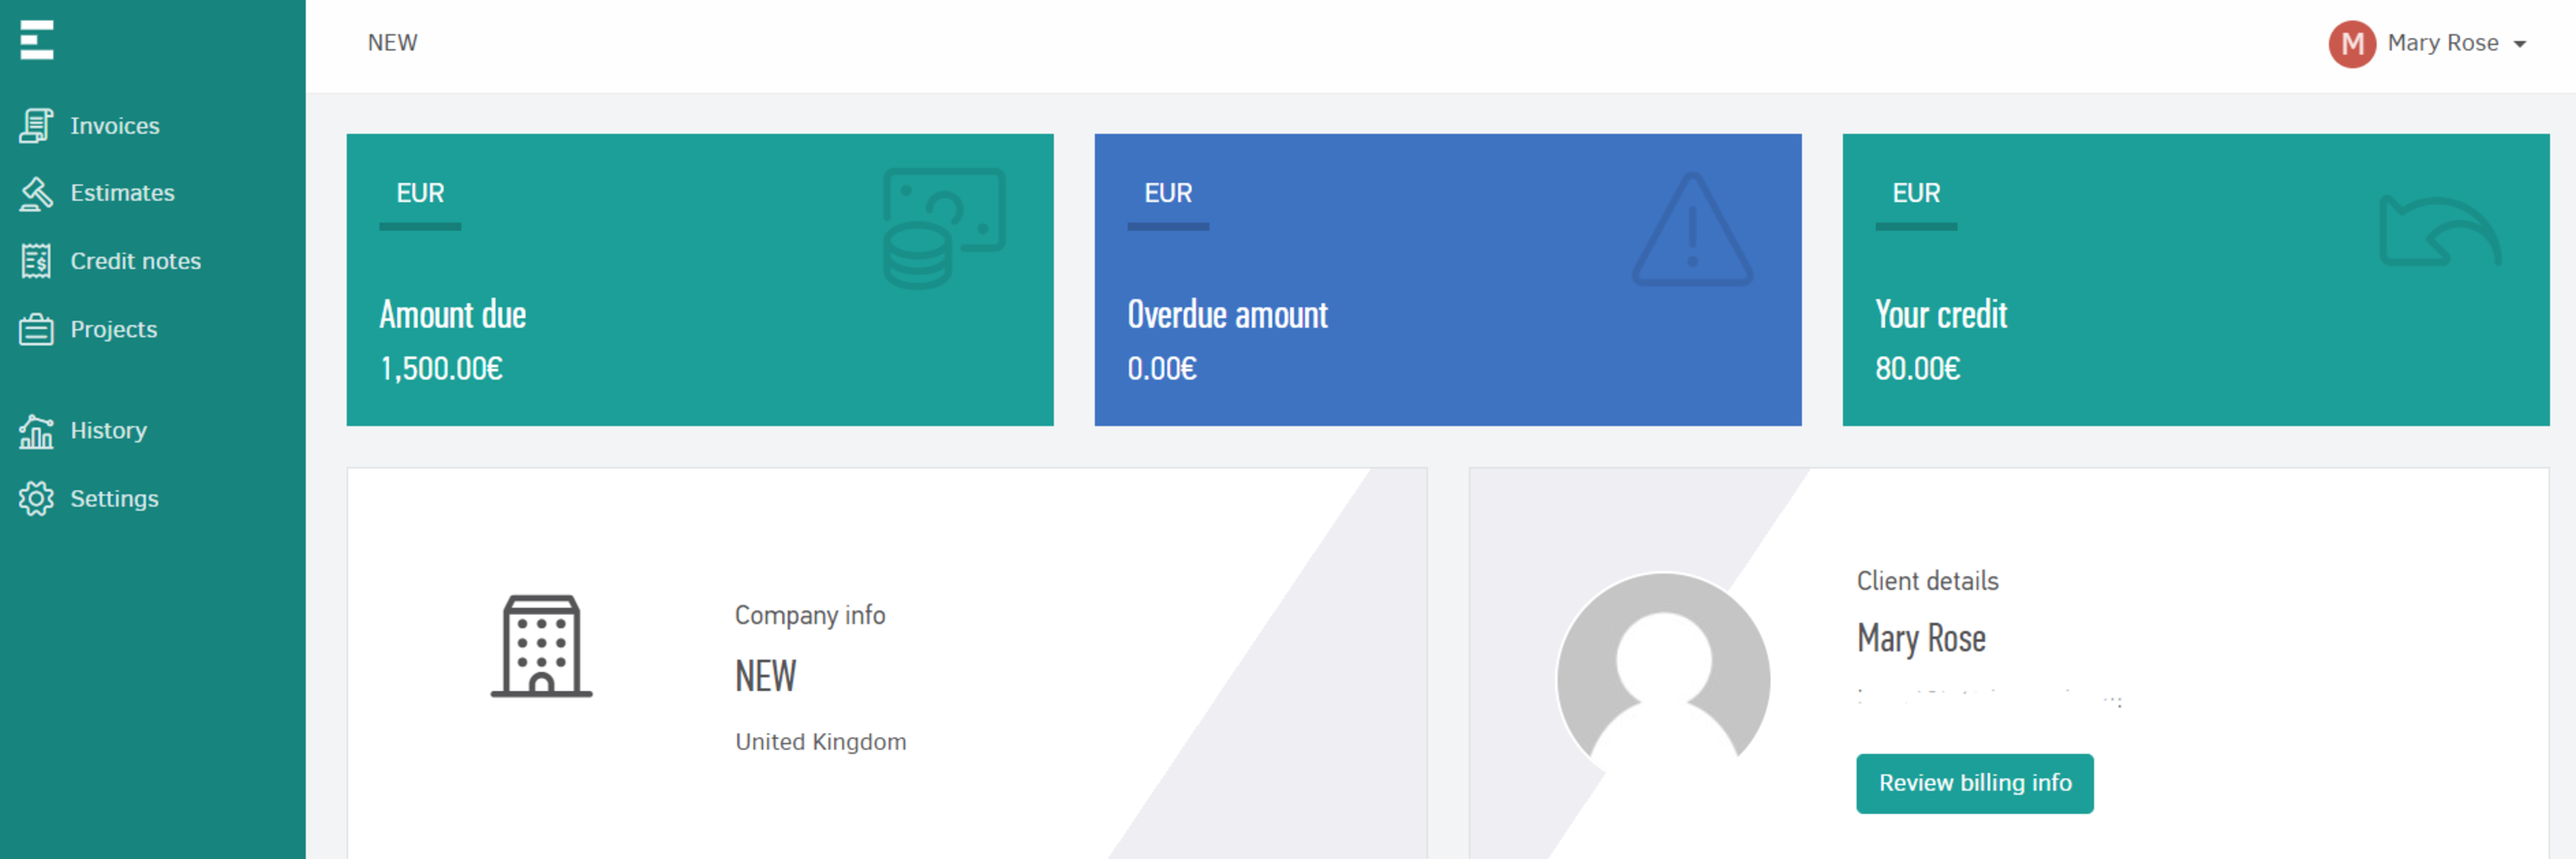
The interpretations of these indicators in detail are:
Amount due: The total amount of outstanding invoices the customer owes you
Overdue amount: The total amount from invoices that are past their due date
Credit: The total amount of outstanding credit documents which have not been paid to the client (ie. pending refunds) or haven't been paid off by sales document yet.
Amount due payment
In the amount due index there is a "Pay now" button and by clicking on it the client is able to pay off the full amount owed to your company online. Your default payment gateway(s) is/are used to complete the payment process.
Once the payment is completed, the related receipts are automatically generated for the respective documents and you get notified by e-mail, as well as through Elorus's interface notifications for this action.
Financial transactions
Through the portal, your customers can have the "whole picture" regarding the transactions carried out between you. Left of the page there are 5 menus where the customer can navigate. Let's look at them in detail:
Invoices
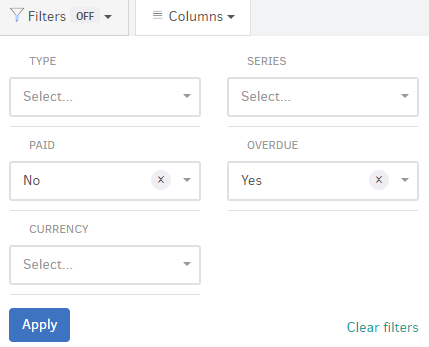
From here, customers can review all sales invoices issued to them and using the "Period", "Filters" and "Columns" option they can obtain a list of focused results.
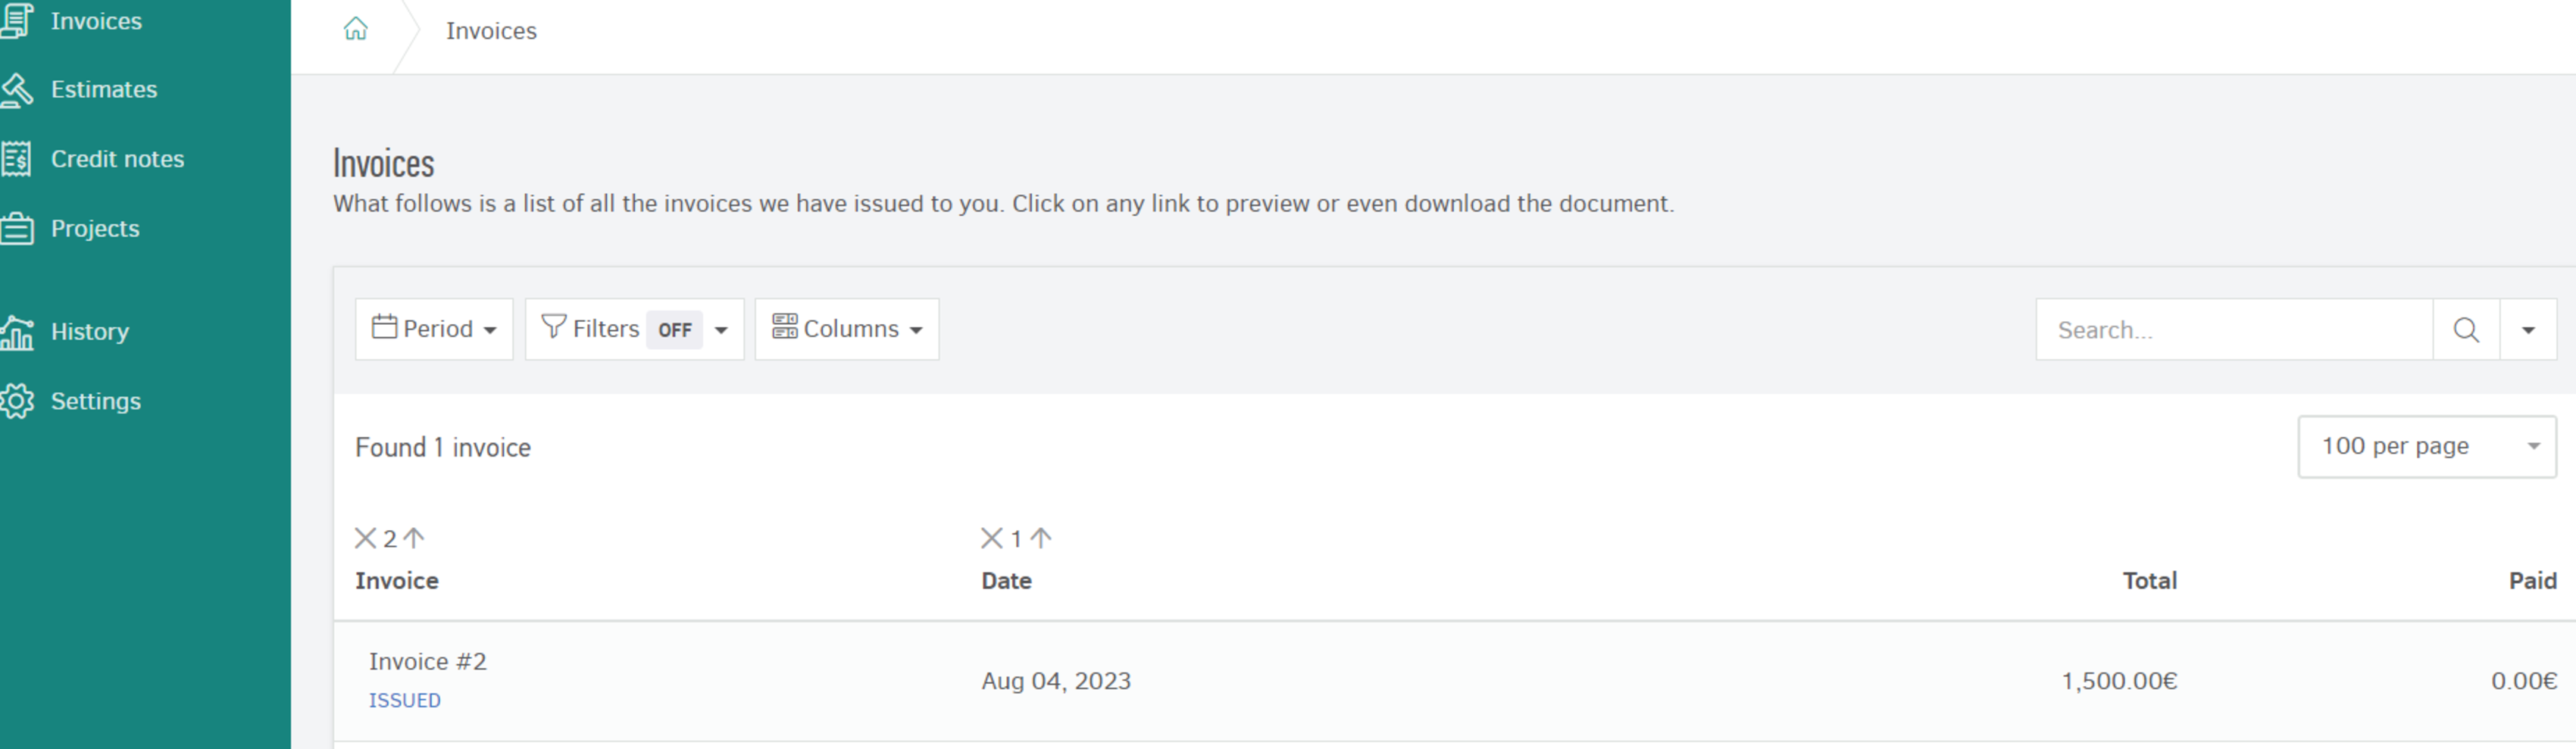
From the "Period" button they can select the desired time for which they want to see results. From the "Filters" button they can narrow down results on the list depending on the options given. Finally, from the "Columns" option they can choose the columns that will appear on the list.
If the customer clicks on the number of a document from the list, they will see a page similar to the following:
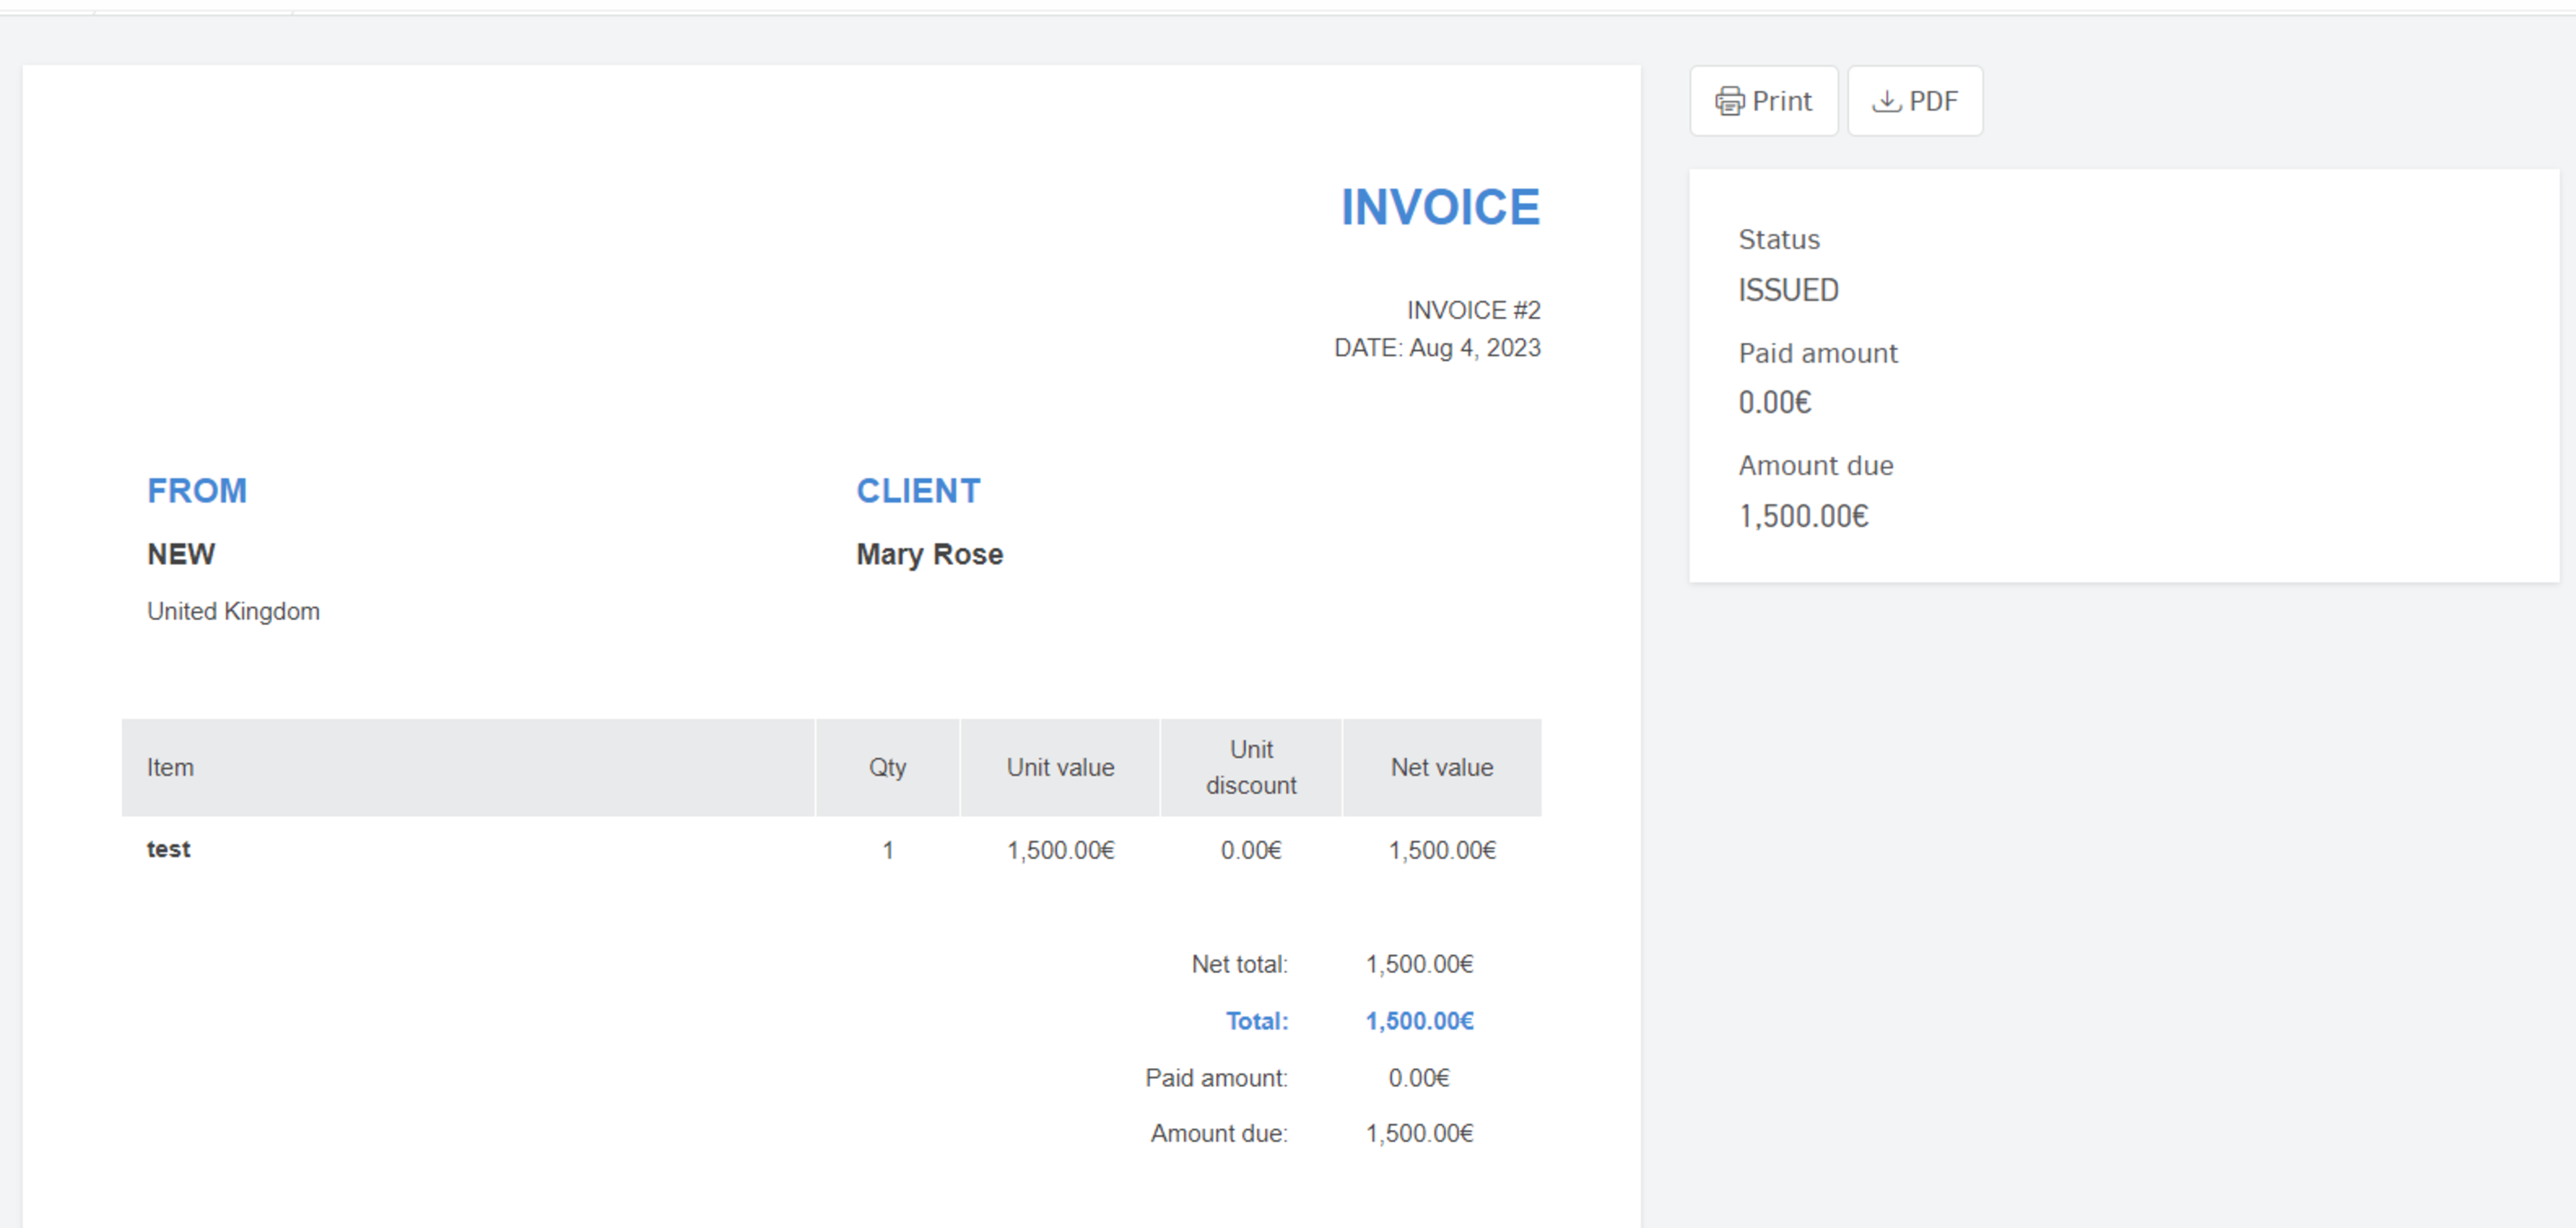
On the document's preview page your client can see information about its current status (Issued, Paid, Void, Overdue etc.), the amount paid and the remaining amount.
Your clients can also print it and make an online payment, provided that there is an active online payment gateway connected to the document.
By clicking on "Make payment" your client is redirected to the online payment provider's environment to proceed with the payment using a credit/debit card or their account, if registered to the payment provider.
Every time the client views the document through the client portal, either by clicking on the permalink or simply previews it, Elorus will display this information as a notification inside your account. Also, the same information (date and time of view) is also recorded in the record's events so you can refer to it at any time.
For more information about online payments visit the related article.
Estimates
Clicking on this menu your customer can review the list of all the estimates you have issued to them over time.
Accepting / Rejecting estimates via the client portal
Through the client portal, the customer has the option of rejecting or accepting an estimate.
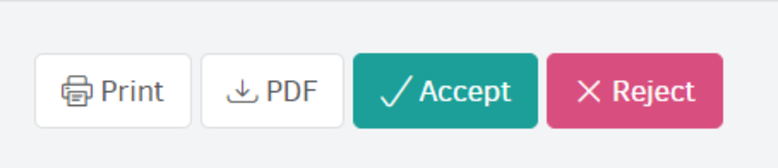
If they click on an estimate they will see the following options at the top of their screen:
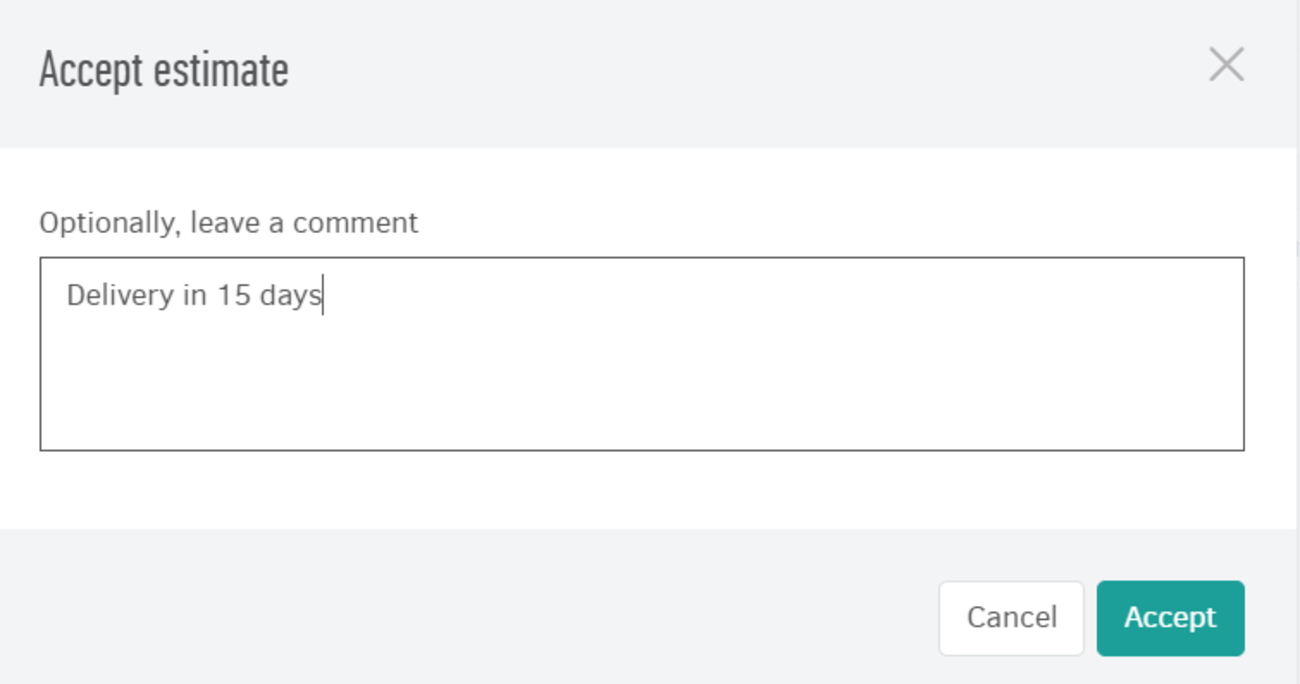
By clicking on "Accept", a window is displayed in which they can, optionally, leave a comment (for example, delivery in 15 days).
If the client clicks on "Reject" you get notified of the client's action via email and the estimate's status changes to "Rejected" immediately.
Projects
This menu appears only if you use the Time tracking feature and have set your projects to be visible on the client portal. See more about this setting here.
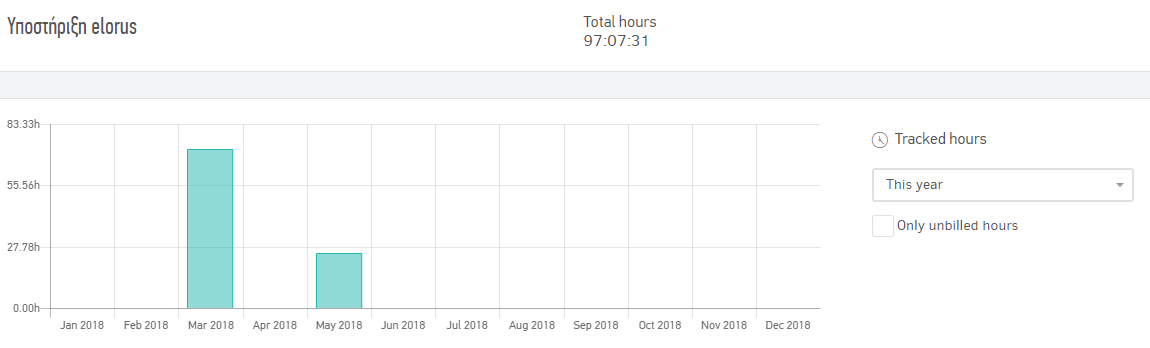
What the customer sees here are the projects you have created for him as well as the time entries you have logged so far. Specifically, they can either view all time entries or just the billable ones (depending on what you have selected in each project).
They can also see a graph of how time entries are allocated over time or how many of them have been billed.
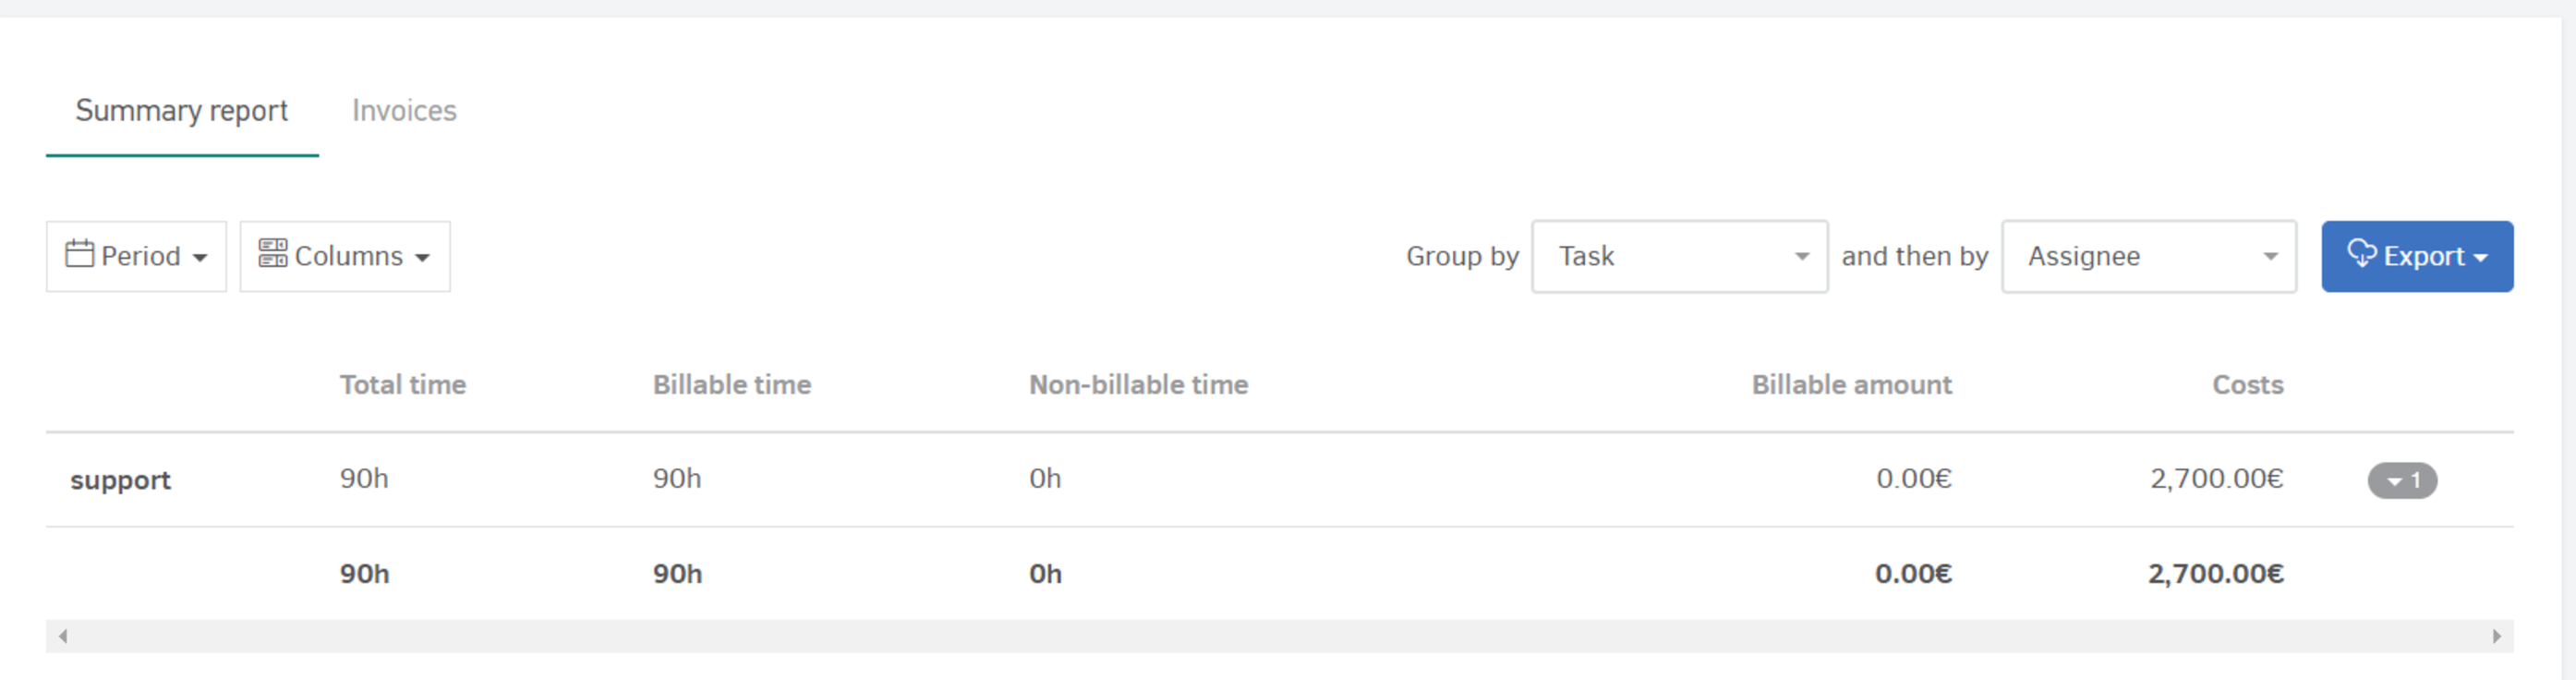
Below, they can view a summary report of the project and filter by period, task and assignee.
In the next tab, the customer can view the sales documents issued that are related to the project.

Credit notes
In this menu, your customers can have access to credit notes issued, to preview and download them to their computer.
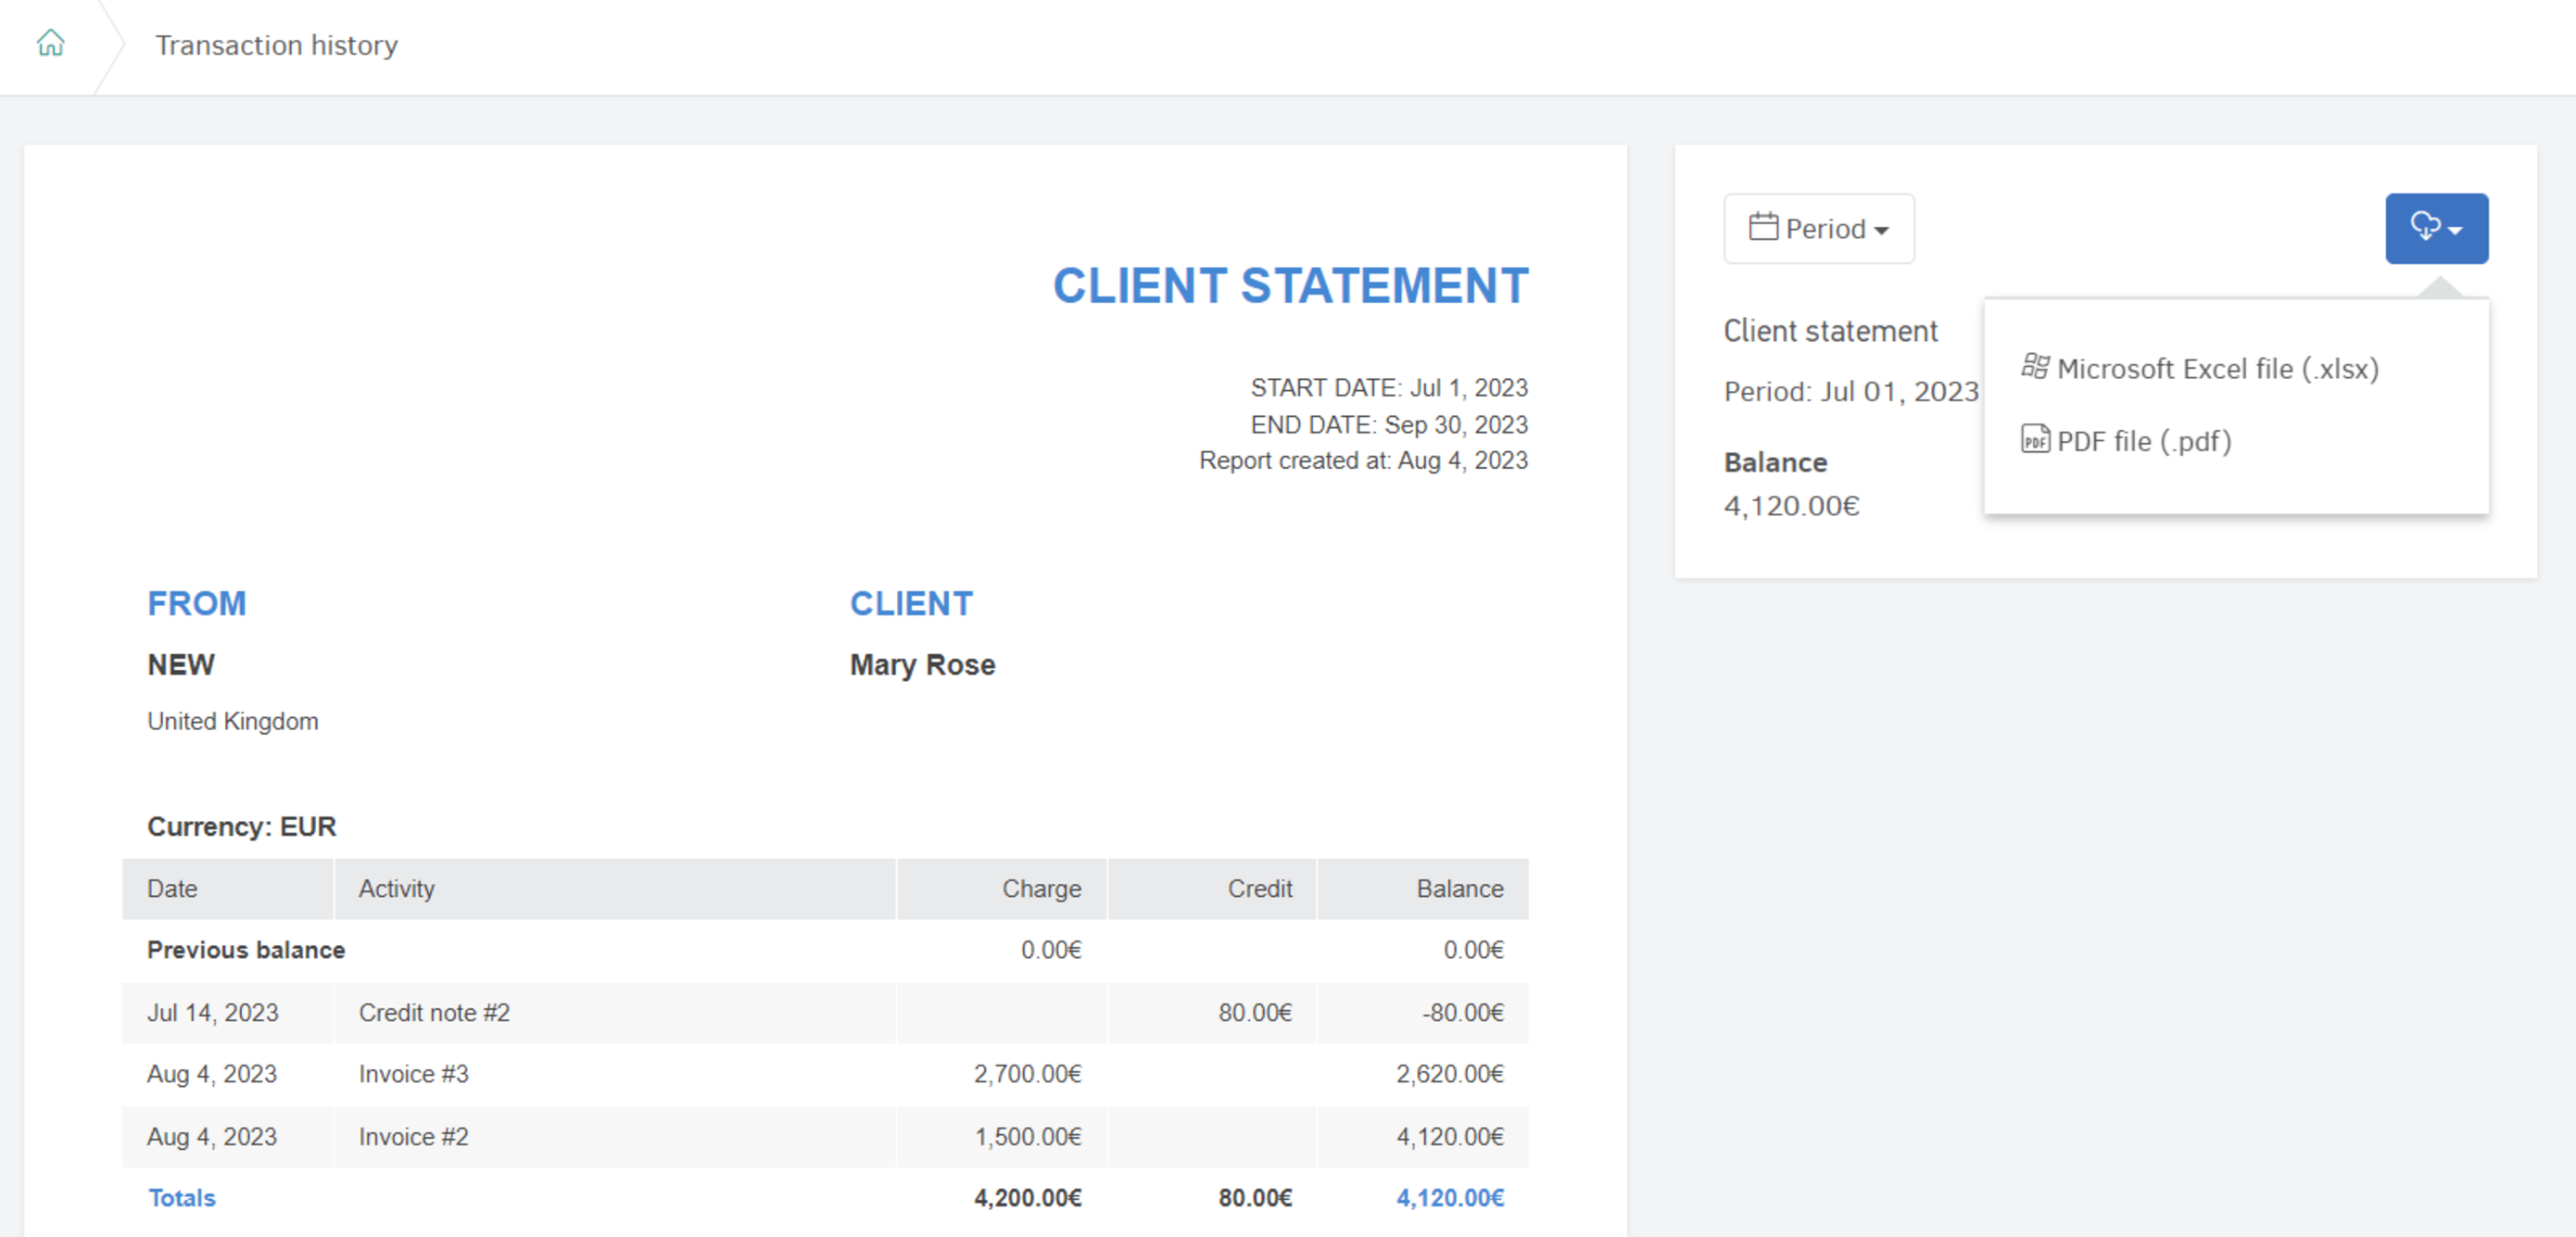
Transactions history
In this menu, your client can browse through their contact statement. This way you can facilitate accounts reconciliation and your customer can refer to their entire transactions history at any moment.
Choosing a reference period, your client can have an overview of records and be informed about their total balance. They can also download this report to Excel or PDF files by clicking "Export".
Settings
From the settings menu, your customer can change their password used to connect to your organization's portal and the portal's interface language. The portal is available in two languages, Greek and English.
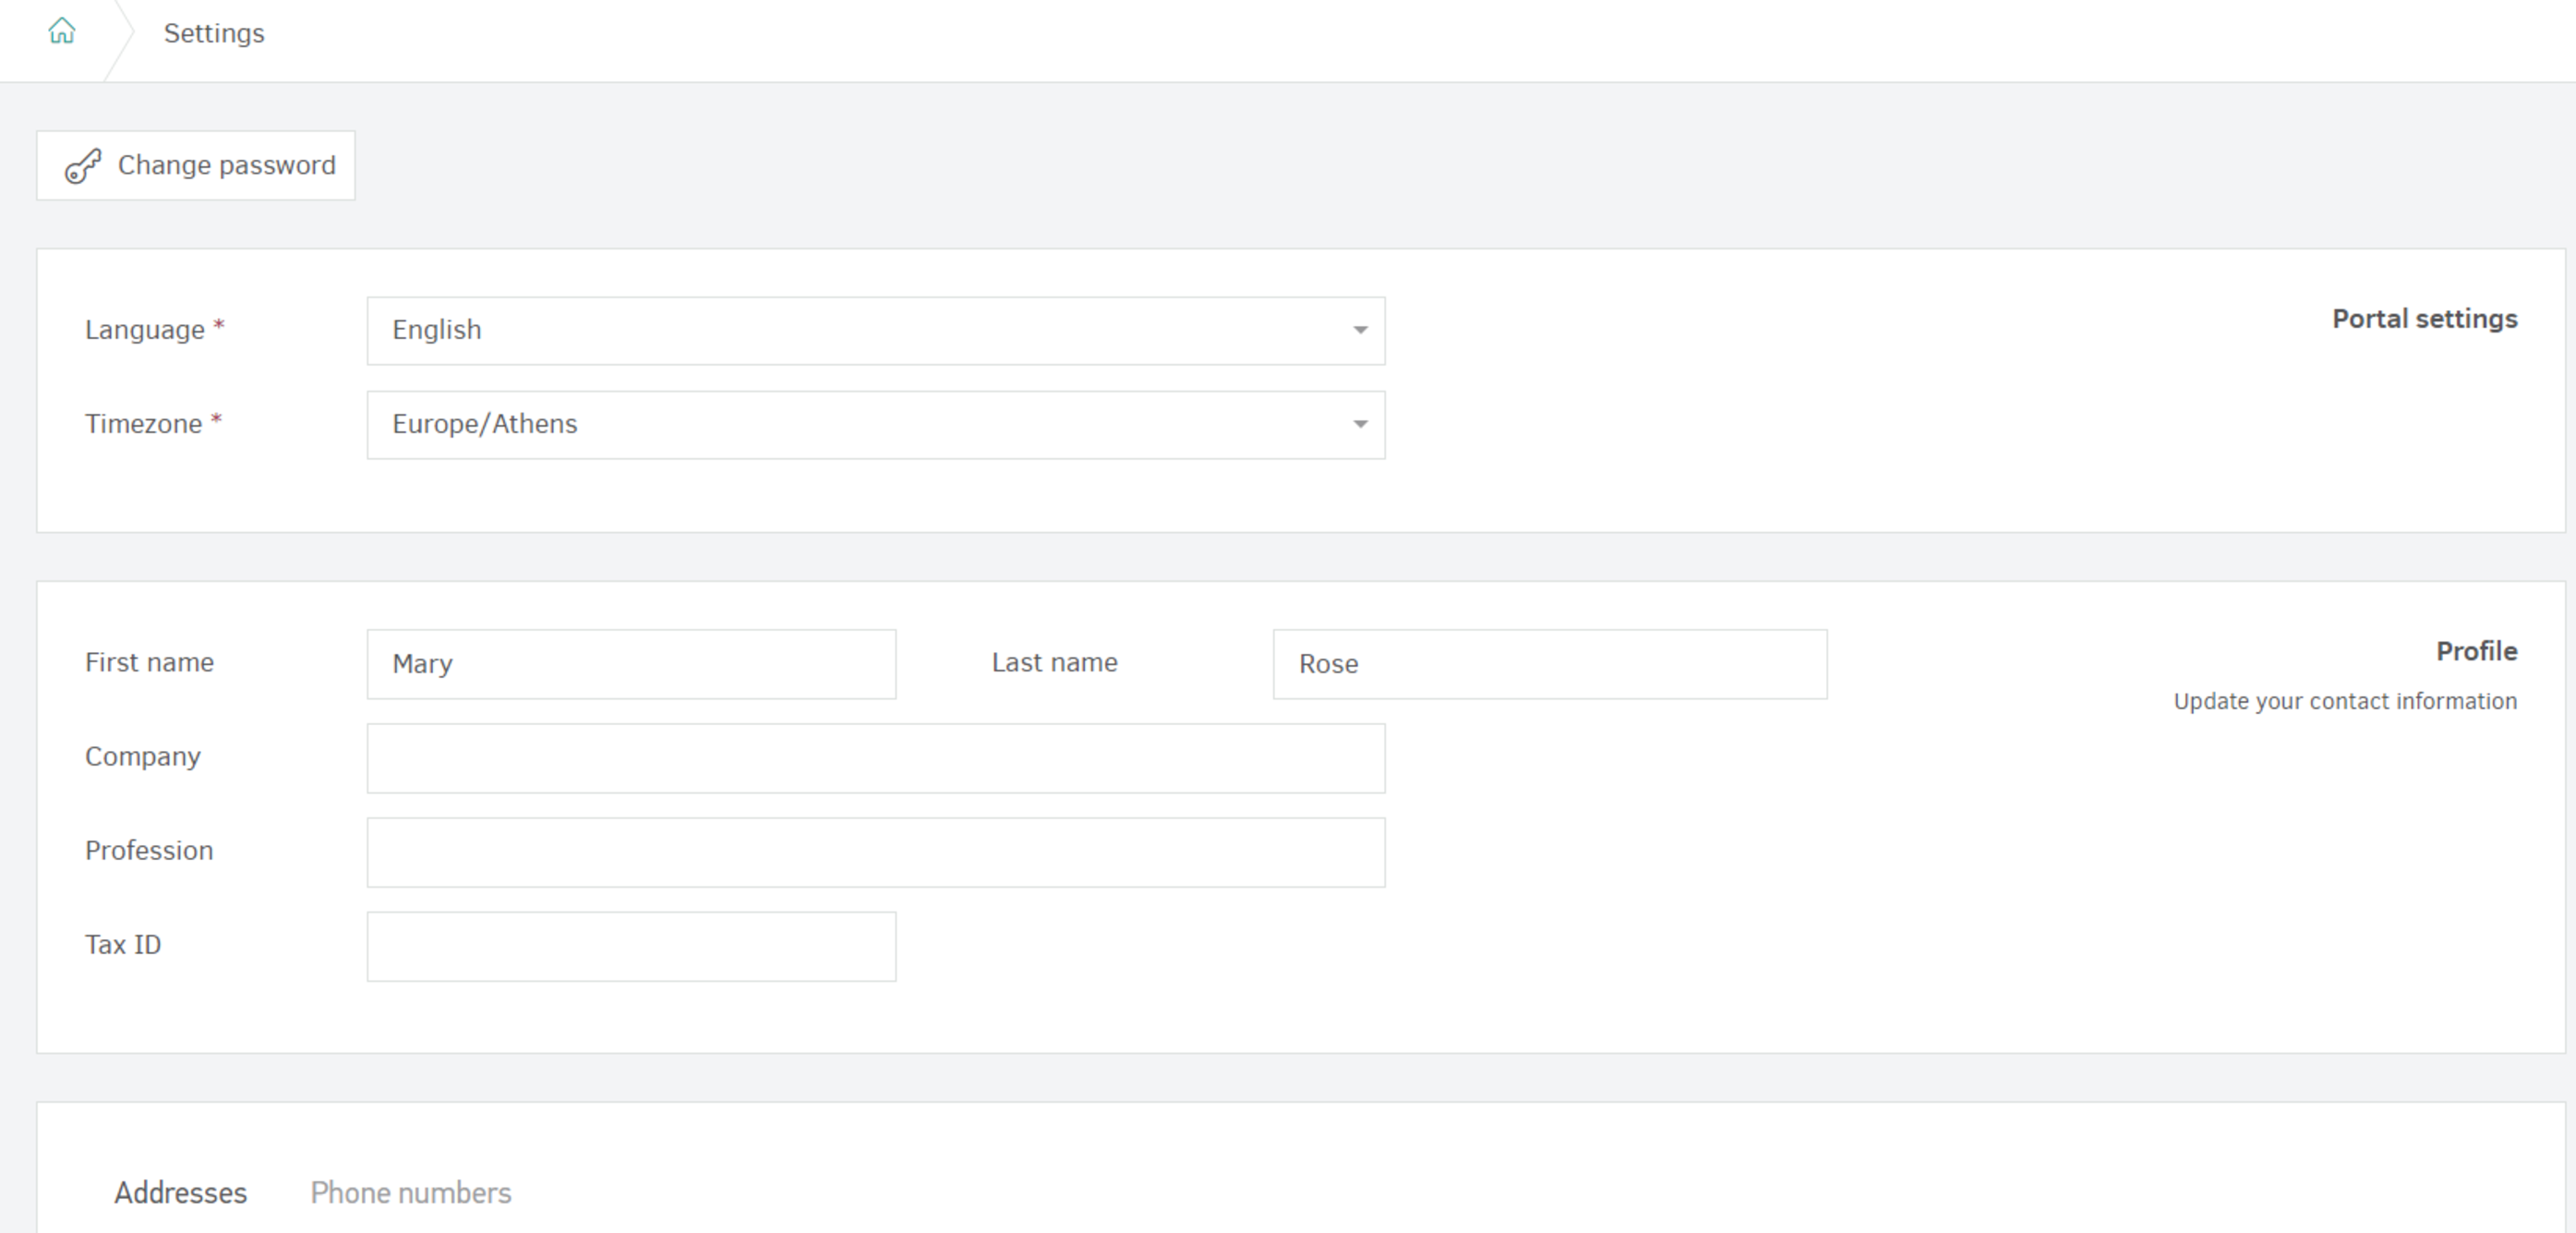
Also, from the relevant fields your client can change their company information, should any changes occur (eg change of billing address) and this change will automatically update the customer's contact inside your Elorus account. Thus, future documents to this contact will have the updated information, without affecting past records.
To discover all the benefits for your company, visit our client portal page.
Related articles
-
Contact statement
Discussions with the client
Once your client has access via the portal he/she can send you messages about issued Invoices (debit and credit), Estimates and Projects related to him/her.
More about Discussions in Elorus can be found in the relevant guide.