You can invoice a project either individually or in aggregate per contact. Below, the process for individually invoicing a project is described, covering both the time recorded on it and the amounts spent (i.e., Expenses).
Individual project invoicing
You can invoice an individual project either from the Invoices menu or from the Projects menu.
In the first case, select Invoices > Add, and you are transferred to the invoice creation form, where you can link each line item to any project. (see image below.)
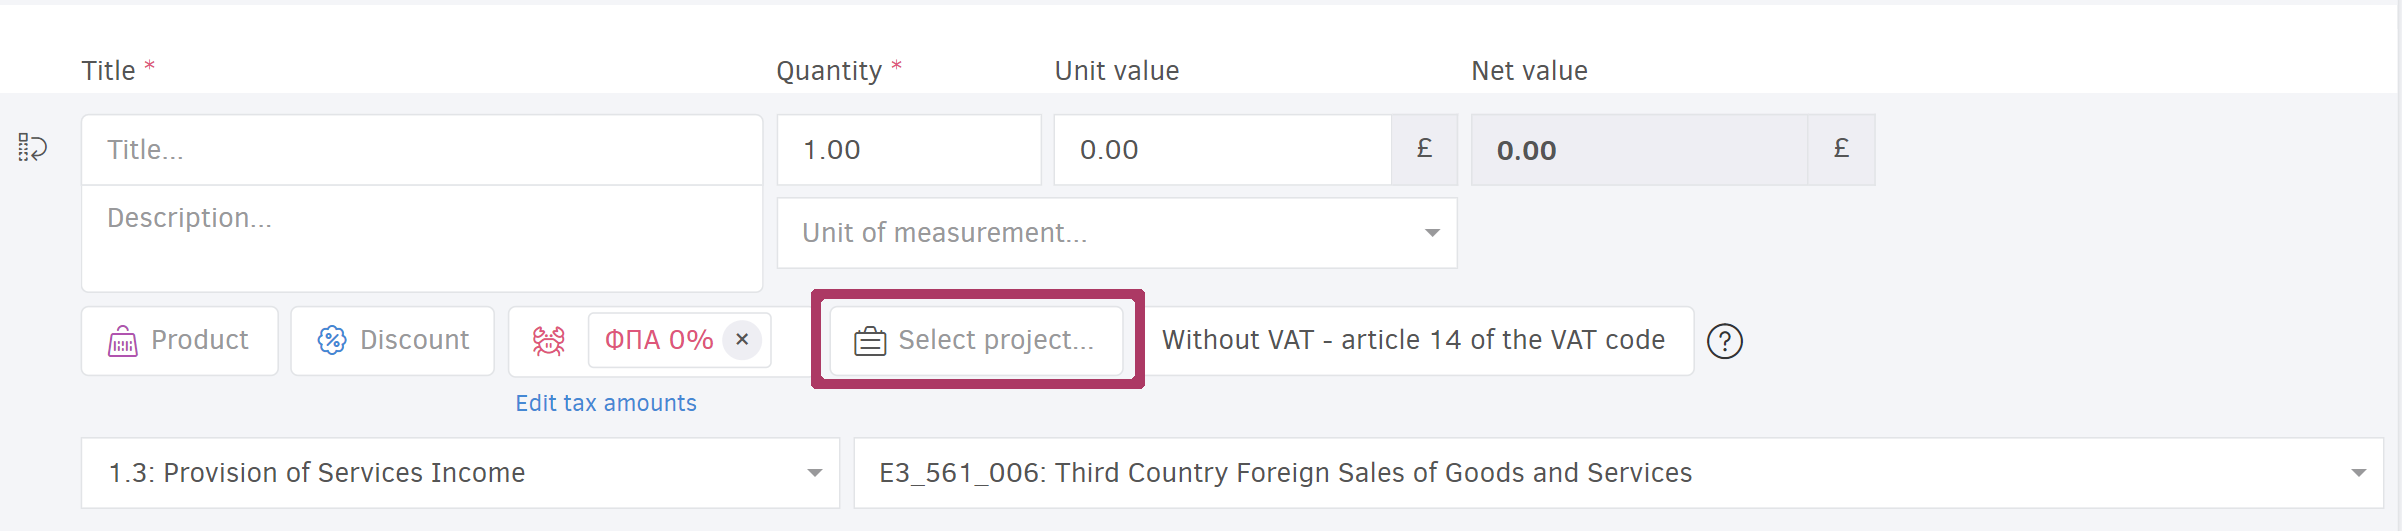
For Recurring Invoices, you just need to set up your connections once. Thus, every time the invoice is automatically generated, it will retain those specific links.
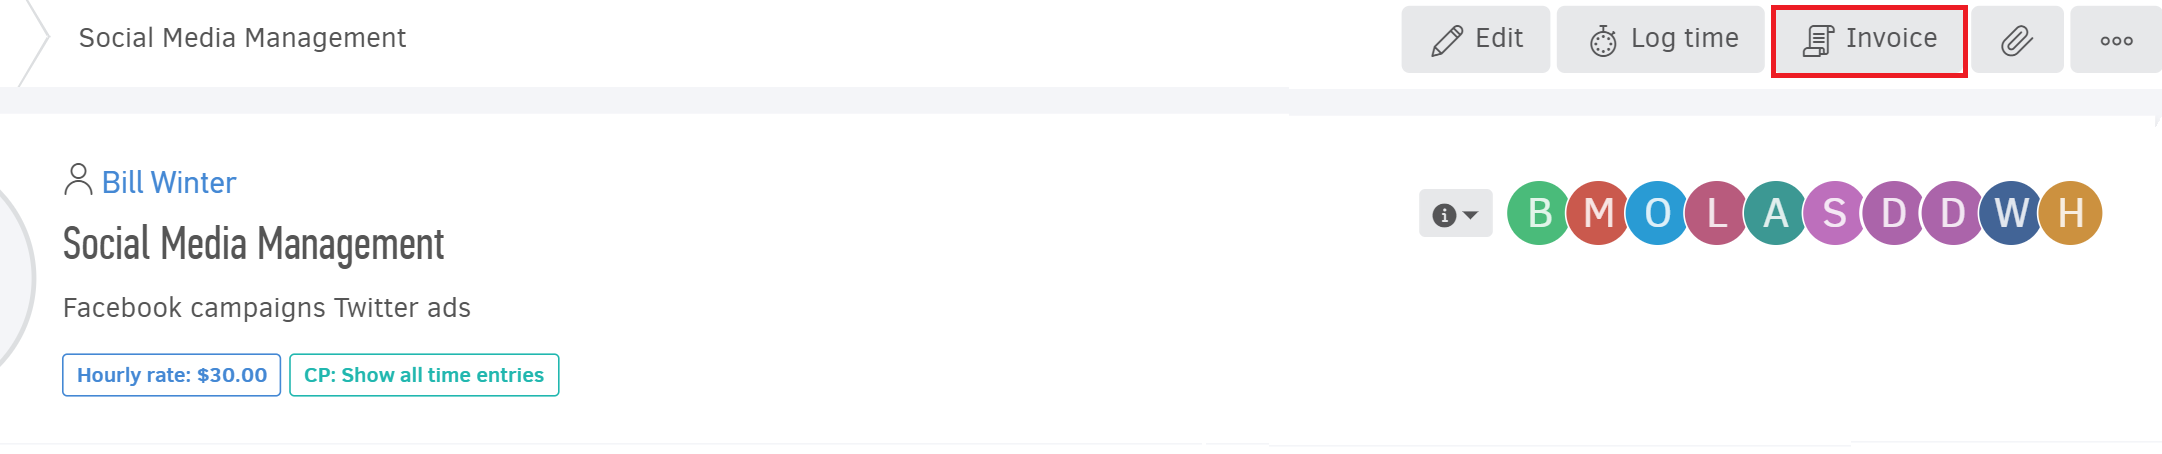
In the second case, from the main menu, select Projects, click on the project you want to invoice, and proceed to Invoice.
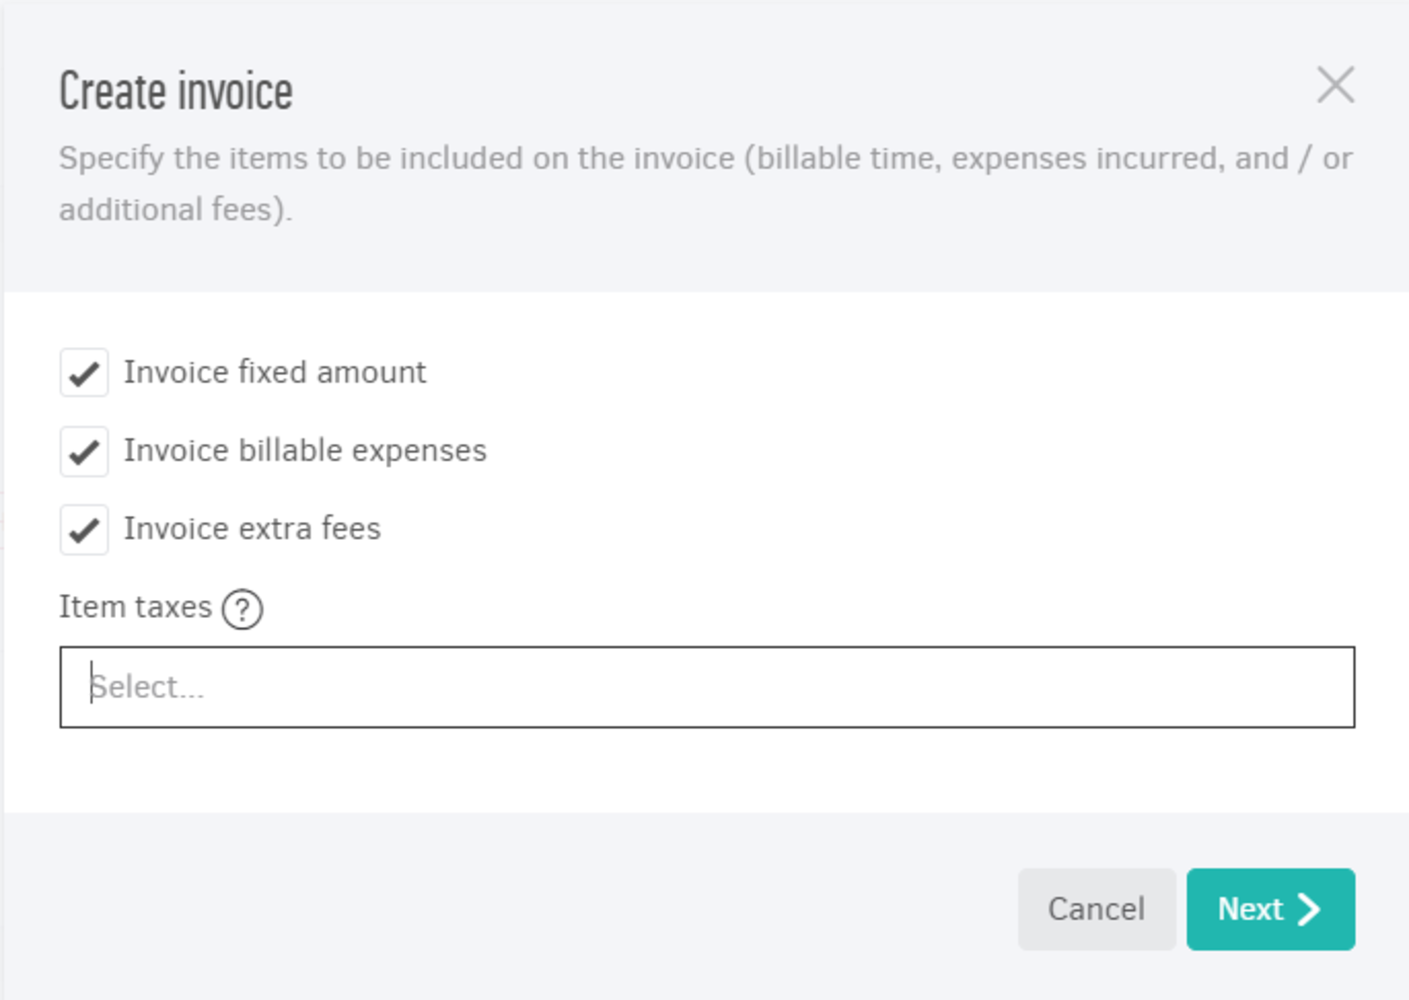
Before Elorus creates the relevant document, you are required to select certain preferences regarding the appearance of the data in the final document.
First of all, you need to select whether you are planning to invoice hours spent, expenses and/or extra fees, by checking the appropriate box. Then you will need to adjust the information of your invoice for each option selected.

Invoice time
If you have selected "Invoice time", you may adjust the appearance of your invoices by using the options below:
Grouping data
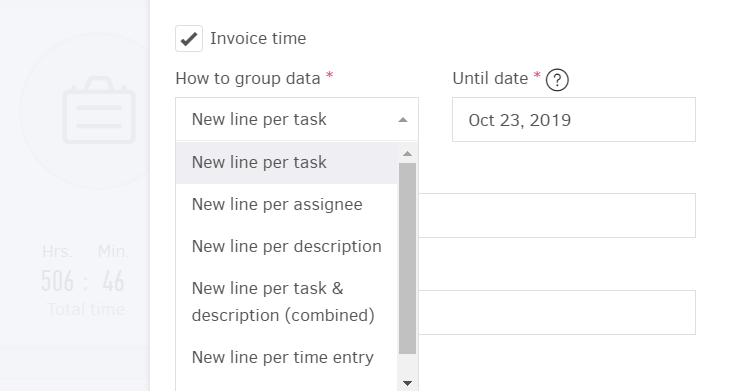
In the first field, you choose how the time entries inside the document are going to be grouped. You have the following options:
-
New line per task: Every task that has time entries for this project will appear separately along with the sum of hours spent on it.
-
New line item per assignee: Each assignee's sum of time entries will appear as a line inside the document.
-
New item per description: Each description will appear as a line inside the document. If more than one of the time entries share the same description, their totals will be summed in one line.
-
New item per task and description (combined): Each line will be formed of a task along with its description. If a task consists of time entries along with ones of the same task but with different descriptions, the task will appear in as many lines as said descriptions. Time entries that make part of the same task and share the same description will be combined – and form one line in the document.
-
New line per time entry: Each time entry will be one line in the document.
-
Single item line: Elorus will group all of the time records regardless of assignee and task and will calculate the cost in bulk.
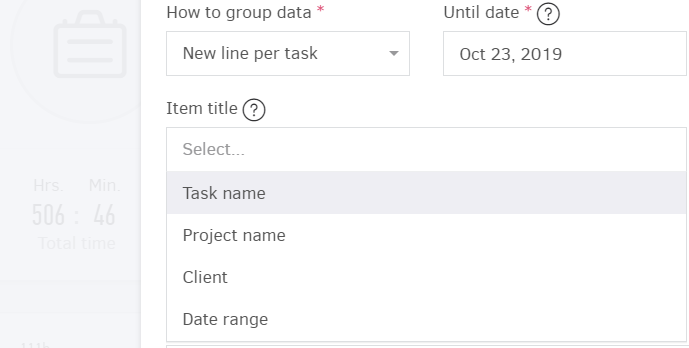
Until date
This sets Elorus to include time entries with a start date up to and including the one you select here. In the image below, for example, the application will invoice time entries and extra fees that began in October 23, 2019 and prior to this date.
Item title
The next step is to decide what will appear as a title on each line of the time entries item lines of the invoice. The title field will be predefined by Elorus depending on the information you have entered so far for each option. In the next step you can change it if you want.
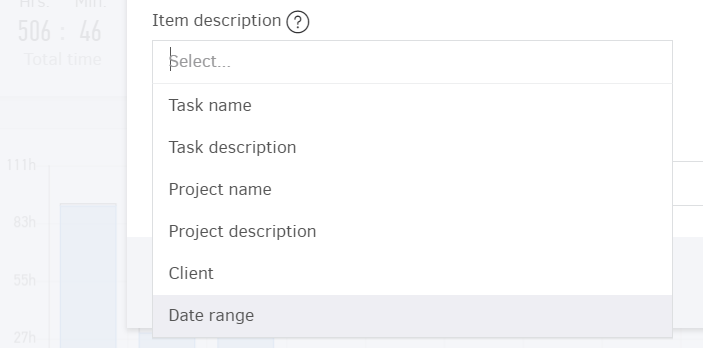
Item description
From the Item description field, you specify what will appear as a description on each line of the time entries. The description field will be predefined by Elorus depending on the information you have entered for each option. In the next step you can change it if you want.
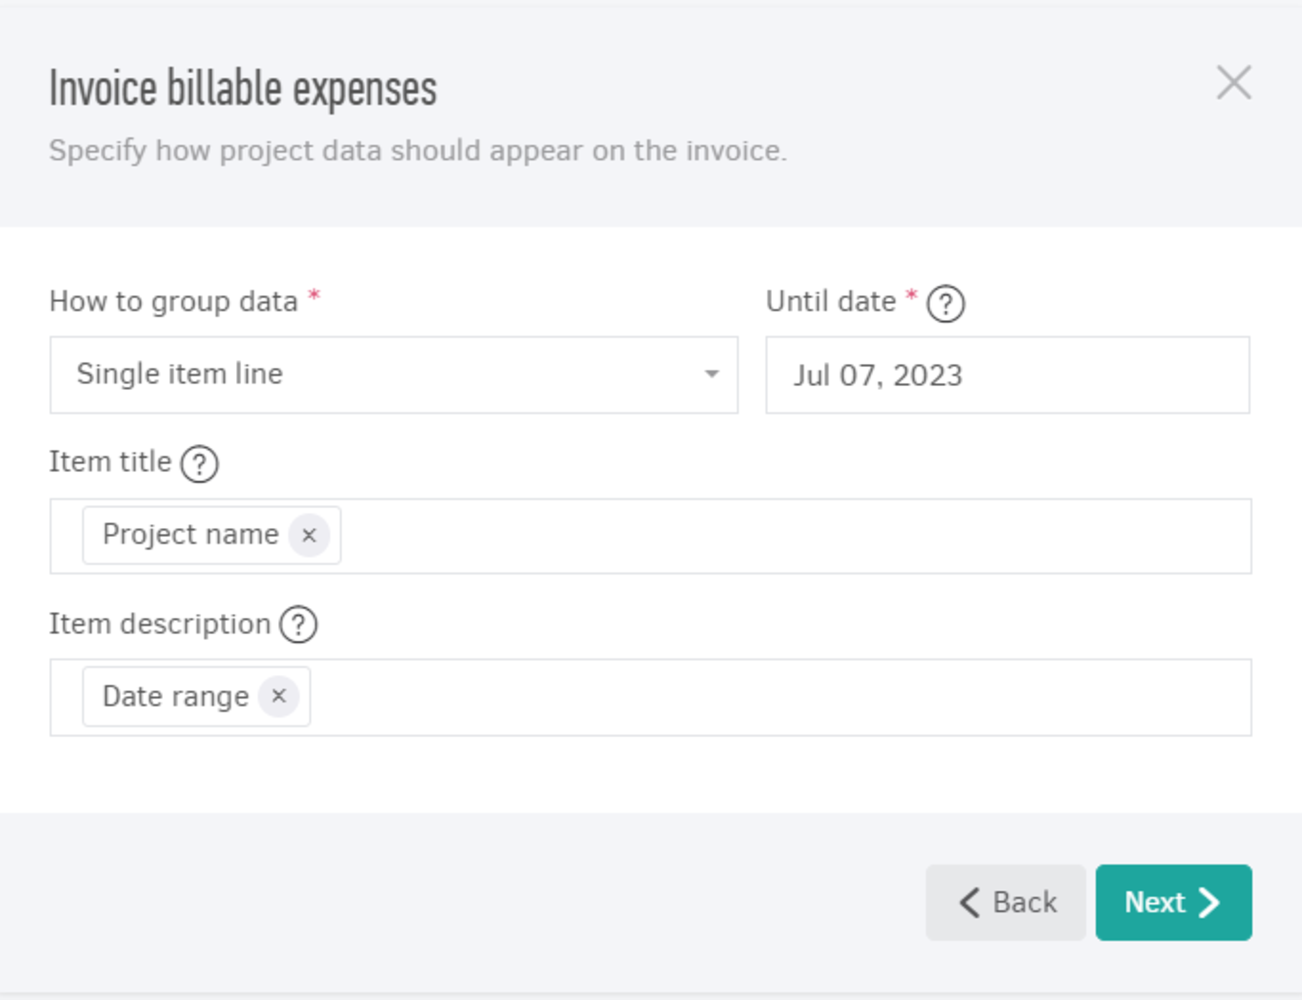
Invoice billable expenses
As long as "Invoice billable expenses" is selected, you can adjust the appearance of the item lines corresponding to those expenses. There are two prerequisites for an expense to be included in the invoice. When being added, the project in question needs to be selected. Also, the "Billable" button should be enabled.
Grouping data
In the first field, you choose how the expenses will be grouped in the invoice. You have the following options:
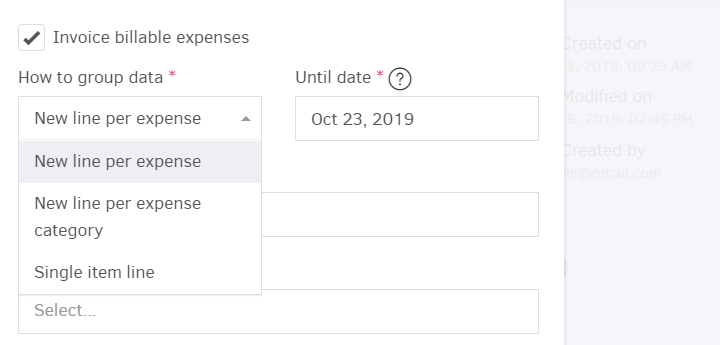
Until Date
This sets Elorus to include expenses, along with bills and supplier credit (billable) that date up to and including the "Until date" - in this case October 23, 2019 - in the invoice (under the time entries).
Item title
The next step is to decide what will appear as a title on each line of the billable expenses you wish to appear on the invoice. The title field will be predefined by Elorus depending on the information you have entered so far for each option. In the next step you can change with one of the available options.
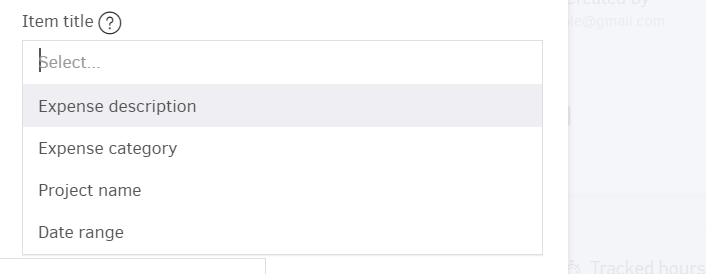
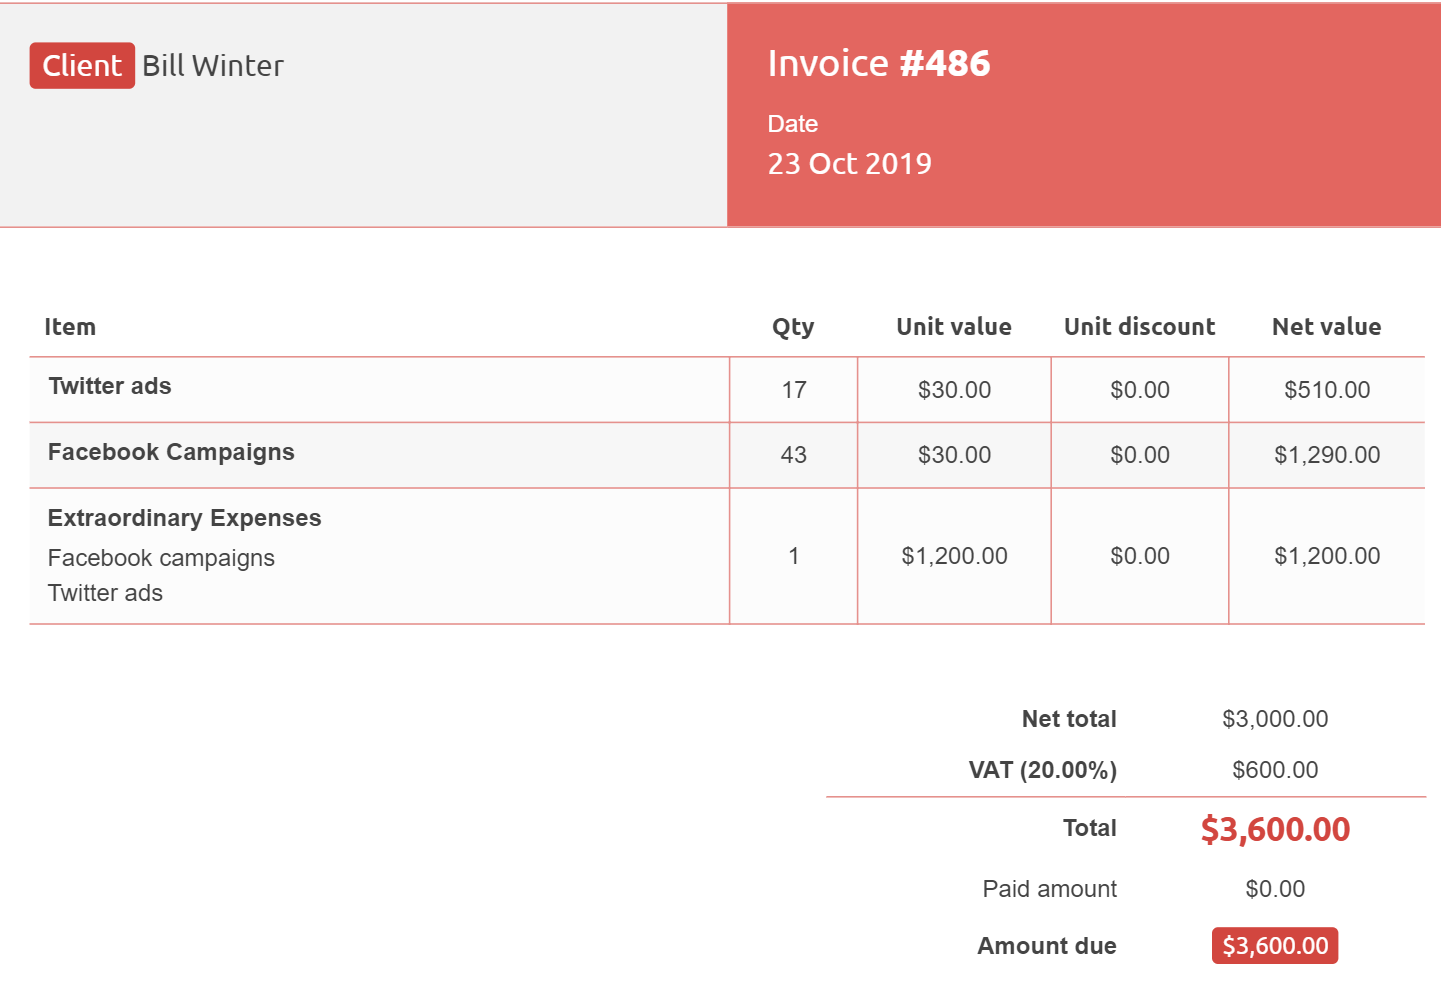
Notes: Whichever title you select for your expenses lines, the system will also give the prefix "Expenses" . In the example below, 'Logo modifications' is the title selected (as project name).

If you wish, you can name your changes prior to saving the invoice create.
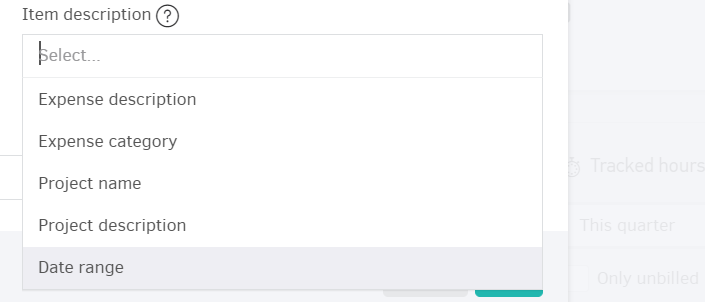
Item description
From the Item description field, you specify what will appear as a description on each line of the expense entries. The description field will be predefined by Elorus depending on the information you have entered for each option. In the next step you may make changes, as shown below:
Invoice settings: Item taxes
Finally, you can choose a VAT rate or tax that will apply on each line of the document. You can choose more than one taxes if you want and all will be applied to each line of the document to be created.

Click Next you will be transferred to the invoice edit page, from which you can make changes concerning the final document.
Invoice customization
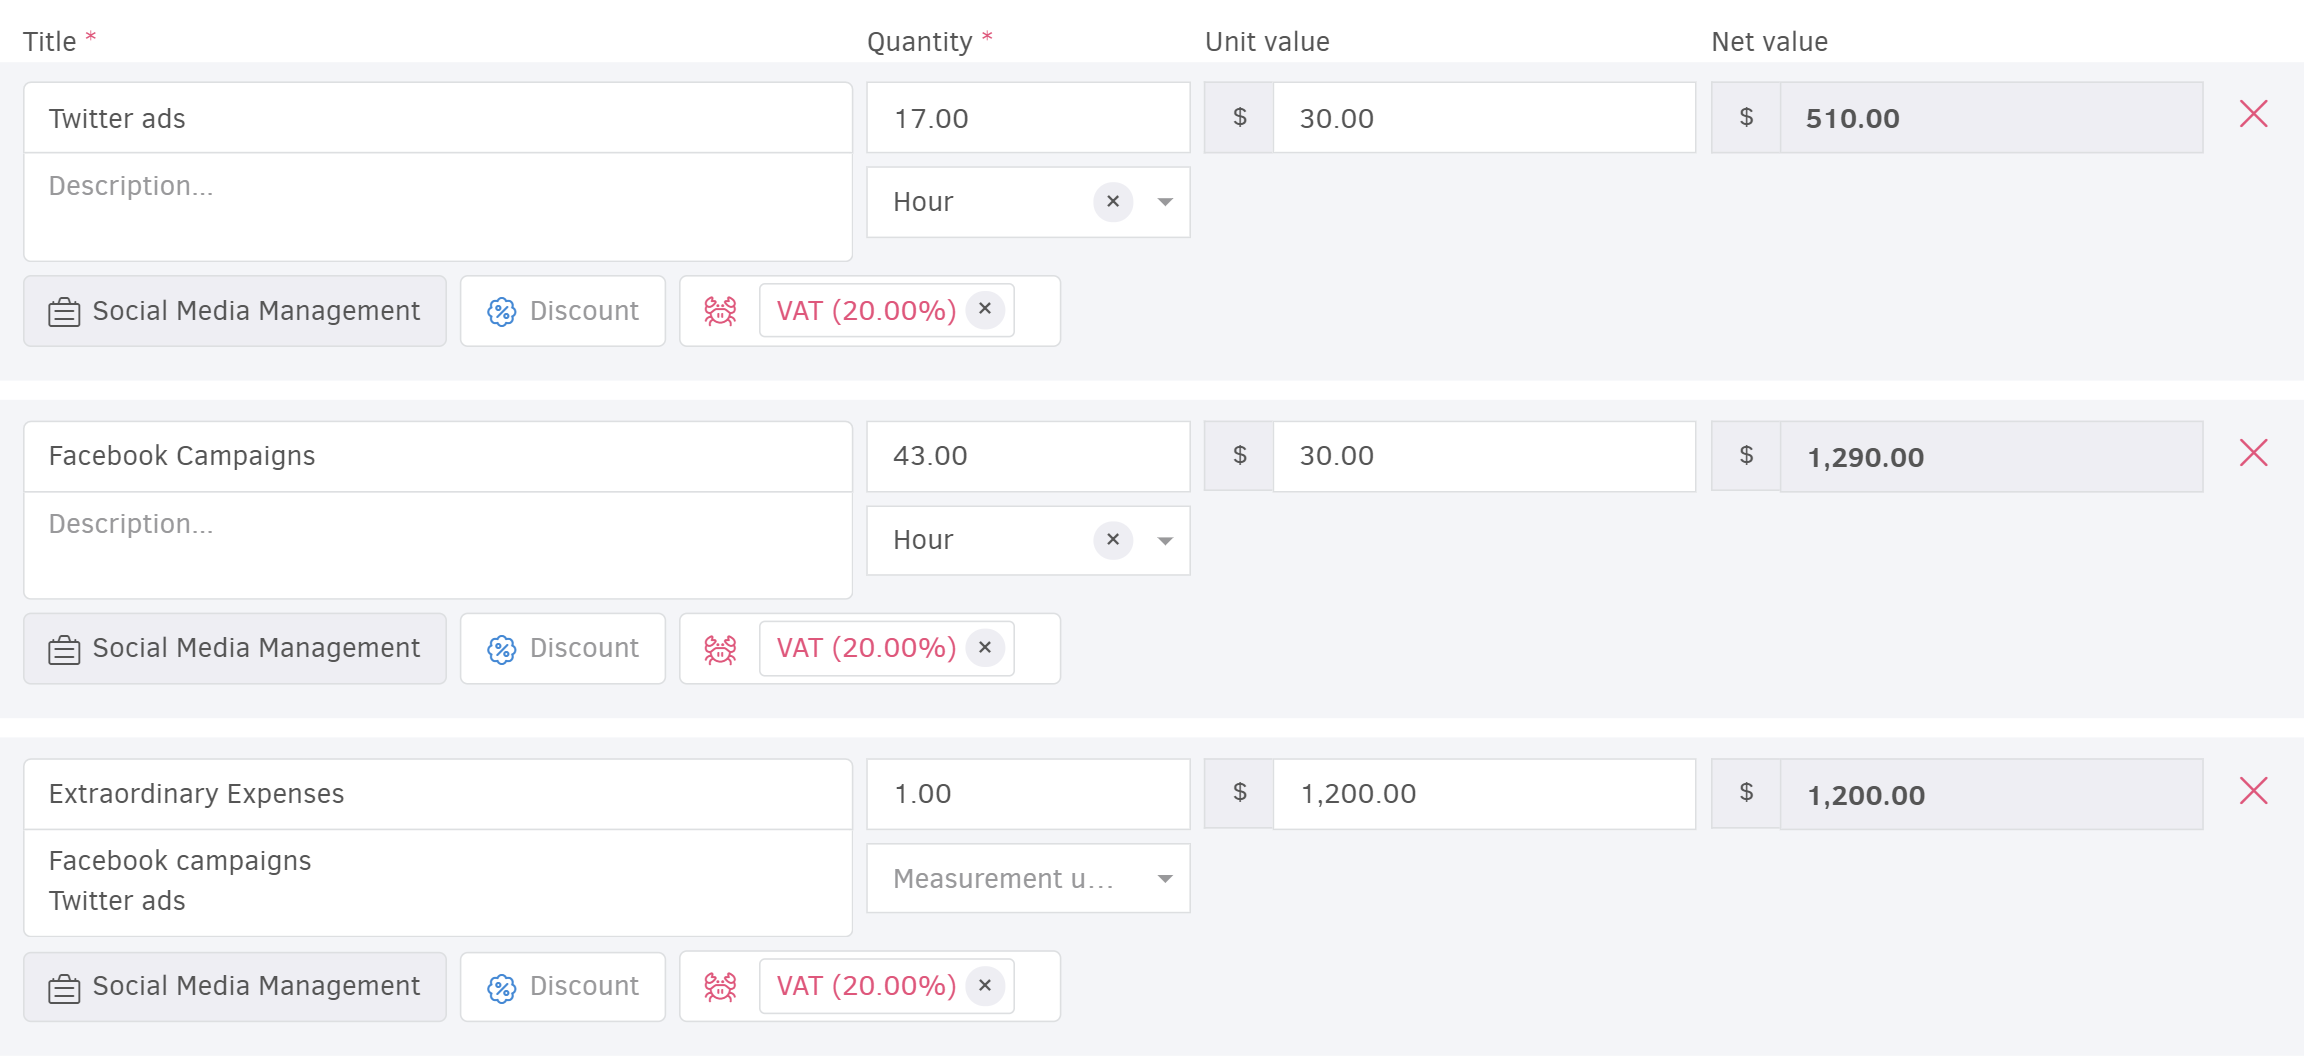
On the document's edit page, you can edit all of its fields except those of Project and the values. As you can see in the picture below, these fields are disabled.
If you want to remove an item line, you can do so from X to the right. You can also add new lines to the document from the Add New button located at the bottom-left of the products / services table.
Once you click on Save as Issued, Elorus will create the document.
Invoice multiple projects per client
If there is more than one project for a customer, you can invoice them all into a single document through the contact page.
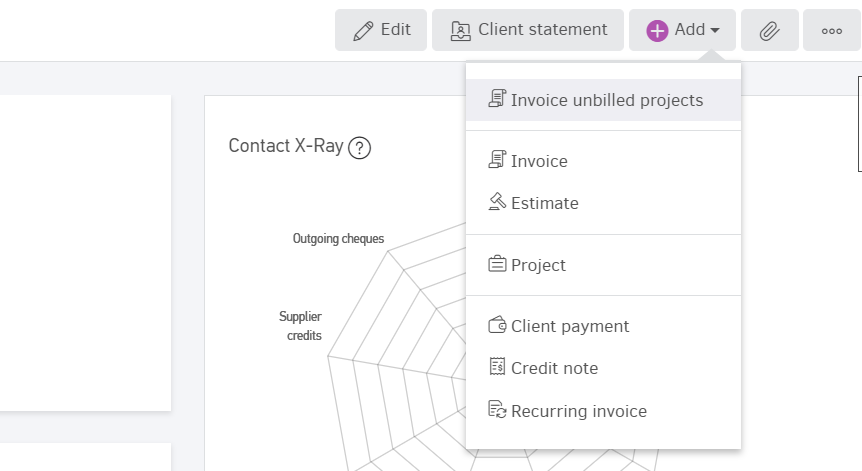
From the Contacts menu enter the desired one, click +Add and select "Invoice unbilled projects".
A window will appear, where you can choose how the data will appear on the invoice.
Clicking Next will take you to the invoice edit page, where you can finalize the document. If, for example, the customer has 5 projects but you want to bill the time entries for 3 of them, you can tap the X on each project's line and remove it from the document.
Credit notes
A project invoice may be cancelled through issuing credit note (with or without refund).
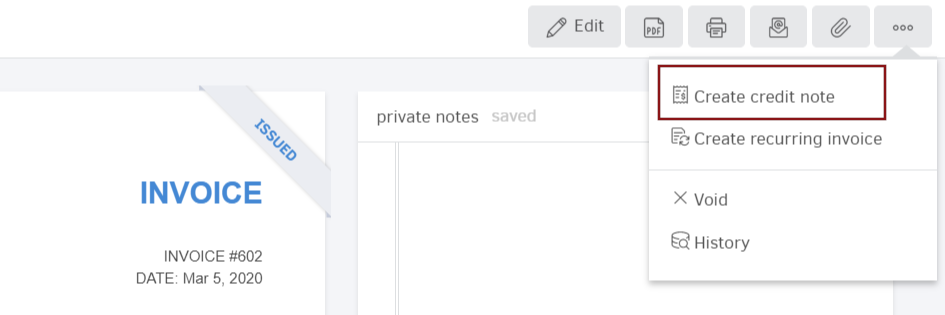
You can locate the invoice in question through list of invoices or project page and click it open.
Then, all you need to do is select "...-> Create credit note", as shown below: