

You can manage the Contacts that you have entered in Elorus either individually from the contacts view page or in bulk by selecting the desired contacts from the display list.
To display the list of registered contacts and perform the desired actions, select Contacts from the Elorus main menu.
Edit contact details
To edit contact details, select Contacts > Edit from the main menu and navigate to the form with the contact information, as shown in the image below.
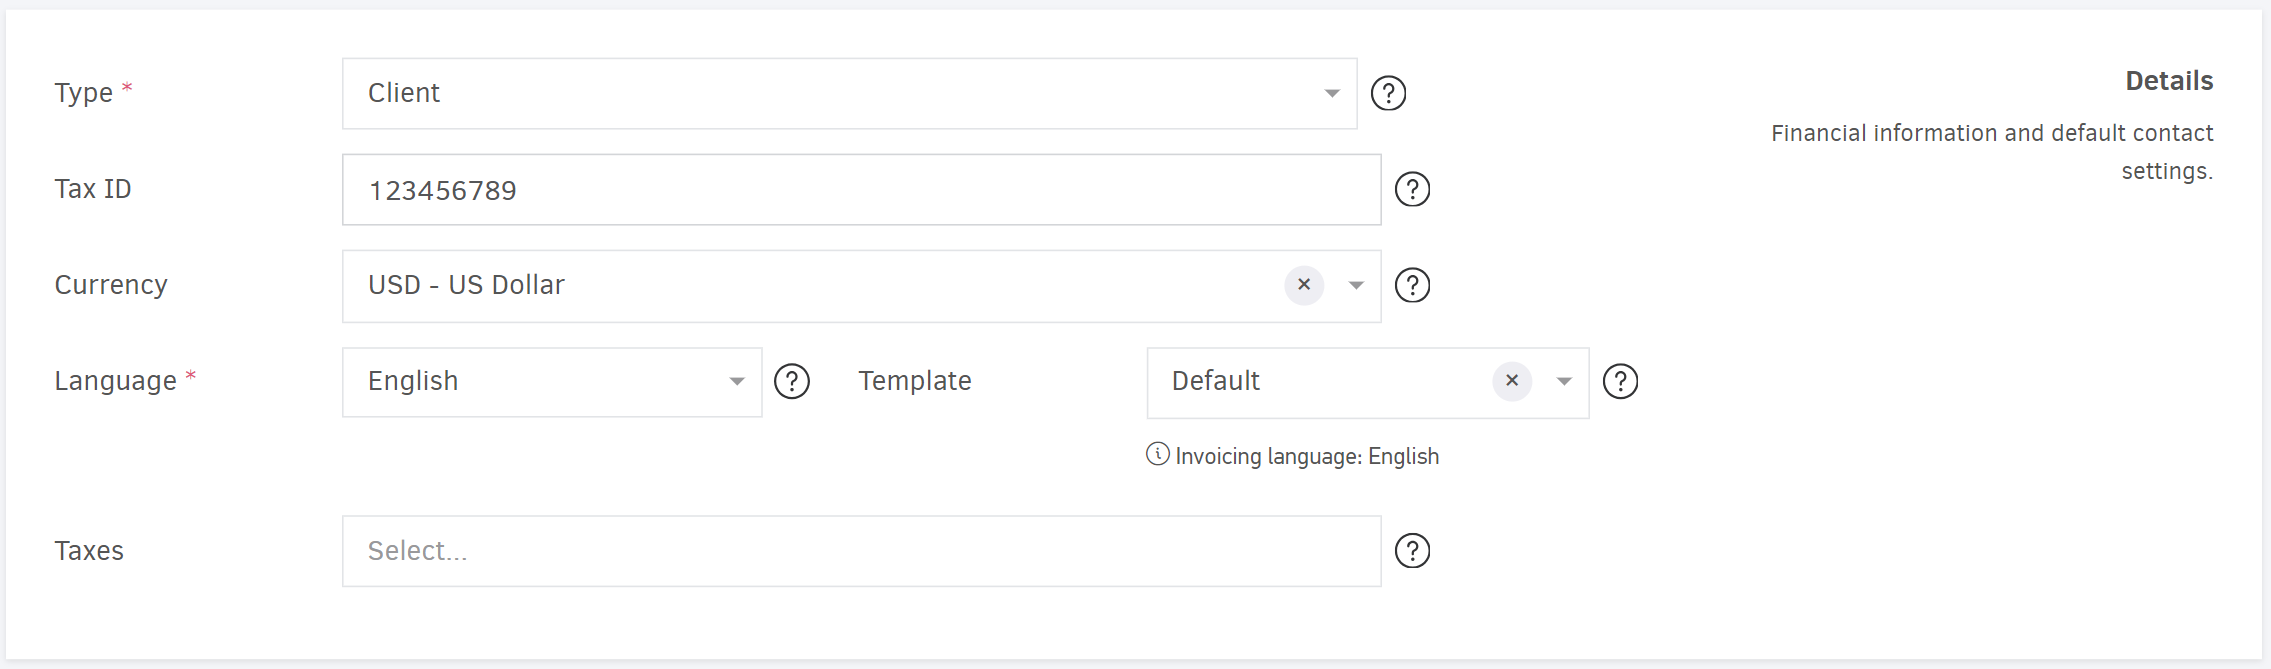
Changes made to a contact do not affect already registered documents, but will apply to new documents you issue.
Archive a contact
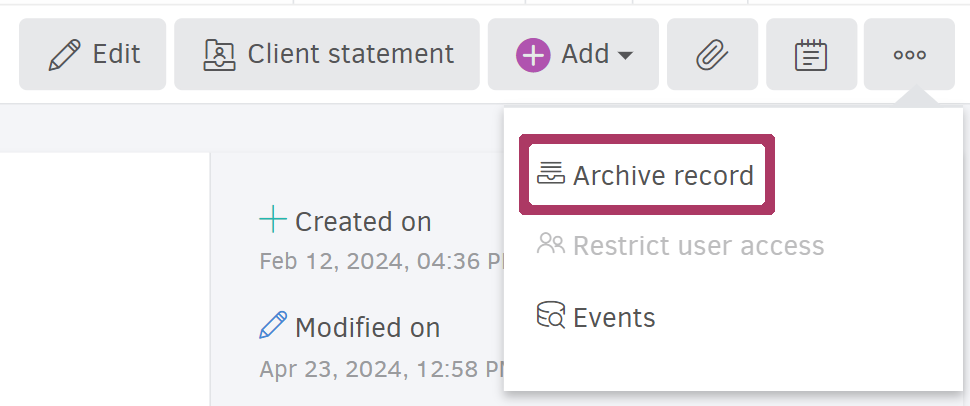
To proceed with this action, from the display list of registered records, click on the record you wish to view. From there, select the three dots at the top right corner of the screen, and then choose Archive record, as shown in the image below.
Archive contacts in bulk
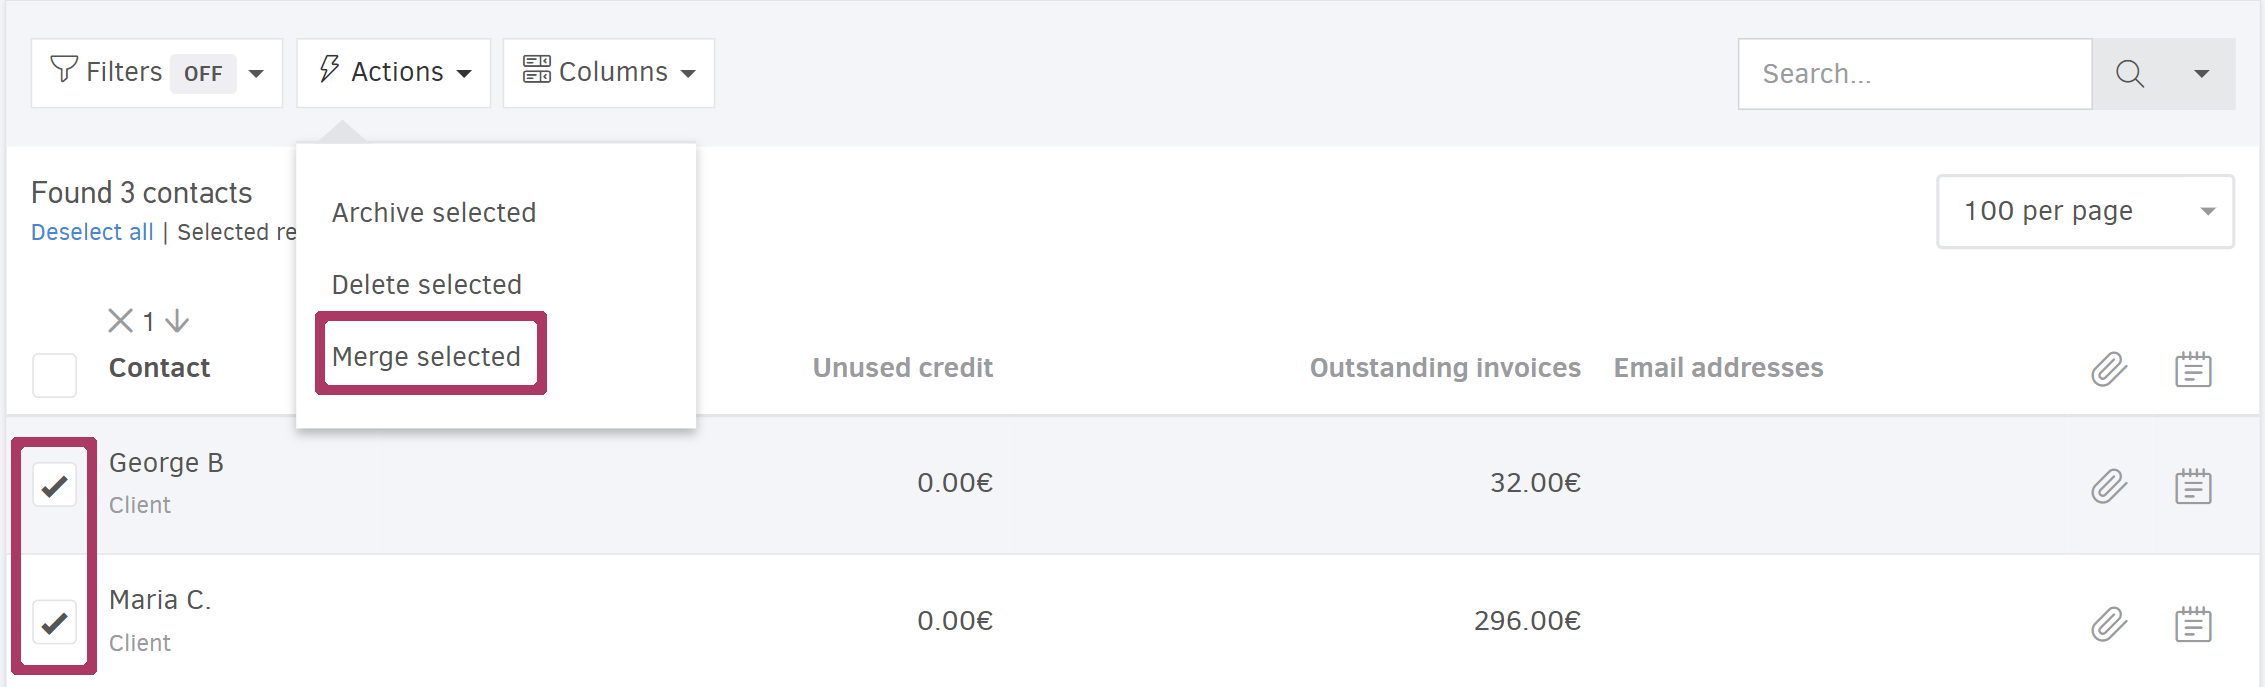
To perform this action, click on the contacts you wish to archive from the registered contacts list. Then, select Actions > Archive selected, as shown in the image below.
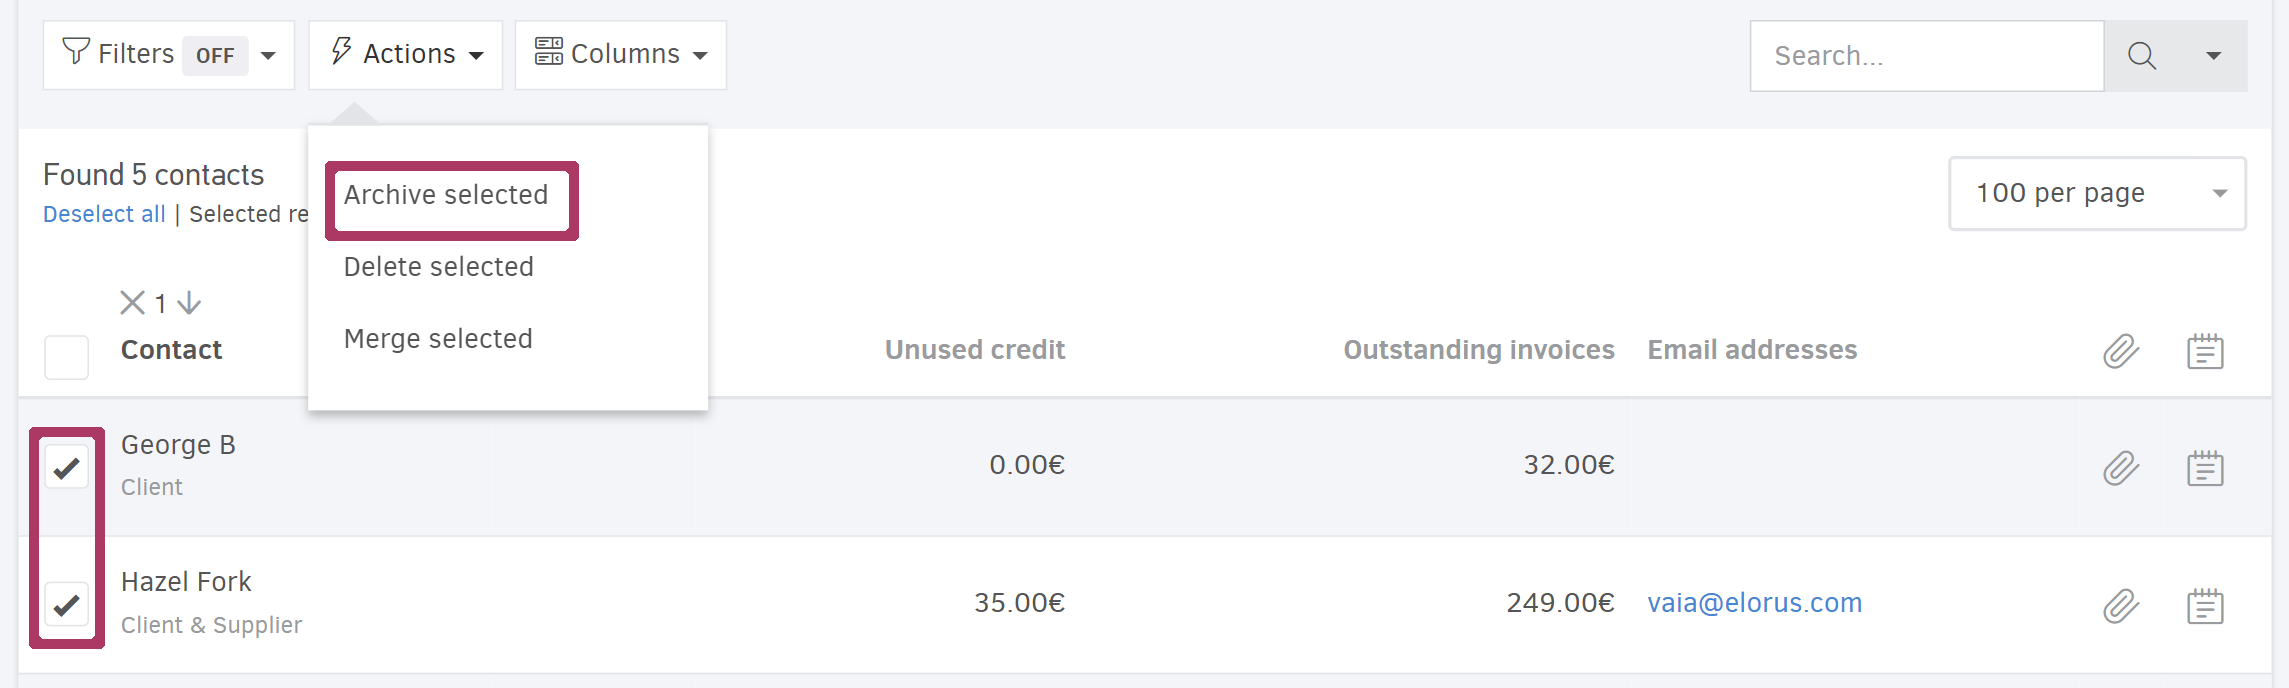
When archiving one or more contacts, they are no longer available for selection when creating a document. However, you can activate them at any time.
Activate archived records
You can activate one or more archived records by selecting Contacts from the main menu, and then the relevant symbol at the top right of the page, as shown in the image below.

Then, from the display list, click on a single contact, and move to the contact view page, where you select Activate record from the three dots at the top right of the screen.

Alternatively, you can activate multiple records by selecting them from the list and click on Actions > Activate selected.

This action concerns the visibility and use of contacts for billing and does not affect the customer limit. Regarding the subscription, each customer remains active for 365 days, regardless of whether they are on the list of billed or archived contacts.
Delete a contact
Deleting is an irreversible action. For data integrity reasons, the system does not allow deletion of a contact that:
- Is associated with any invoice, purchase, or their respective credit notes
- Is related to any project
- Is related to any estimate
- Has registered receipts or payments
- Is related to incoming or outgoing checks
To delete a contact, from the display list of registered records, click on the desired one to move to its view page. From there, select Edit to navigate to the form with the contact details, and click on the Delete option at the bottom of the page.


Delete selected contacts
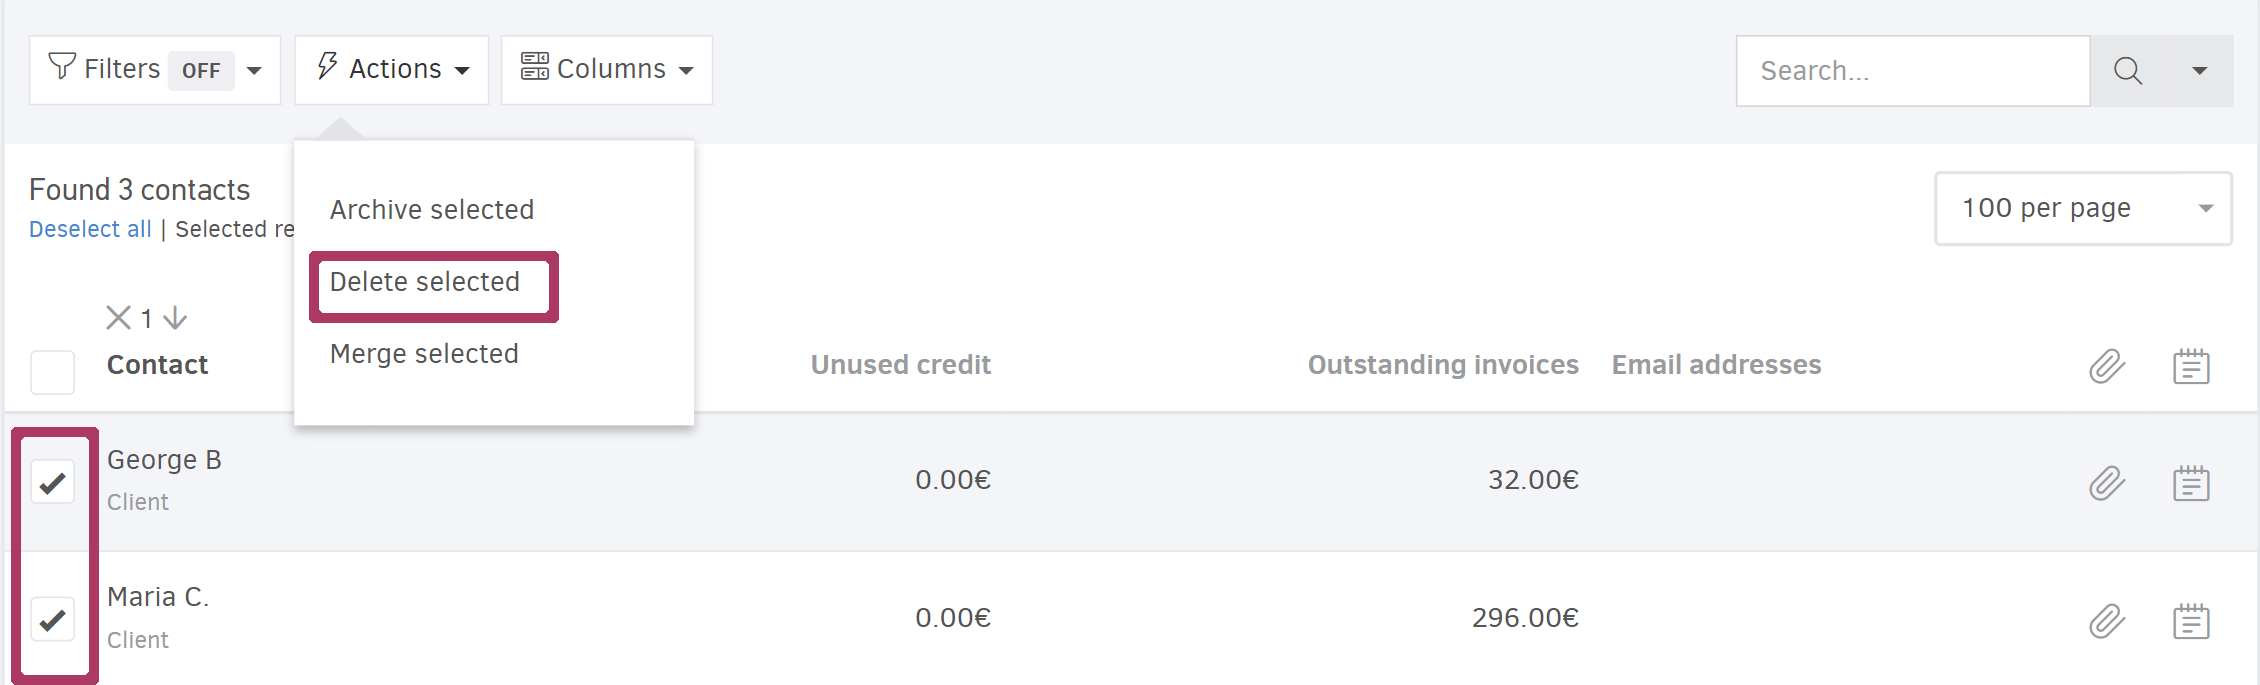
As with archiving, you have the option to delete contacts in bulk. After clicking on the specific records from the display list, select Actions > Delete selected, as shown in the image below.
Merge contacts
If the same contact has been entered two or more times, you have the option to Merge them. Specifically, you keep one of these records, simultaneously creating a joint customer and/or supplier card that includes transactions from the related cards.
Merging is an irreversible process.
Select from the display list the contacts you want to merge, and choose Actions > Merge selected.
From the pop-up window that appears, select the contact you want to keep, so that all financial data will merge into it, thus restoring the correctness of the record and other reports that the system maintains.
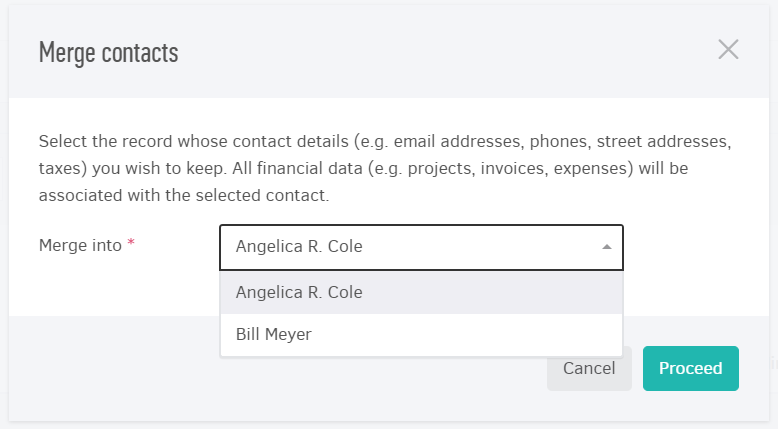
According to the example shown above, the contact resulting from the merge will have the details of the selected contact, namely Angelica R. Cole. The details that will be retained are:
- Name and surname
- Business details (such as company, VAT ID, tax office, profession)
- Contact information (phone numbers, email, addresses)
- Tax and Template preferences
- Classifications
- Hidden notes
If you wish to retain any details found in the other contacts, you must have previously transferred the relevant information to the selected contact.
More specifically, based on the image above, if the contact Bill Mayer, which is not the selected contact, has an email address that you wish to keep in the system, you will need to enter this specific information into the contact Angelica R. Cole before the merger.
Attachments
From the view page of each contact, you can attach documents from your computer related to the contact, allowing you to refer to them at any time.

For more information, visit the related article..
Notes
From the contact view page, by selecting the relevant action, you can write a Note concerning your customer or supplier.

Event history
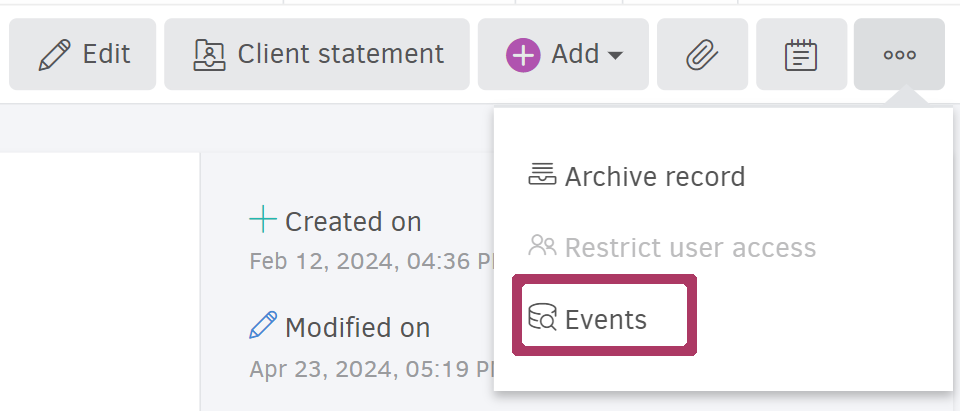
By selecting Events from the three dots at the top right of the page, you can track Client actions, theNotes history, the Attachments history, and the Record history.
User access restriction to the contact
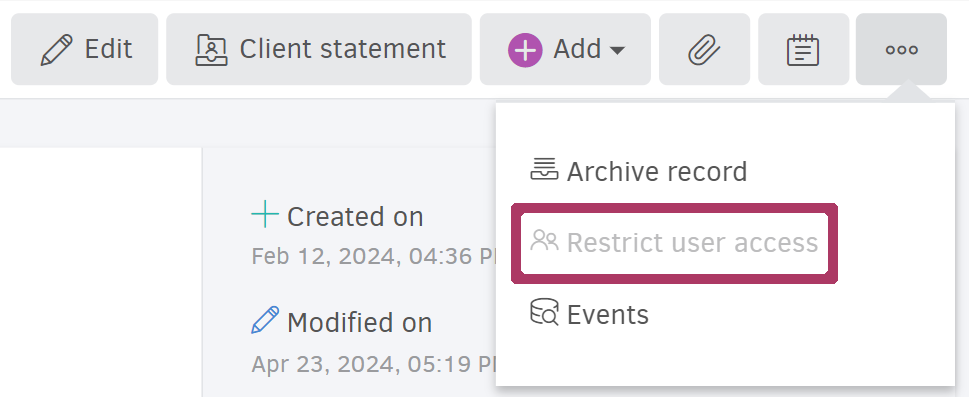
If you are the organization administrator, the action of Restricting user access is also available, through which you can exclude users from managing the respective customer or supplier.
For more information on this feature, visit the related article.
Shortcuts for adding transactions to the contact
By selecting Add, from the contacts view page, some shortcuts appear to immediately proceed with the corresponding actions without needing to navigate to another page of the application.
For Client contacts, the options you see in the image below appear:
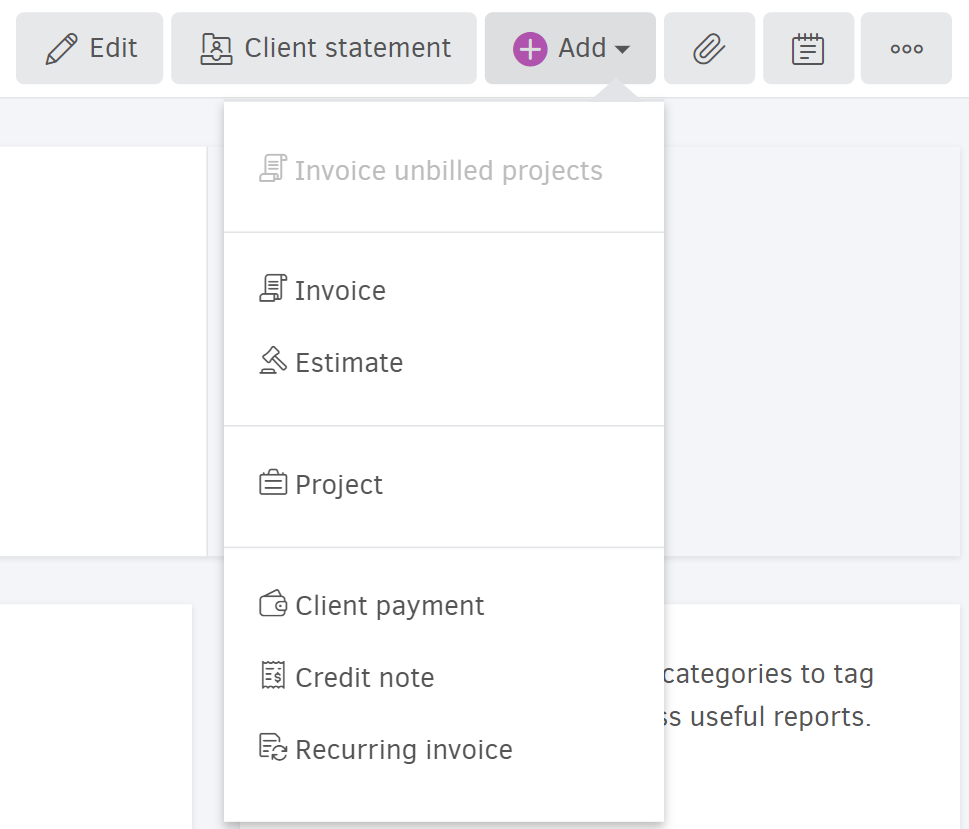
For example, by selecting Sales Invoice, Estimate, or Credit Note, the corresponding form appears with the customers information pre-filled.
For Supplier contacts, the options you see in the image below appear:
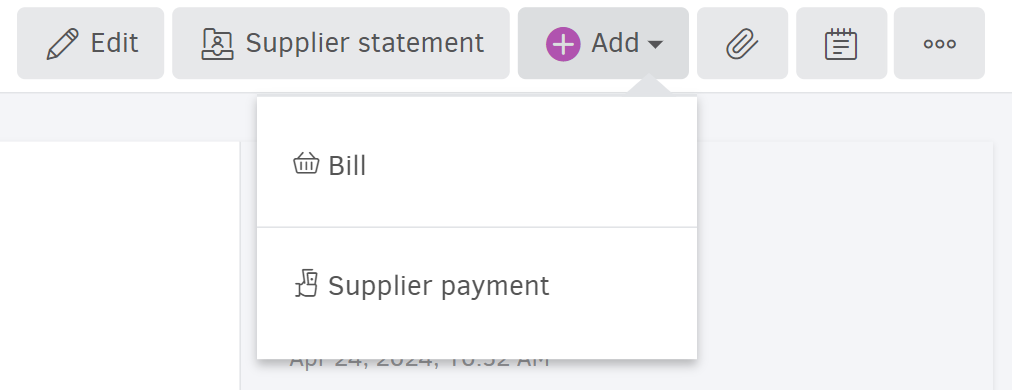
For contacts that are both customers and suppliers, the Add option provides all the functions described above.
Billing for customer projects
The command is available when there are billable projects for the specific customer. It identifies the billable hours recorded up to the selected date, as well as the associated projects (per project).
For more information on billing from the contact, see the related article.