In Elorus you can create additional user roles beyond the 5 predefined ones you can find on the Users & Roles menu (Administrator, Business Manager, Project Manager, Employee and Financial Advisor) which cannot be modified.
Role management allows you to decide what access rights your users will have by creating the respective roles. This way you can easily assign custom roles to users that you wish to have limited access in certain application menus while being able to perform certain actions only. To assign a custom role to a user, you first need to create said role following the information below.
All roles can be managed from the Settings menu under Users & Roles -> Manage roles -> Add.
Custom role creation is available with the Elorus Complete product.
Add new custom role
To add a new role you have to fill in the:
-
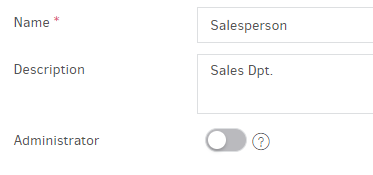
Title: How the role is going to be named (salesperson, back-office, supplies etc.)
-
Description: The description will be used for your own reference when assigning users.
-
Choose if it’s an administrator: Administrators can manage users, update the organization profile & settings, as well as handle the Elorus subscription.
Role permissions
Then, you must determine the actual role permissions. Permissions are grouped together into the following sections:
-
Sales (Invoices, credit notes etc.)
-
Expenses & Purchases (Expenses, Bills, Supplier credits, etc.)
-
Time tracking and project management
-
Payments
-
General (Contacts, Products)
-
Settings
-
Reports
For each section you may set the access level the role will have:
View: Users assigned to this role will be able to view the records (e.g. view the organization's invoices)
Add: Users will be able to add new records
Change: To edit existing records
Delete: Users assigned to this role will be able to delete records
Email: Invoices, estimates & credit notes can be emailed to clients directly through Elorus. There is a separate permission for this action.
As you may have noticed, reports have separate permissions. For example, you may want to allow your employees to view / create new invoices, but not provide access to the profit / loss reports that reveal the business’ financial overview.
Some permission combinations do not make sense and are, therefore, not allowed. For example, in order to edit a record, the user must also be able to view that record. In that sense, if you remove the view permission, all add, change & delete permissions will also be removed.
For convenience, there is a column named “All” towards the end of each permission row. Use the checkbox to add or remove all corresponding permissions at once.
Notes
-
Modifying a role that is assigned to a user, will immediately affect his ability to access the organization data.
-
You are not allowed to delete custom roles that are in use.
-
Keep an eye on Elorus updates. The application is always evolving and new exciting features are being added. It is possible that a new feature may introduce a new permission section. In this case, we do our best to initialize your existing custom roles with permissions that make sense. However, you are encouraged to review the custom roles and make your own adjustments if needed.
-
You can further refine the records a user can access by limiting access per contact.
Custom role example 1: Assistant Manager
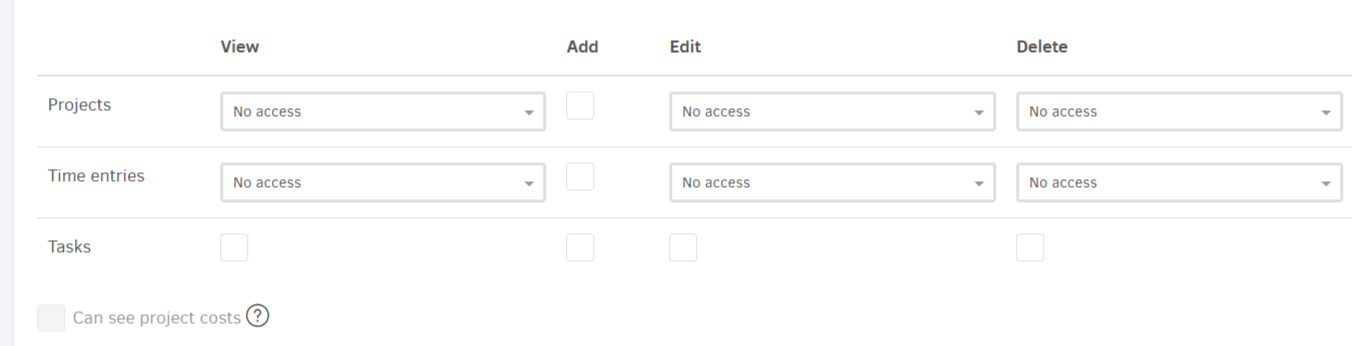
Say, that, you need a user that will not only be able to participate in projects, as manager, but also have overview rights for the rest of your organization projects - with no access to financial data.
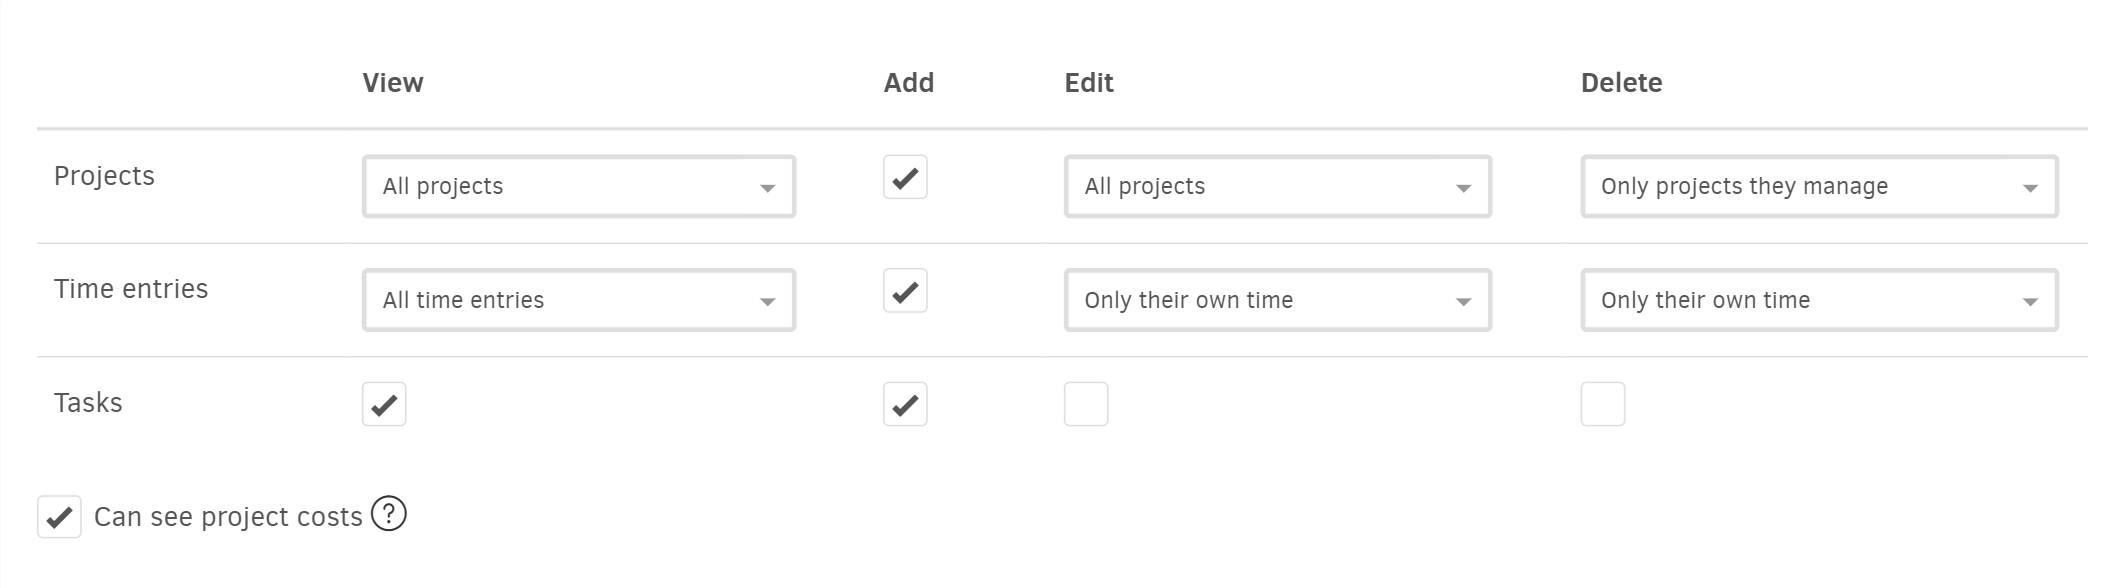
In this case, you could add a custom role, with no rights in all sections but the Time tracking one (image below). There, you can adjust the access level for each available action. You can enable them to view and edit all projects but only be able to delete when they manage one - similarly, they may be able to view everyone’s tracked time but only edit/delete their own (image below) or their team’s. They could also be able to create tasks but never edit or delete.
Custom role example 2 (detailed): Salesperson
A rather common role a company can have is the salesperson. As expected, the salesperson must have access to the sales documents, be able to create estimates but at the same time not being able to view clients (and their transactions) that are assigned to other salespeople. Also, you may not want to grant them access to some options in the Reports menu, such as Revenue / Expenses reports and Cash flow.
Here is a "Salesperson" role example you can follow or make the necessary changes that apply to your case.
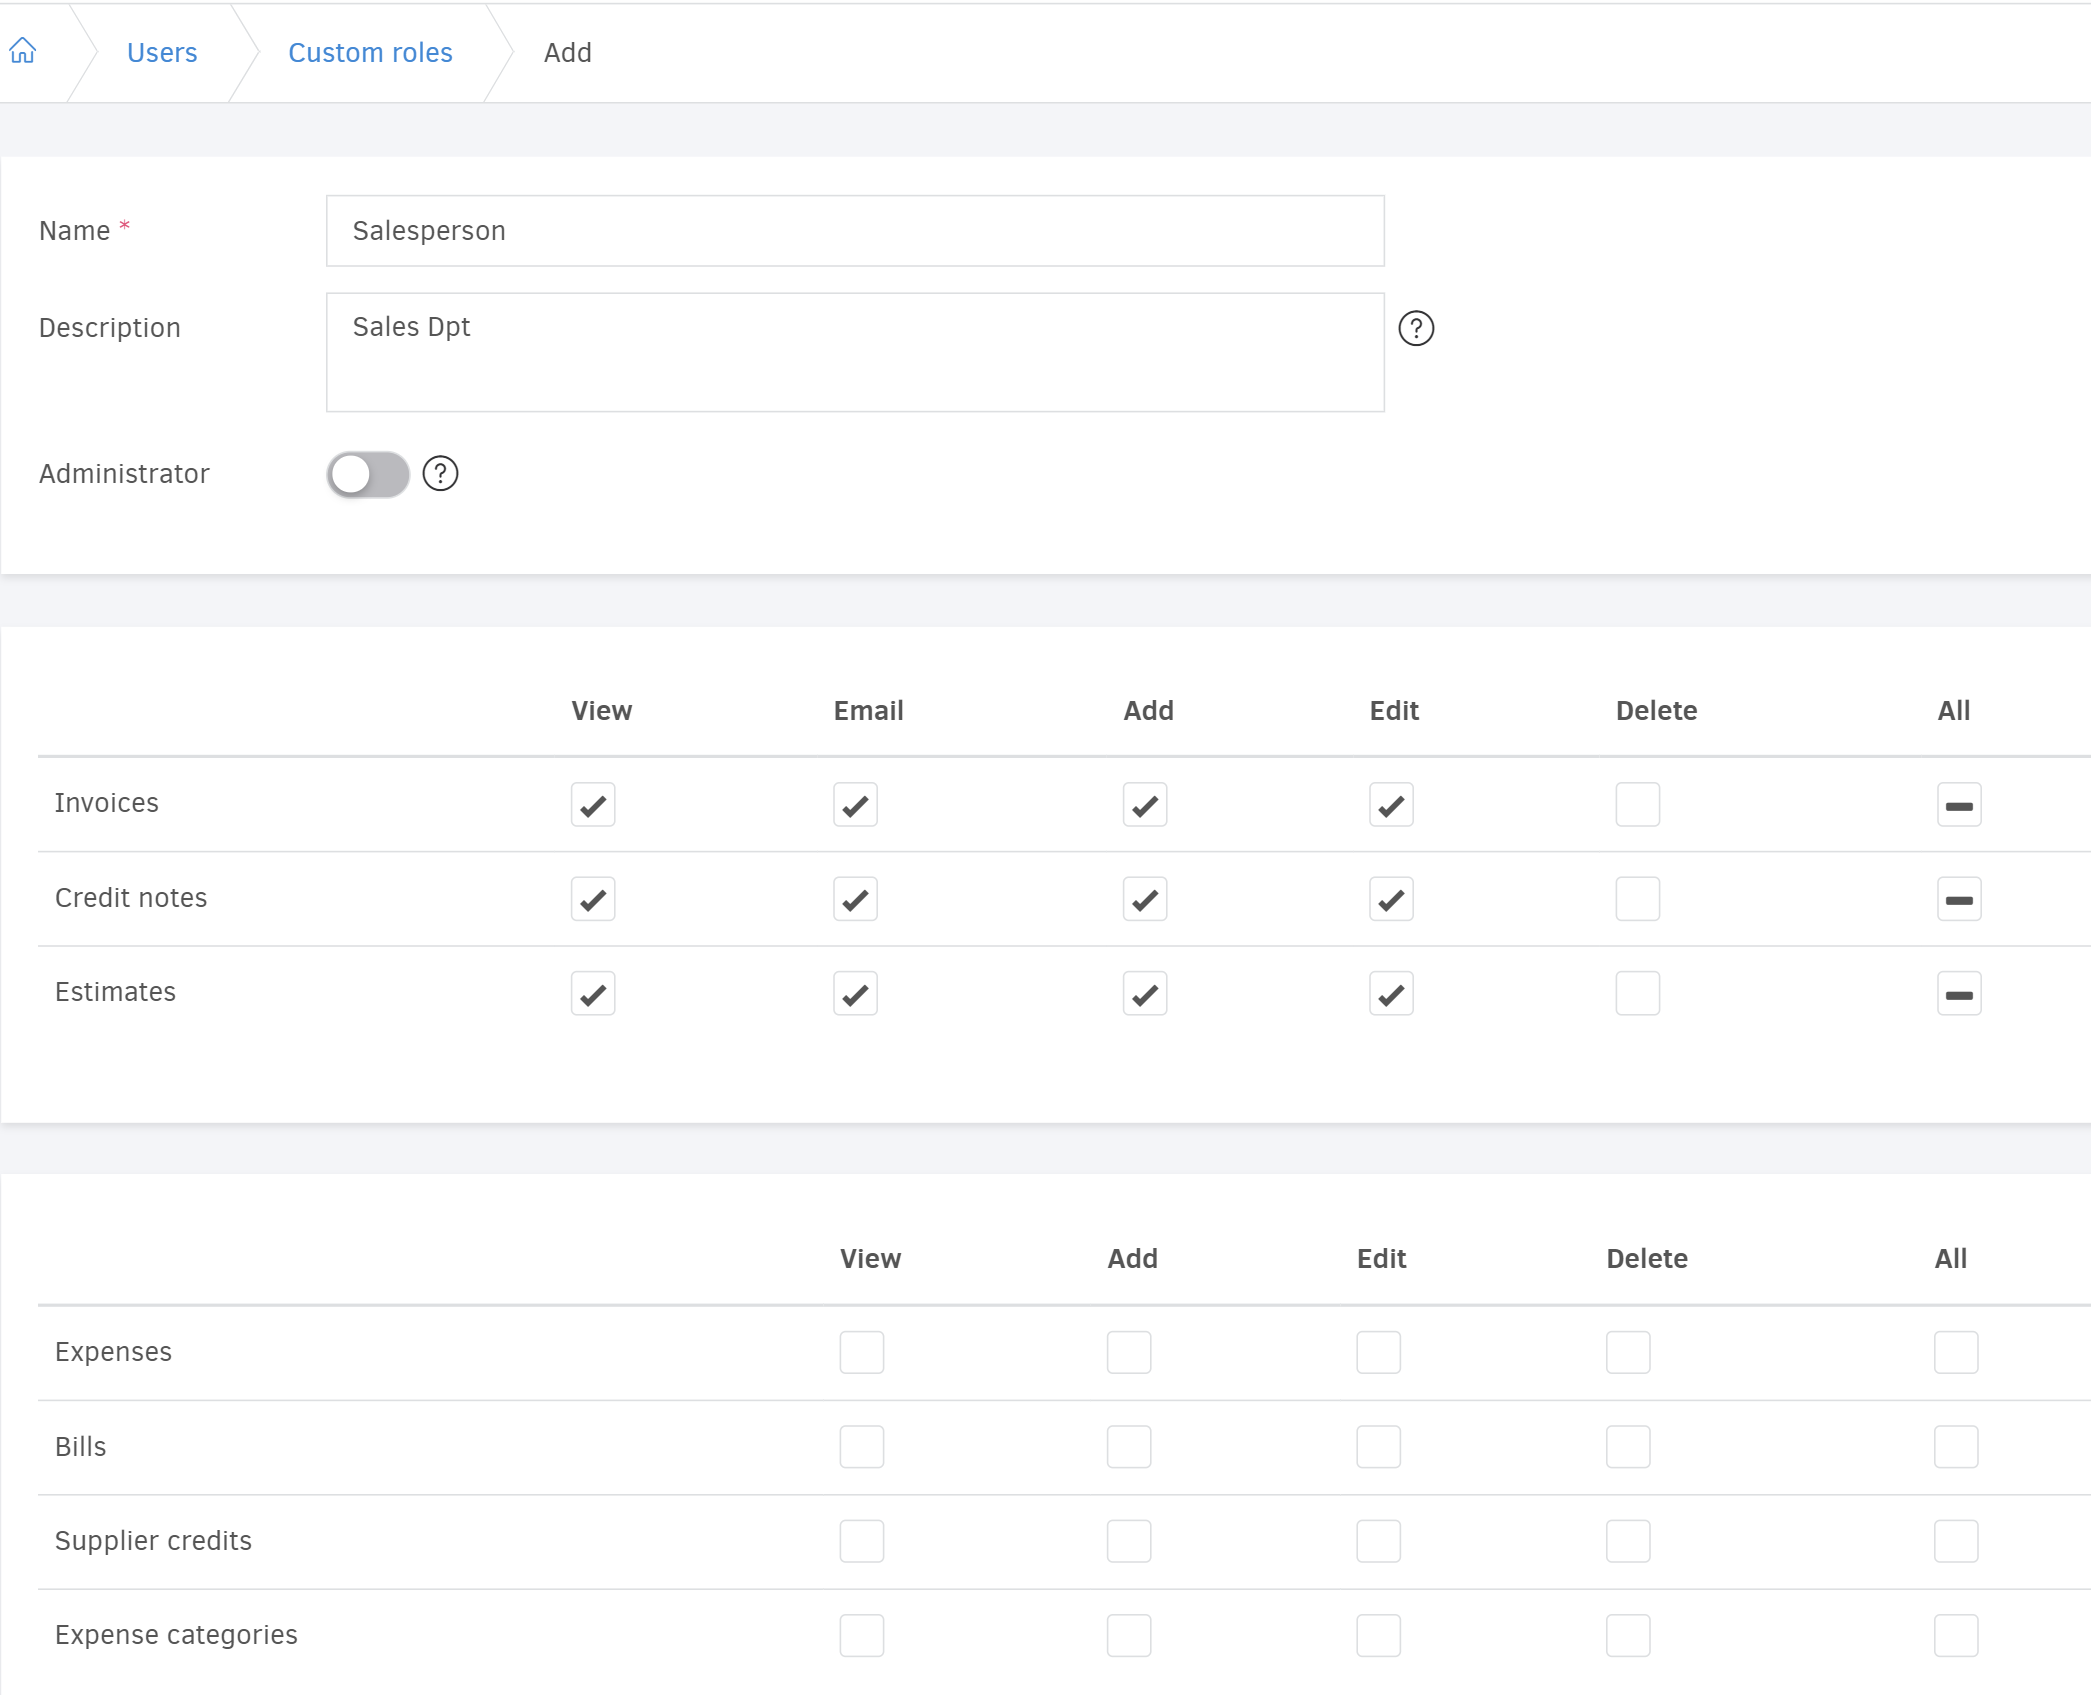
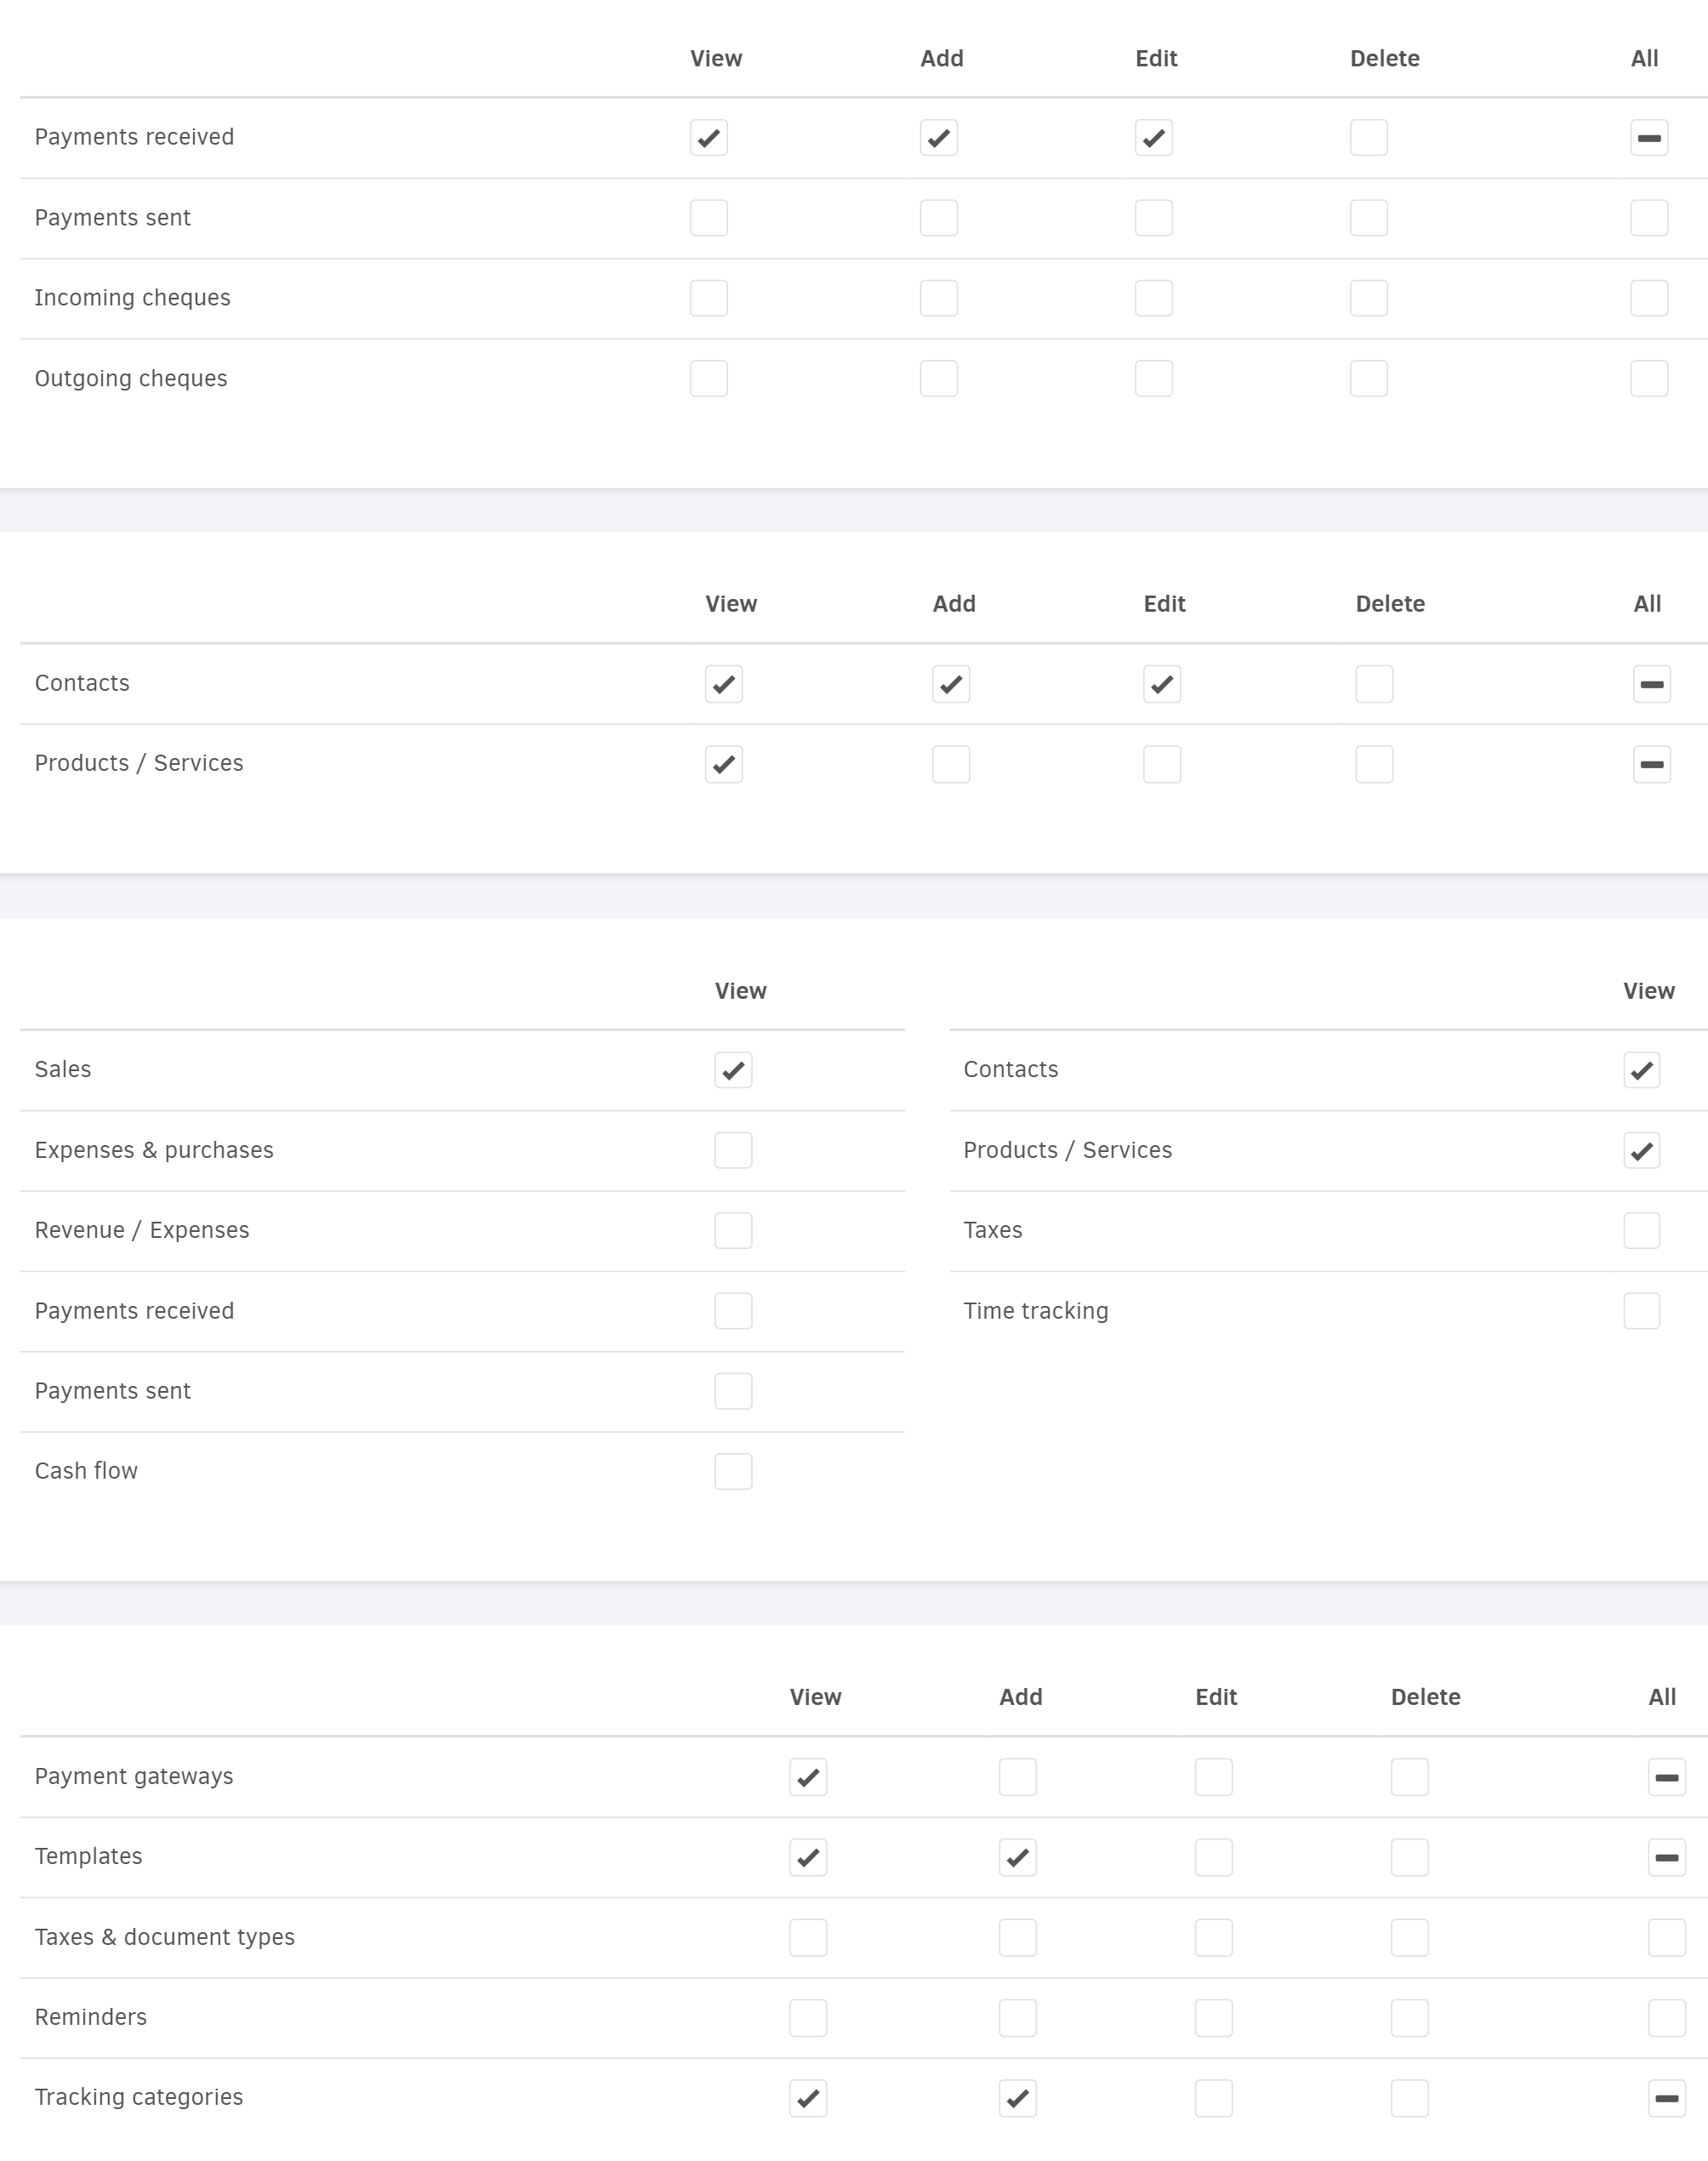
As you can see in the image above, a salesperson has access to all sales related documents (Invoices, Credit notes and Estimates) and can perform all actions except for deletion. At the same there is no access to expenses and purchases related transactions, as those are not handled by the sales department of the company.
For the same reason there is no access in projects and time tracking (image below).
Regarding payments, a salesman can add a payment received in the system (payment in advance, invoice payment on sale etc). The rest of the payment methods are not handled by the sales team in the organization and are therefore not permitted access. Similarly, settings relevant to the invoice creation such us tracking categories and templates can be used by the salesperson, with some limitations. Accounting settings are however not accessible.
Once you've selected the permissions that suit your business, you can click "Save" and the new role will be available for use.
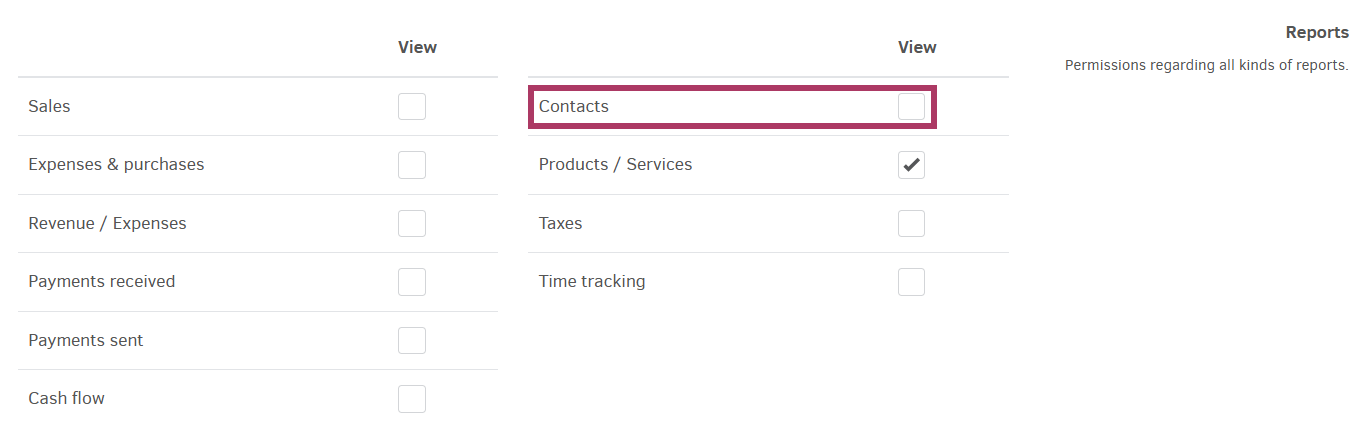
Please note that sales related reports (Products/Services, Contact, Sales detail/Invoices summary etc.) are also available to the salesperson, but this is not the case for the rest of the reporting. To further constrict access on a "per client" basis, you can use the "restricted contact access".
If the Contacts checkbox is left unchecked in the Reports section, every user that has been assigned with the Salesperson role will not be able to access the Client statements.
Invite the user
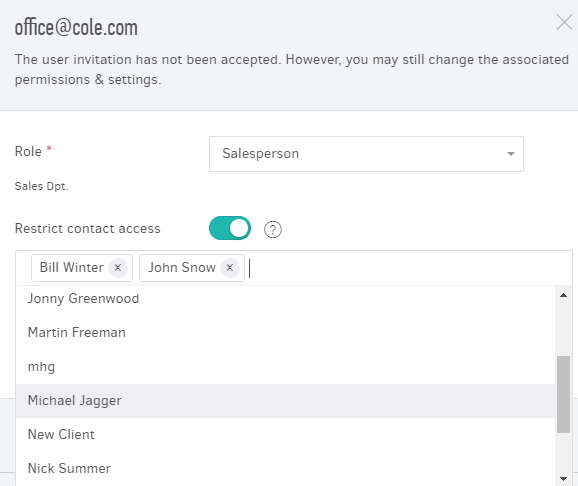
To invite your first salesperson to Elorus, go to Settings -> Users & Roles and click on "Invite user". You will be required to fill in the user's email address and their role in your organization. Select the Salesperson role and if you want them to have access in specific contacts only, you can assign them here by activating the "Restrict contact access" button and typing each contact's name.
In order to send the invitation to the user's email, click on "Invite".
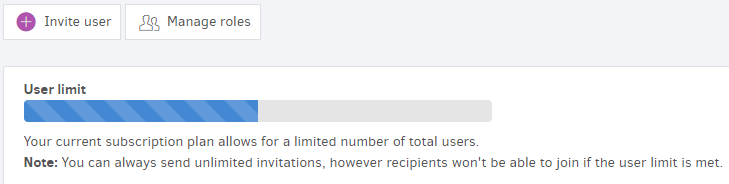
*Important: Remember that in order to be able to invite new users, you need to make sure your subscription plan supports the corresponding number of users. At any time, you can check your user limit from the Users & Roles menu by hovering the cursor over the bar.