


Once you have completed your registration with Elorus and have explored the application environment, you can now configure your Organization to fully meet your needs.
By following this guide, you can make the necessary adjustments to:
- Enter your business details
- Set up the types of documents, taxes and numbering sequences you use
- Customize the appearance of your invoices (by creating Templates)
- Add possible additional users to your organization (e.g., accountant, collaborators, etc.)
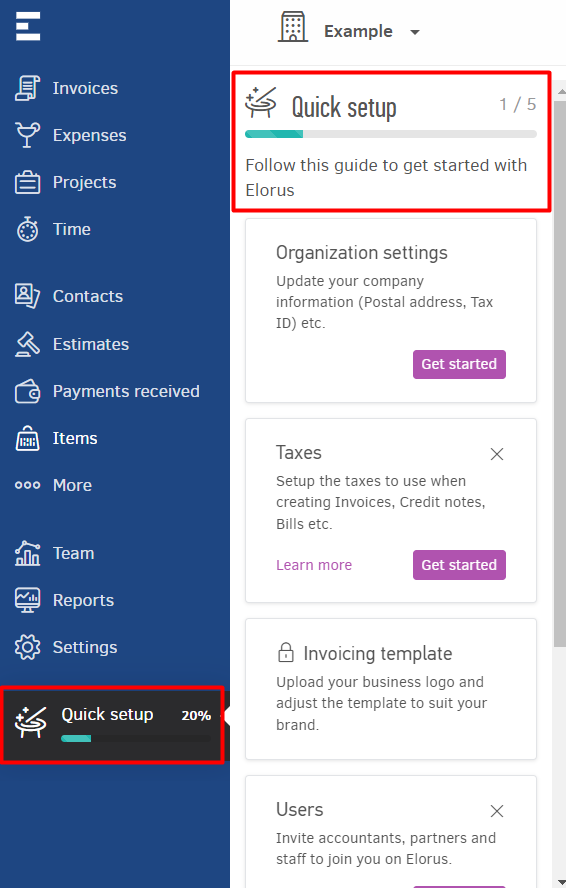
Quick Setup
After creating a new organization, you have the ability to configure it through the interactive Quick Setup guide. By following this guide, you'll not only become familiar with the application but also successfully complete all the configuration steps outlined in this article.
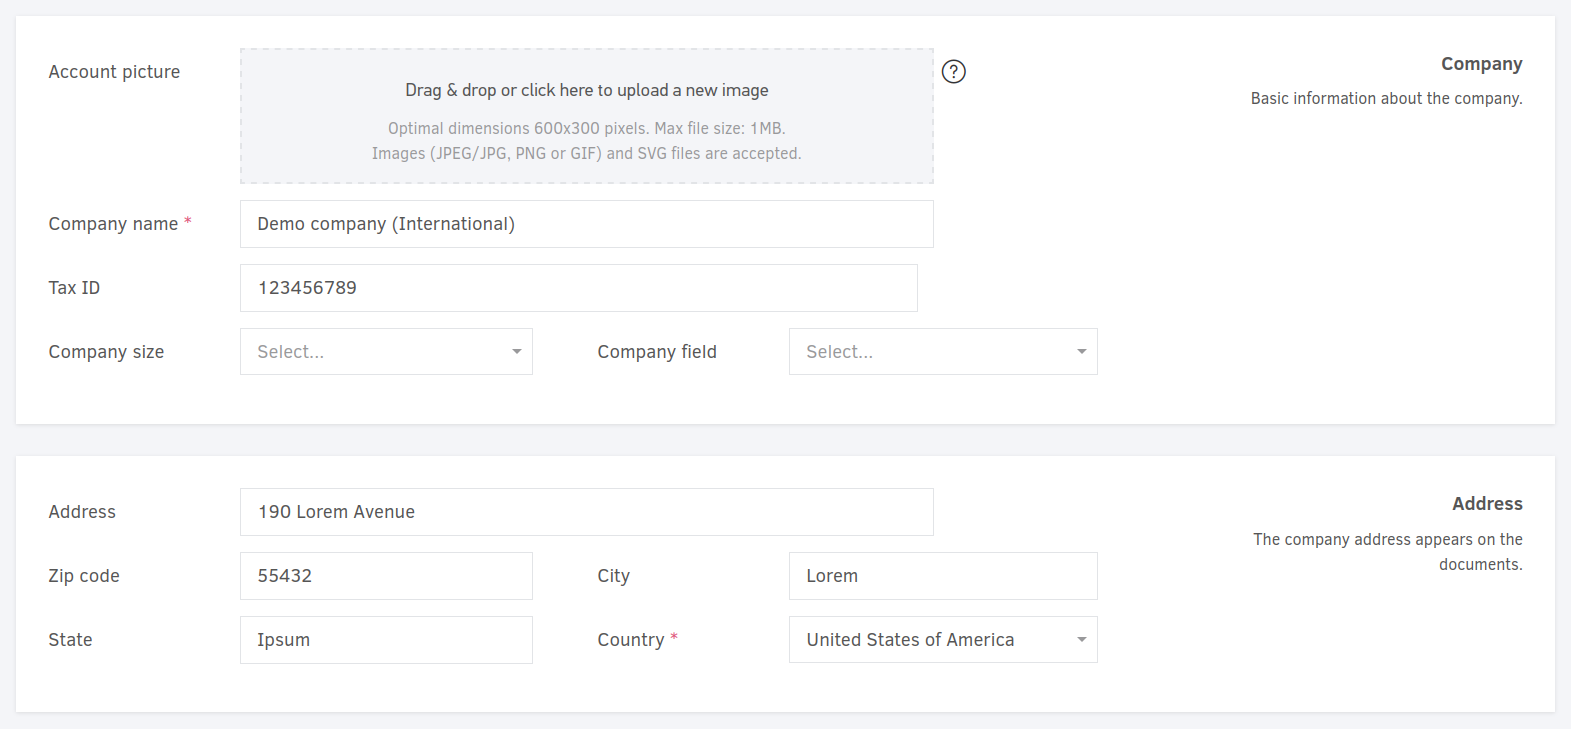
Organization settings
On the organization settings page, you will find all the basic information about your company's profile in Elorus. You can specify details such as the company name, tax identification number, address, your unique URL in Elorus, etc.
These details are important because:
- Some of them are displayed on the PDFs of the invoices you create
- We use them by default to create the invoices for you Elorus subscription
To navigate to the organization settings page, select Settings > Organization from the main menu. Make sure that at least the company name and the address fields are filled out correctly. Then click Save at the bottom of the page to store your changes.
Other Settings
You can create units of measurement in Elorus by selecting from the main menu Settings > Units of Measurement.
For more information, visit the relevant article.
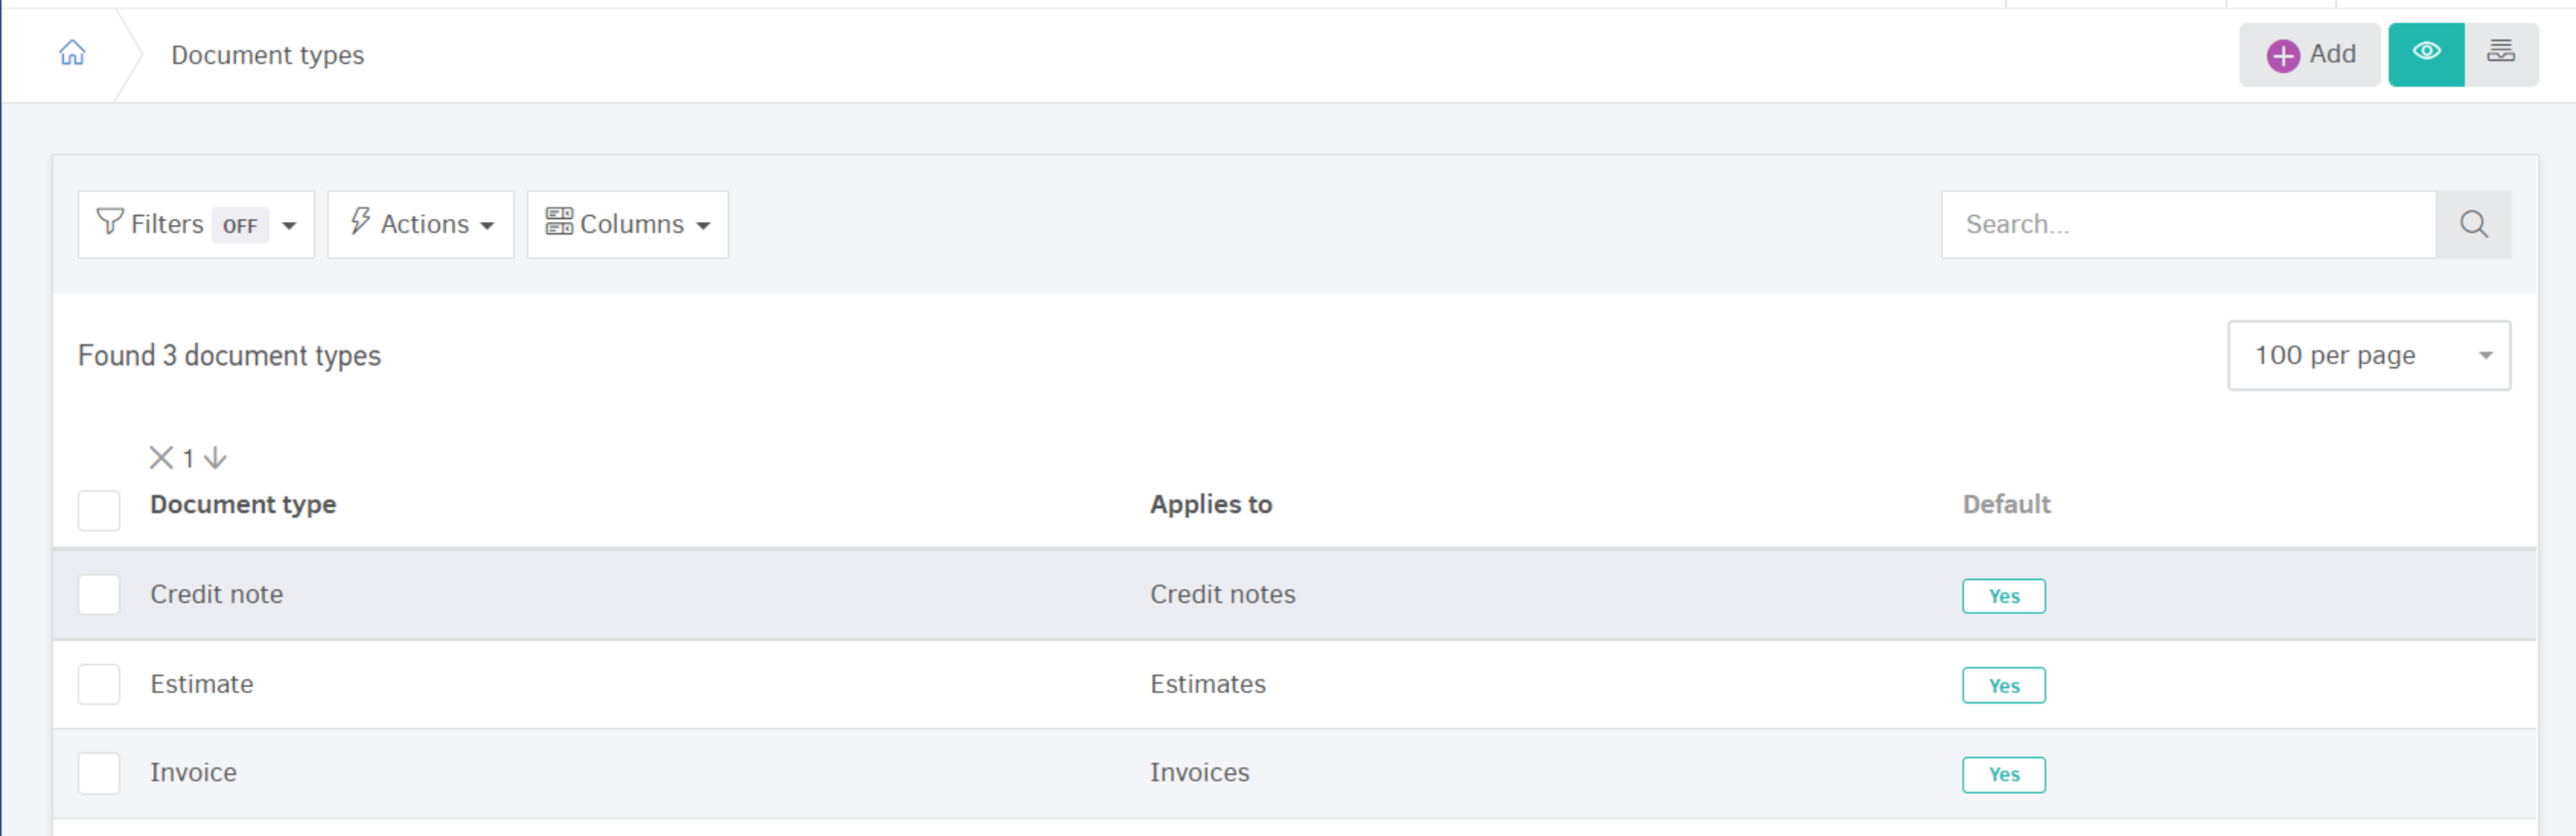
Document Types
Elorus enables you to easily create and manage a variety of financial documents, including Invoices, Credit Notes, Bills, Estimates, and Supplier Credits. You have the flexibility to define custom document types tailored to your needs, such as "Standard Invoice," "Service Invoice," or "Credit Invoice."
When you set up an organization in Elorus, you'll find that commonly-used document types are already pre-configured for your convenience.
To explore or modify existing document types, simply navigate to Settings and select the Document Types option.
If you need to issue a specific type of document that isn't already included in the existing list, you can manually add it by following the relevant guide.
Numbering sequences
Within Elorus, the static prefix before the dash in a document number is known as a numbering sequence.
For example, the first invoice of the year from your company might be tagged as “Invoice #2023-1”. The next one would then be “Invoice #2023-2” and so on. Alternatively, you could use a mix of letters and numbers in your numbering sequence to signify different departments or project codes, like “Invoice #HR/2023-1”. In these examples, the prefixes "2023" and "HR/2023" act as the numbering sequences for the documents.
For more information on numbering sequences visit the relevant article.
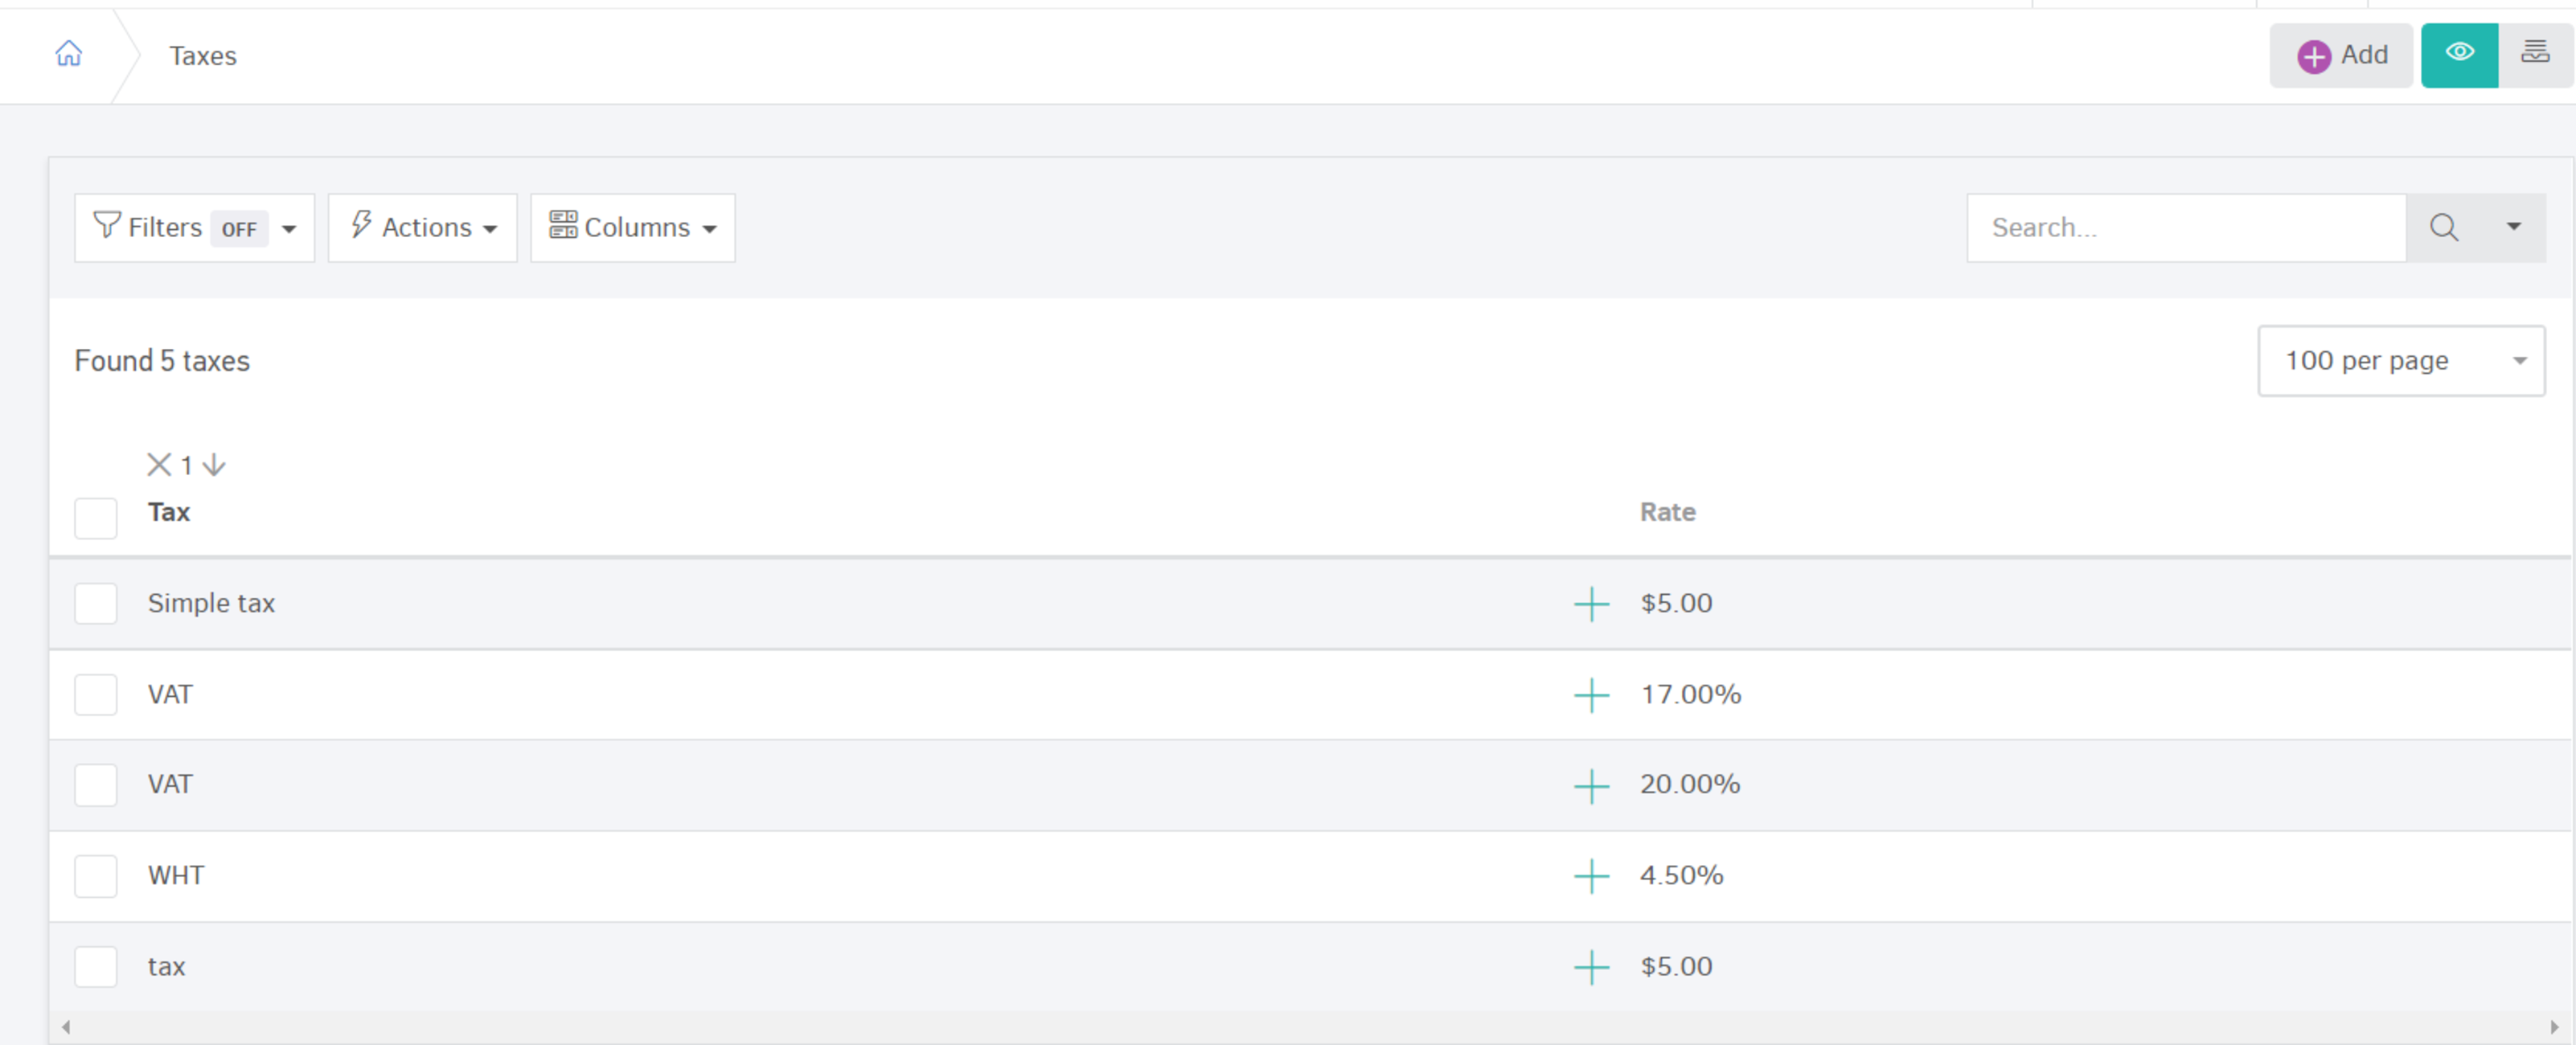
Taxes
In order to create your own taxes from the main menu you need to visit Settings -> Taxes -> Add. To find out more about taxes and how they can be used in Elorus please go to the related section.
Templates
Templates in Elorus are models that determine the appearance of your documents. When adding a document, you can choose which template the document will receive, therefore the document will take a similar appearance.
Every new organization in Elorus has an original template called "Default" which you can edit and use right away.
All settings related to the appearance of the documents can be saved through the template, as they allow you to customize the appearance of the documents by adding your company logo, choosing different colors and filling notes in the blank fields.
When creating a new document you can select its template so that the document is initialized with the settings you have specified in it. This will allow you to have a different look per document.

This will serve you in cases where the company has multiple brands / activities and of course when you want to invoice in different languages. In the aforementioned cases, you need to create a separate template for each activity and for each invoicing language.
In addition to the ability to edit the appearance of the document, through the templates, you can also edit your default e-mail texts.
To manage the available templates, you can go to "Settings -> Templates".
You can learn more about creating your own Templates by visiting the relevant article.
Each Template determines the appearance of the documents and not the document type of each entry.
You can select the template you use either when issuing the document or after saving, as shown in the image below:
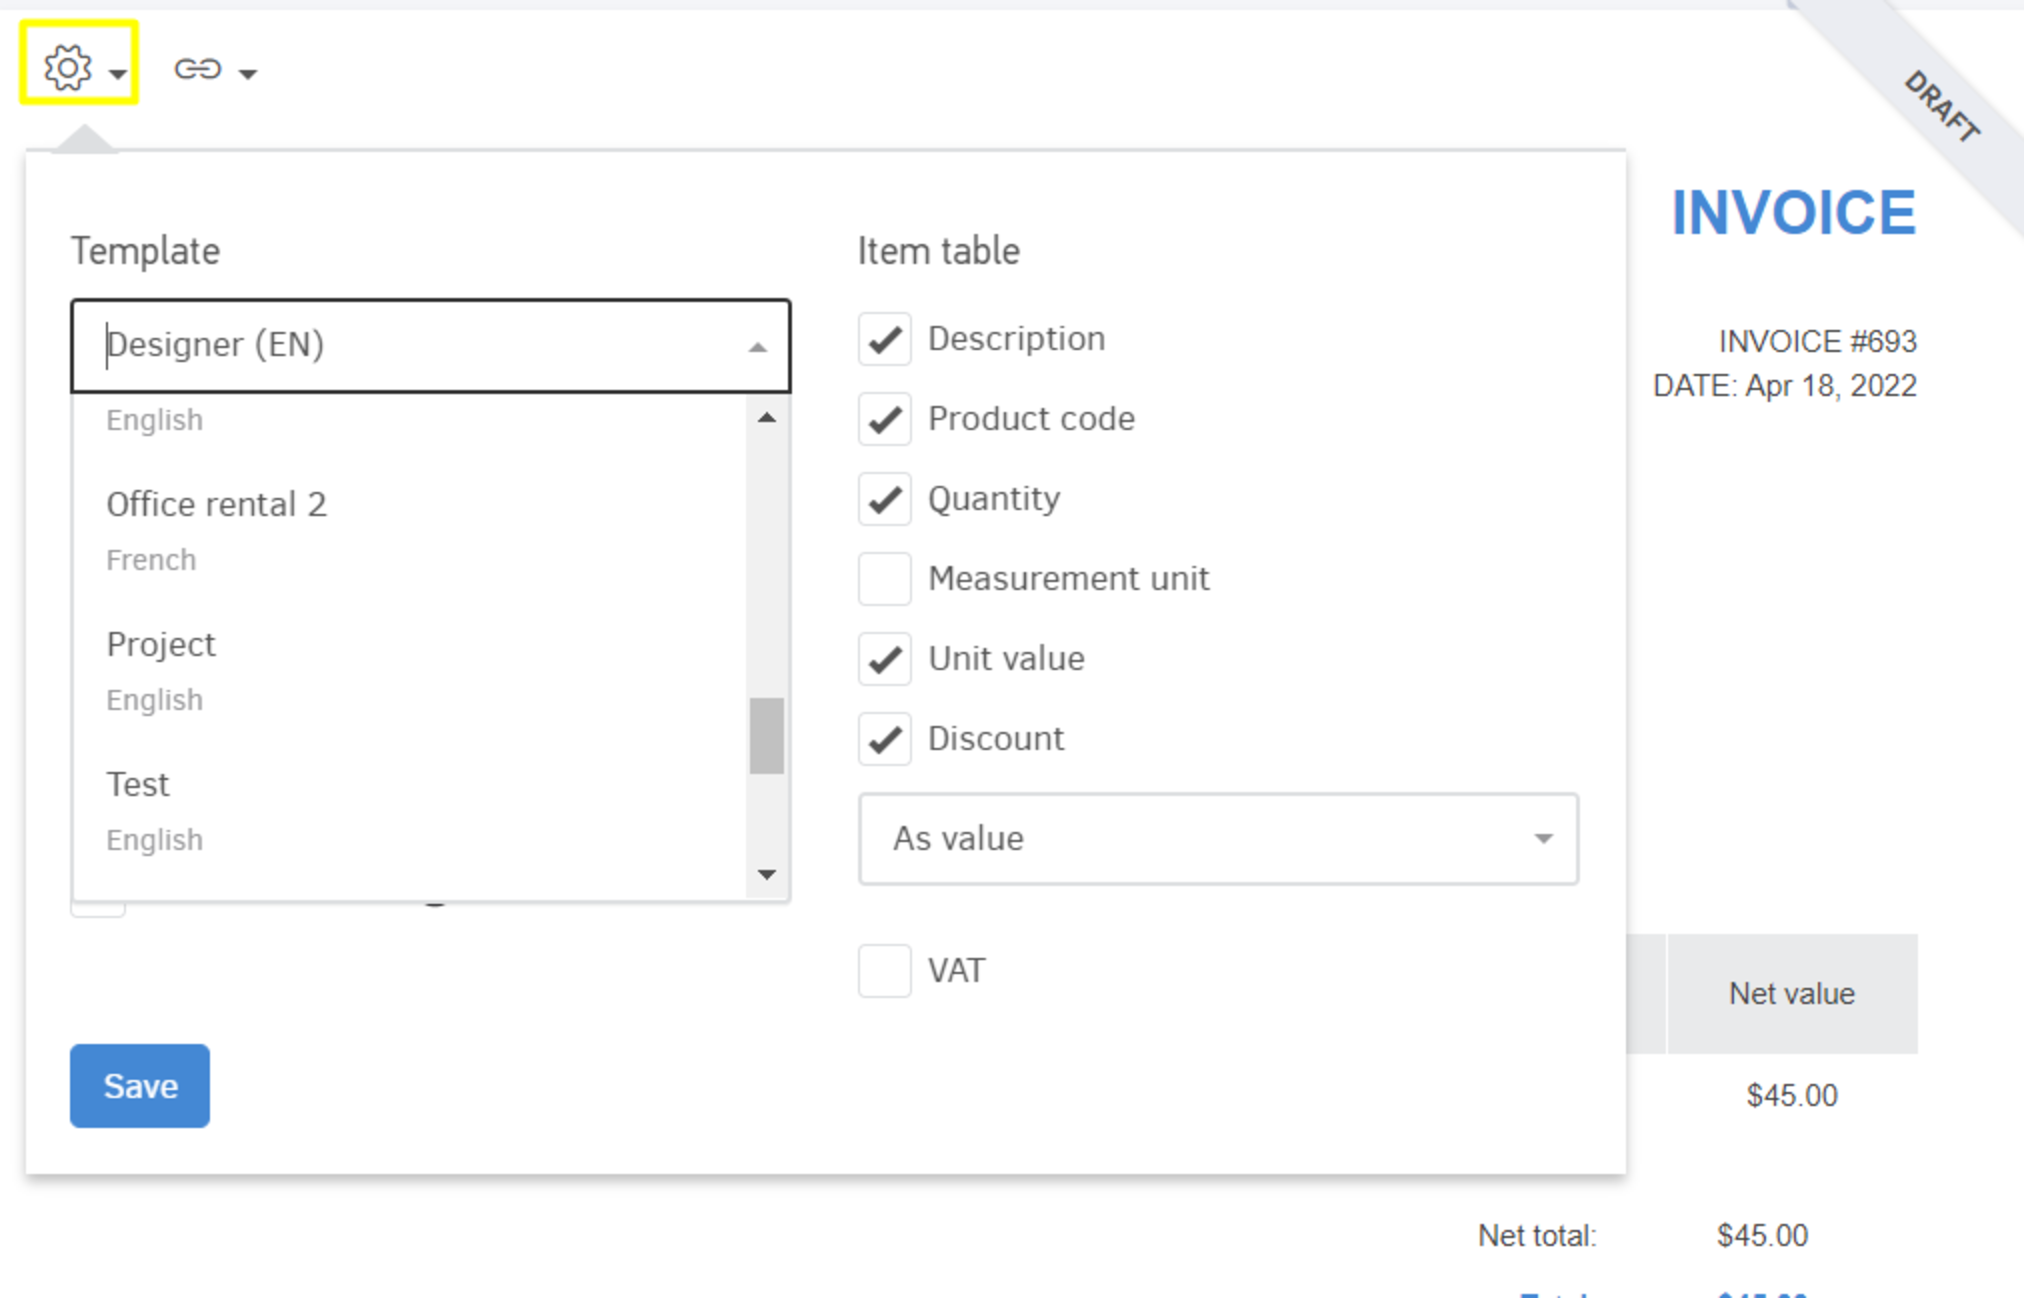
Finally, you can select which template you want to use per contact when you create them.
If you want to edit an existing template or take any other action, you can refer to this guide.
Users and Roles
Add users
There are cases in which it may be required to add additional users to the organization. Such reasons may be the execution of projects and tasks (employees), simple access (Associates) or the control of entries (eg Accountants).
For more information on the usefulness of different users, as well as how you can add them, you can refer to the related article.
In order to have multiple users you will first need to purchase a subscription plan since the free one supports one user. When purchasing a subscription plan, you must select the number of users you will add.
Once you've activated the subscription plan with the additional users you will need to invite them; you can do so from the menu Settings -> Users and Roles.
Add Roles
Next, you will choose the role of each user in order to limit or not his access to your organization.
Elorus has five main user roles, however you can add your own roles from the "Role Management" menu.

From this menu, you can set the permissions of the role as well as set the corresponding title.
In case you need more detailed information about the roles you can refer to the corresponding article.