
You can use the 'Time' menu to view time entries, create new ones and edit individually. From this menu you can also access Timesheet.
Navigation
The view of the "Lists" of time entries in central to the menu. Time entries appear on weekly lists, by day. The ‘up’ arrow points at the week presented below.
To navigate to a Previous or following week, click on the arrows. "Recenter" if you wish to go back to the week you previously chose (button marked in the image below).
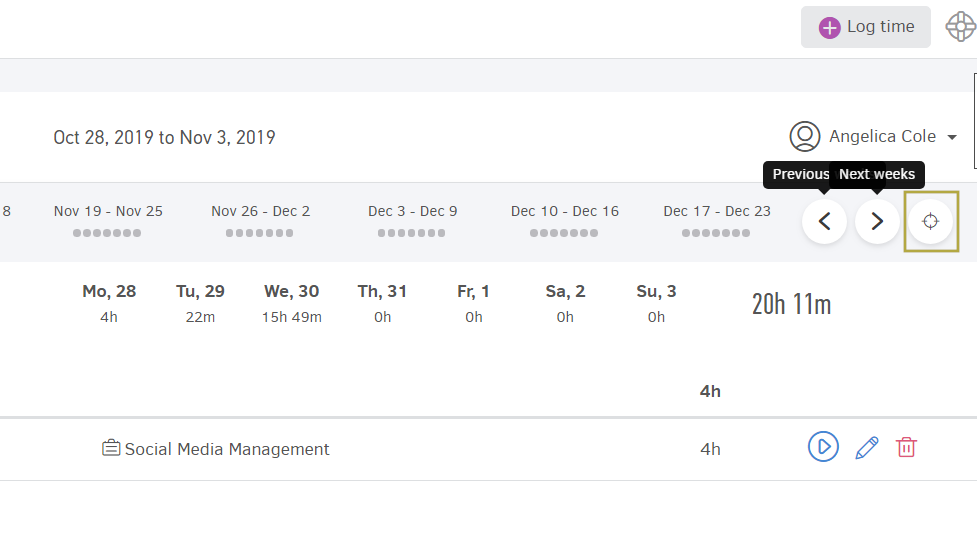
Otherwise, you can click on the calendar - choose a day and it will take you to the week it belongs (Monday to Sunday).

The time entries are presented in a list per date and, secondarily, per task. Each line consists of the task, project it belongs to, duration and of course information on the 'billing' status of the entry (Grey-non billable, blue-billed, red-unbilled).

Please note that in order for a time entry to be billable, a selection of a billable project is necessary.
Action buttons
Besides the overview of already existing entries, you can always click one of the options on the right, so that you can perform the below actions:
Track time
Continue working on a task and project you have already logged/recorded time for. Press 'play' (Play Button) and the live time recording will start, with said task and project already filled in.

The time tracking bar will appear on the top of your screen and you can change/add details as you wish (for example by adding a description in the "What are you working on" field)
![]()
To finish click the stop button, similarly to any other time entries created 'live'.
Edit the entry
With this action you can add a description, change number of hours spent or start/end time, even select an assignee, task, even project for the existing time.
To proceed, click "Edit" (Pencil Button) as shown below:

This will prompt the fields of the time slip details open so you can make changes where you need to.
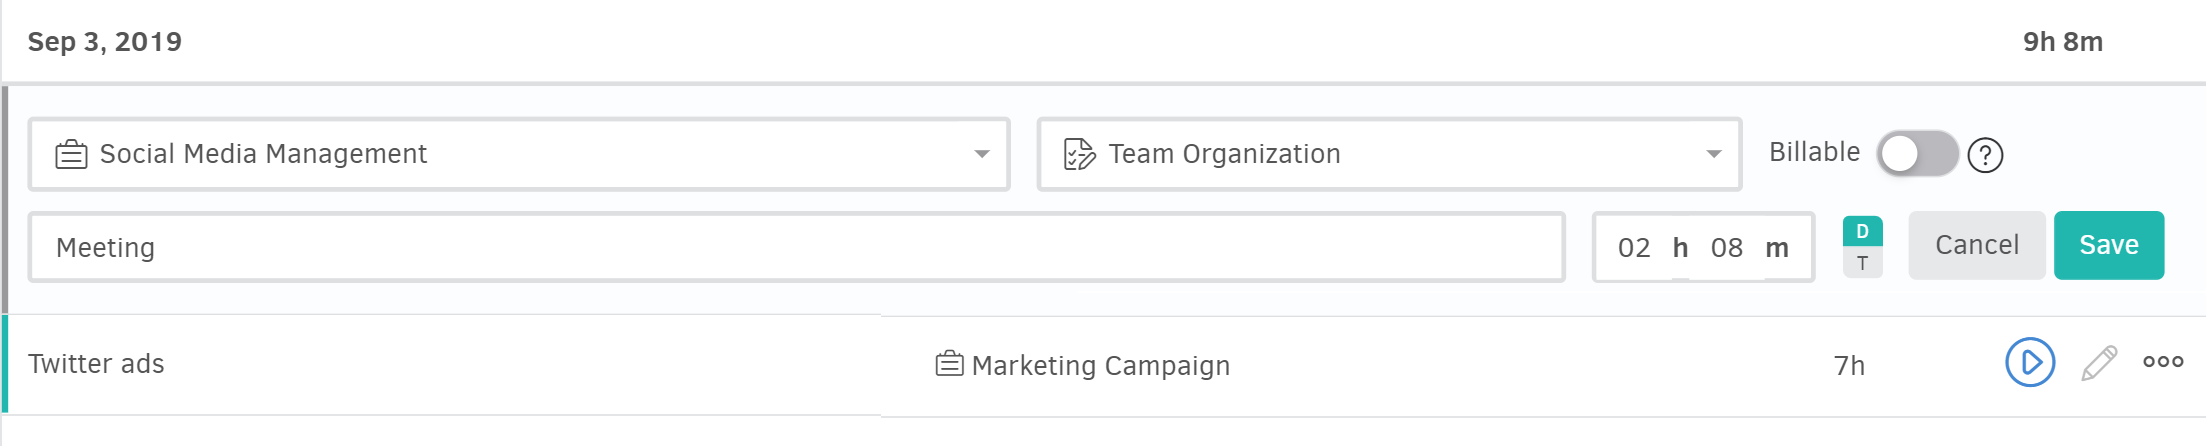
When you finish editing, click 'Save".
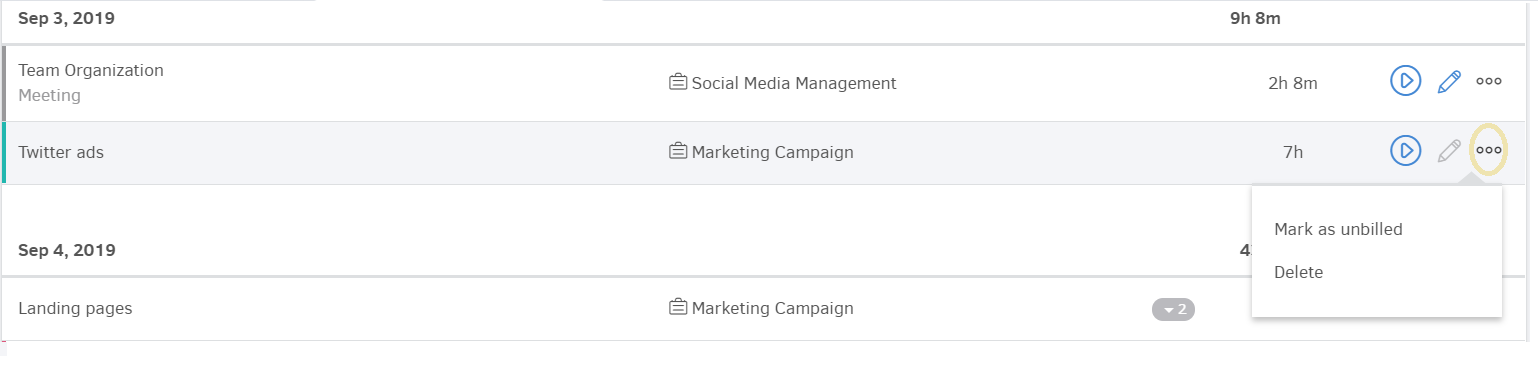
- "..." More options. You can use the field in order to mark an entry as billed/unbilled or even delete it.
-> Mark as unbilled: You may need to include a 'billed' time slip in a new invoice. This option will enable you to re-use the time entry in another invoice of the same project. The action will not affect the invoice already created.
-> Mark as billed: Use the option for time entries already paid so they do not appear in the next invoice.
-> Delete: To permanently delete a time entry, select "Delete".
Notes:
-
The 'mark as billed/unbilled' option appears in billable time only.
-
To perform these actions in bulk, go to "Time search" instead.