

Each Tracking category acts as a grouping criterion for your data. This feature helps you label records according to your business needs. The actual grouping is based on the options you define within each tracking category.
For example, payments you receive might come through different methods, such as bank transfer, cash, or POS.
To track these efficiently, you can create a tracking category named Payment method and group payments received by assigning one or more relevant options to your records.
Add a Tracking category & its options
To create a custom tracking category, go to Settings > Tracking categories and click Add.
The Tracking Categories feature is available with the Elorus Complete product.
Start by naming the category in the Title field. Then, specify the record types to which this category should apply.
You can use Tracking categories to group the following:
-
Sales (Invoices, Credit notes, Recurring invoices)
-
Expenses & purchases (Expenses, Bills, Supplier credits, Recurring Expenses, Recurring bills)
-
Payments received (Client payments, Suppliers refunds, Income, Other Payments, Recurring payments received)
-
Payments sent (Supplier payments, Client refunds, Other Payments, Expenses)
-
Products / Services
-
Projects
-
Contacts
Except for Contacts, all tracking categories can apply to multiple types of records.
Each category includes a list of options, which you define in the Options field based on your business needs.
A record can be linked to more than one tracking category, as long as the category applies to that record type.
Common examples
Example 1: Sort by payment method
A popular use case is grouping documents (both sales and purchases) by the payment method used. Create a tracking category and use options like Cash, Bank transfer, or Credit card to track how payments were made.
Click +Add new option to create each method.
![]()
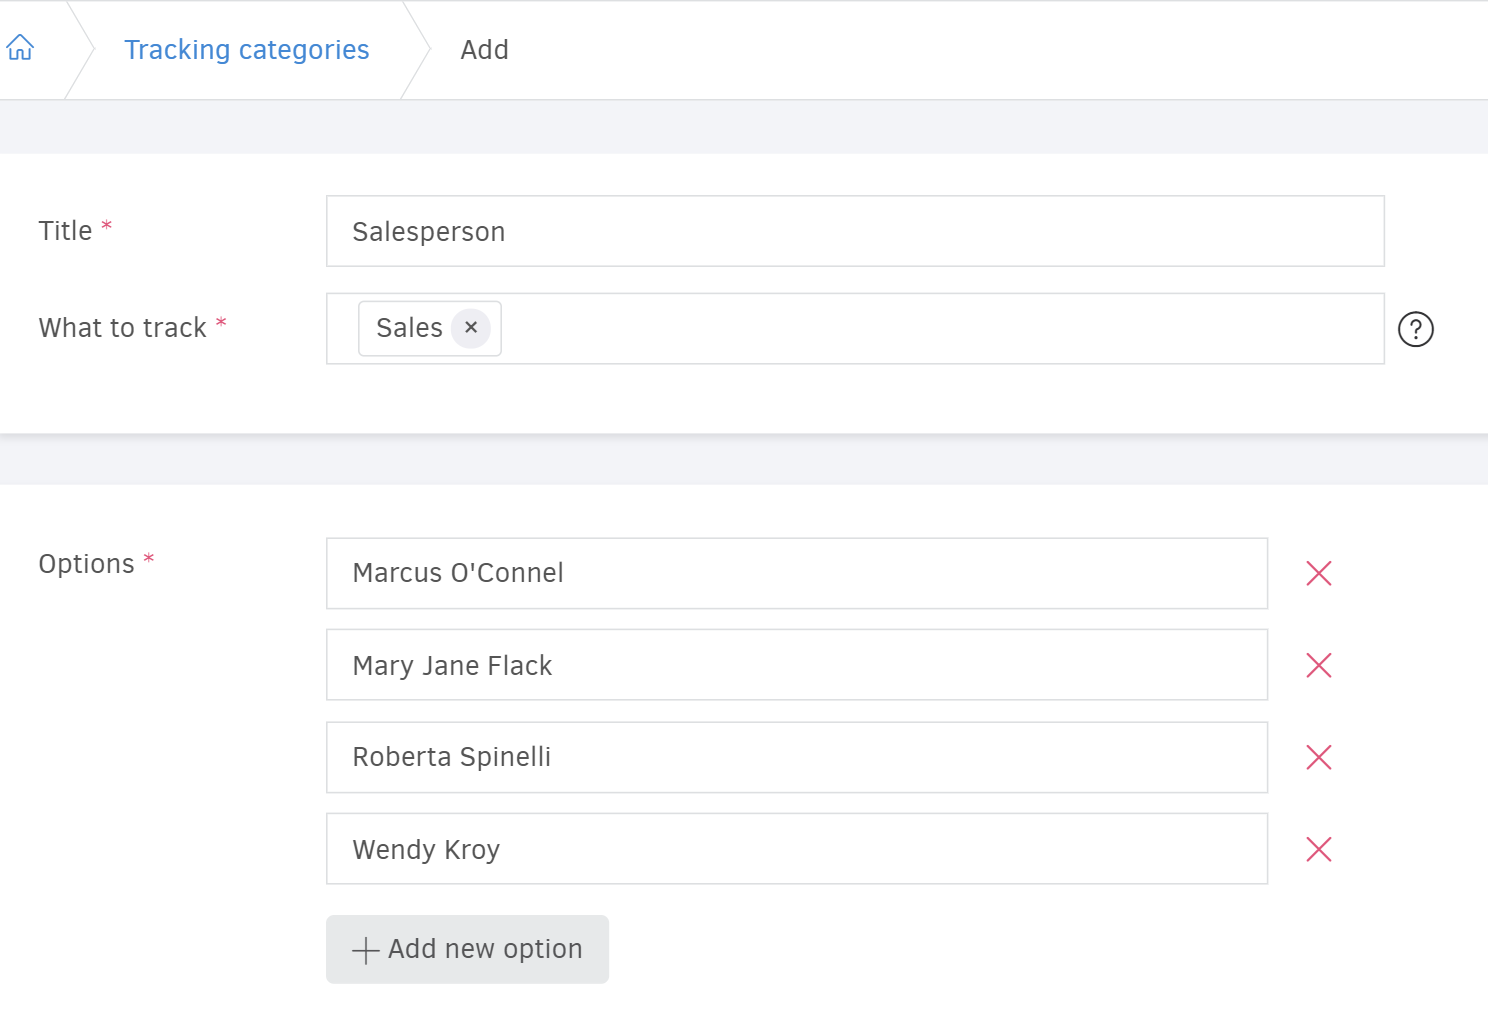
Example 2: Group by salesperson or partner
To monitor the performance of individual salespeople or business partners, apply a custom categorization to sales documents. Use options that represent team members, departments, or external collaborators.
Apply tracking categories to records
From the record view / edit page
When creating / editing a record, you can set its tracking category. Click Edit, choose the relevant tracking category, then one of the options you divided it in, and click Save.
![]()
![]()
You can create a new tracking option on the spot, by clicking Add new.
From the tracking category view page
Once you save a tracking category, its options will become visible, enabling you to assign records to them in bulk, directly from its view page (Settings > Tracking categories).
![]()
Scroll to the bottom of a tracking category view page to see the available options and how many records are assigned to each.
Click the + icon to open a list of unassigned records.
![]()
Select the ones you want and click Assign X records to (option) to categorize them.
Once assigned, Elorus will categorize the selected records and they will no longer appear in the list of uncategorized items for that option.
![]()
You cannot delete a tracking category if it has associated records. You must first remove all associations.
Remove tracking categories from records
Per record
To remove a tracking category from a specific record, open the record, click Edit, then X next to the category, and Save.
![]()
![]()
In bulk
Go to Settings > Tracking categories, select the relevant option, and click the arrow next to the record type.
![]()
From the list, click the number of assigned records, select the ones you want to remove, and click Remove X records from (option).
![]()
Archive tracking categories
You can archive any tracking category you no longer use. From the tracking category view page, click the three dots and select Archive record.
![]()
Archived categories will no longer be available for assignment.
To archive or reactivate tracking categories in bulk, go to Settings > Tracking categories, select the desired categories, and click Actions > Archive/Activate selected.
You can switch between the active and archived categories using the buttons at the top right of the page.
![]()