
With Elorus, you have the ability to issue estimates to your clients by following the same process with issuing invoices. It is worth mentioning that while the adding process as well as the management options available are similar to the ones of the invoice, the estimate provides with special functionalities to accommodate your offerings toward clients.
These functionalities are discussed below so you can make the most of the "Estimates".
Functionalities
Key invoice functionalities such as marking an estimate as accepted, rejected or invoiced are described below. To see how you can email, archive, delete, edit estimates (and much more), read how to manage estimates.
Accepting / Rejecting estimates
Inside every estimate's preview page, you have the option of changing its status depending on whether the customer has accepted or rejected it.
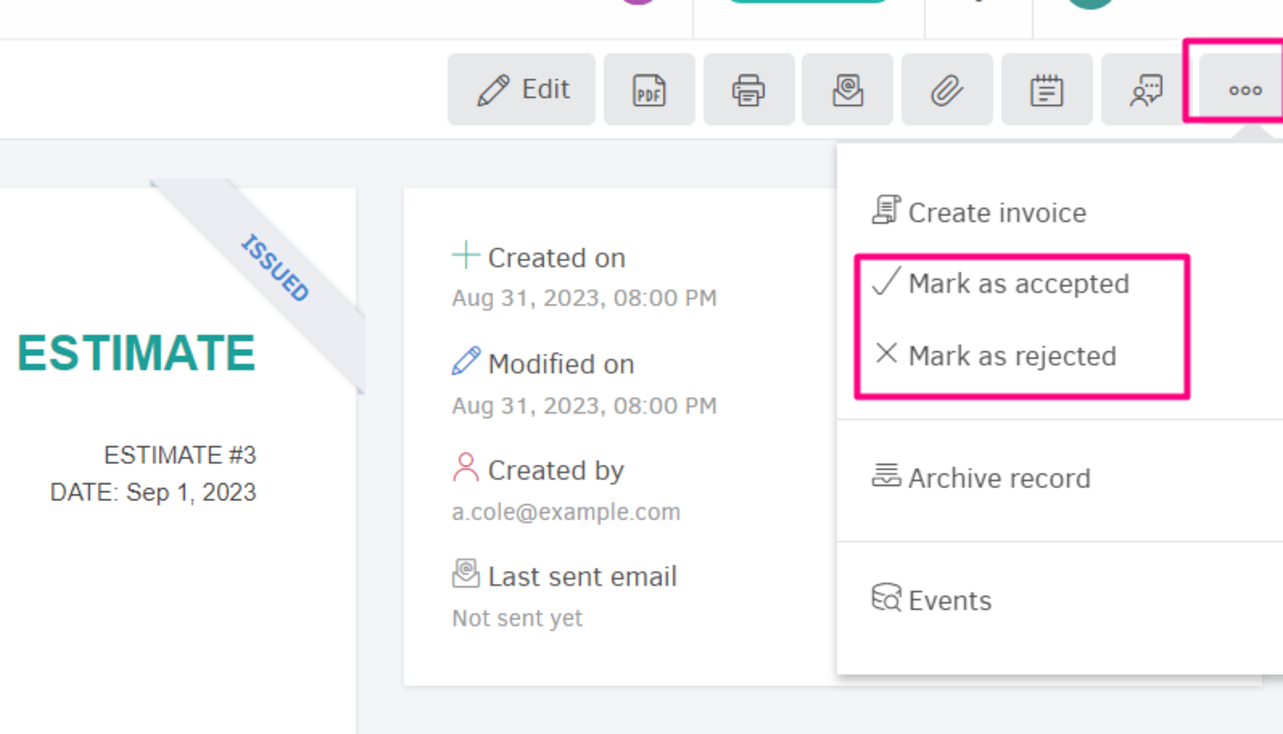
From the (...) button, provided the estimated is in "issued" state, you can select "Mark as accepted" or "Mark as rejected".
Accepting/ rejecting an estimate through the client portal (client action needed)
Through the client portal and the permalink of each estimate, the customer has the option of rejecting or accepting it.
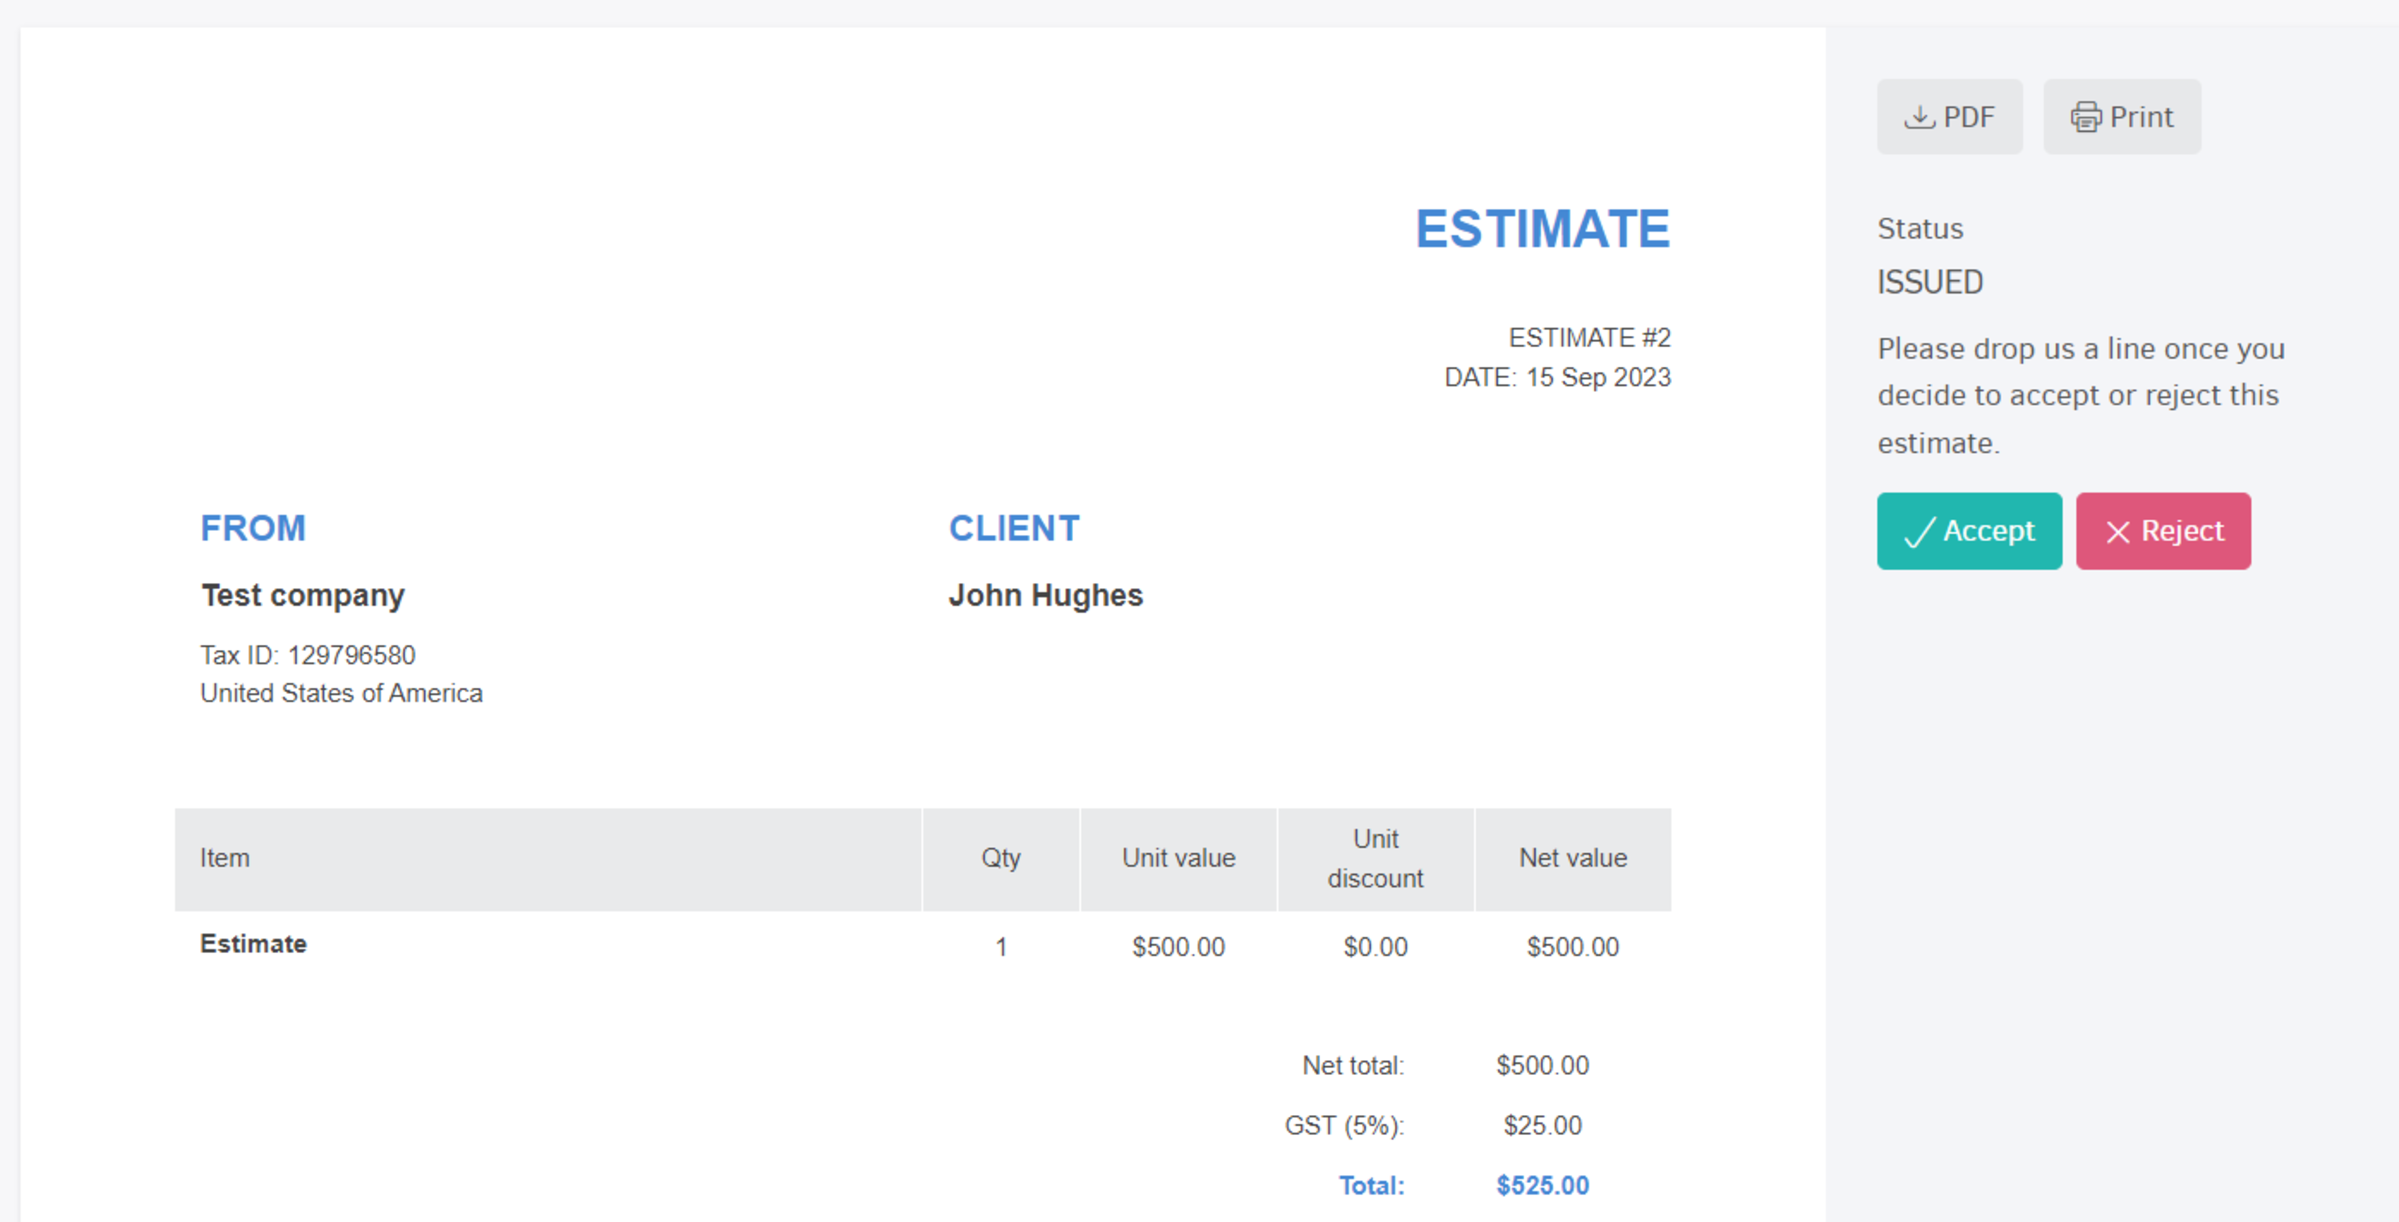
If they click an estimate through the client portal or the link you sent them via email, they will redirect to a screen similar to the image below:
- By clicking "Accept", provided that the client agrees with the estimate, a window appears in which they can, optionally, leave a comment (for example, delivery in 15 days).
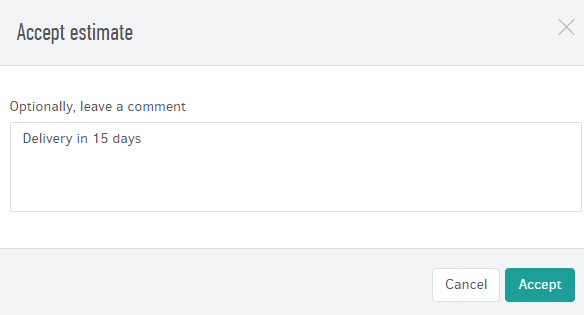
Once they click "Accept", the status of the estimate will change to "Accepted" and you will receive a notification and/or an email saying "Customer [Name] has accepted Estimate #2. The comment was: Delivery in 15 days".
Also, in the list of estimates, you'll notice that the estimate's status has changed.

Furthermore, you can invoice the estimate through your account and proceed with the sale as usual.
If the customer has changed their mind before accepting it, you can change the estimate's status to "Rejected" through its preview page. Select (...) and click "Mark as rejected".

- If the client rejects the estimate from the client portal, its status changes to "Rejected" immediately and at the same time you receive an email notification for this action, along with the customer feedback (if any). Notice that the option "Create invoice" has been disabled.
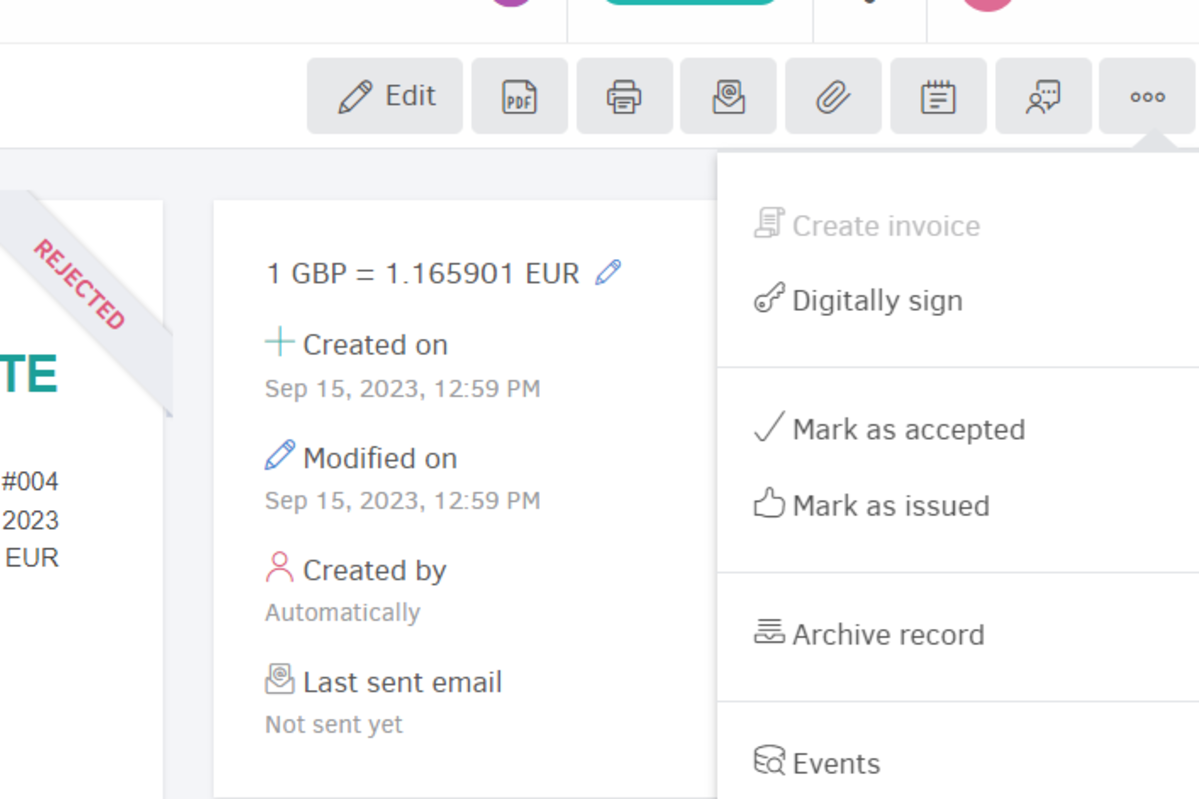
And in this case, if the client changes their mind, you can change the status of the estimate to "Accepted". From its preview page, click the (...) button and select "Mark as accepted".
Finally, if you wish to change the status to "Issued", hit "Mark as issued".
Invoice your estimates
When an estimate is "Issued" , this means that it is official and ready to be sent to the client. As soon as your client receives and accepts the estimate (whether they have accepted it through the client portal or just replied positively to your email), you have the option to convert it into an Invoice with just one click.
From the estimate's preview page select "(...)-> Create Invoice" .
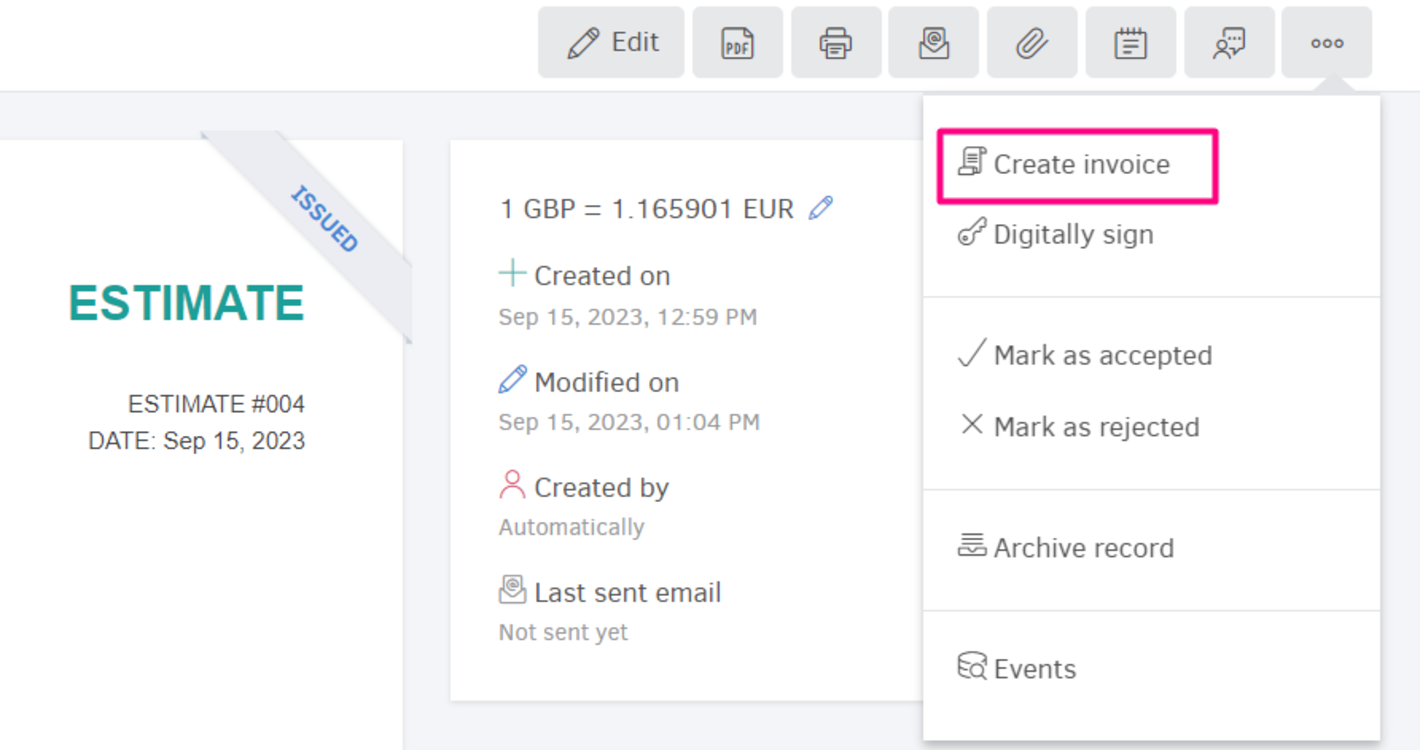
The invoice addition form is pre-filled with the details of the estimate. If you wish, you can make changes on the spot: for example edit tax amounts manually, change templates, include (more) notes, add global and withholding taxes etc. Save the invoice and proceed with the document as usual.
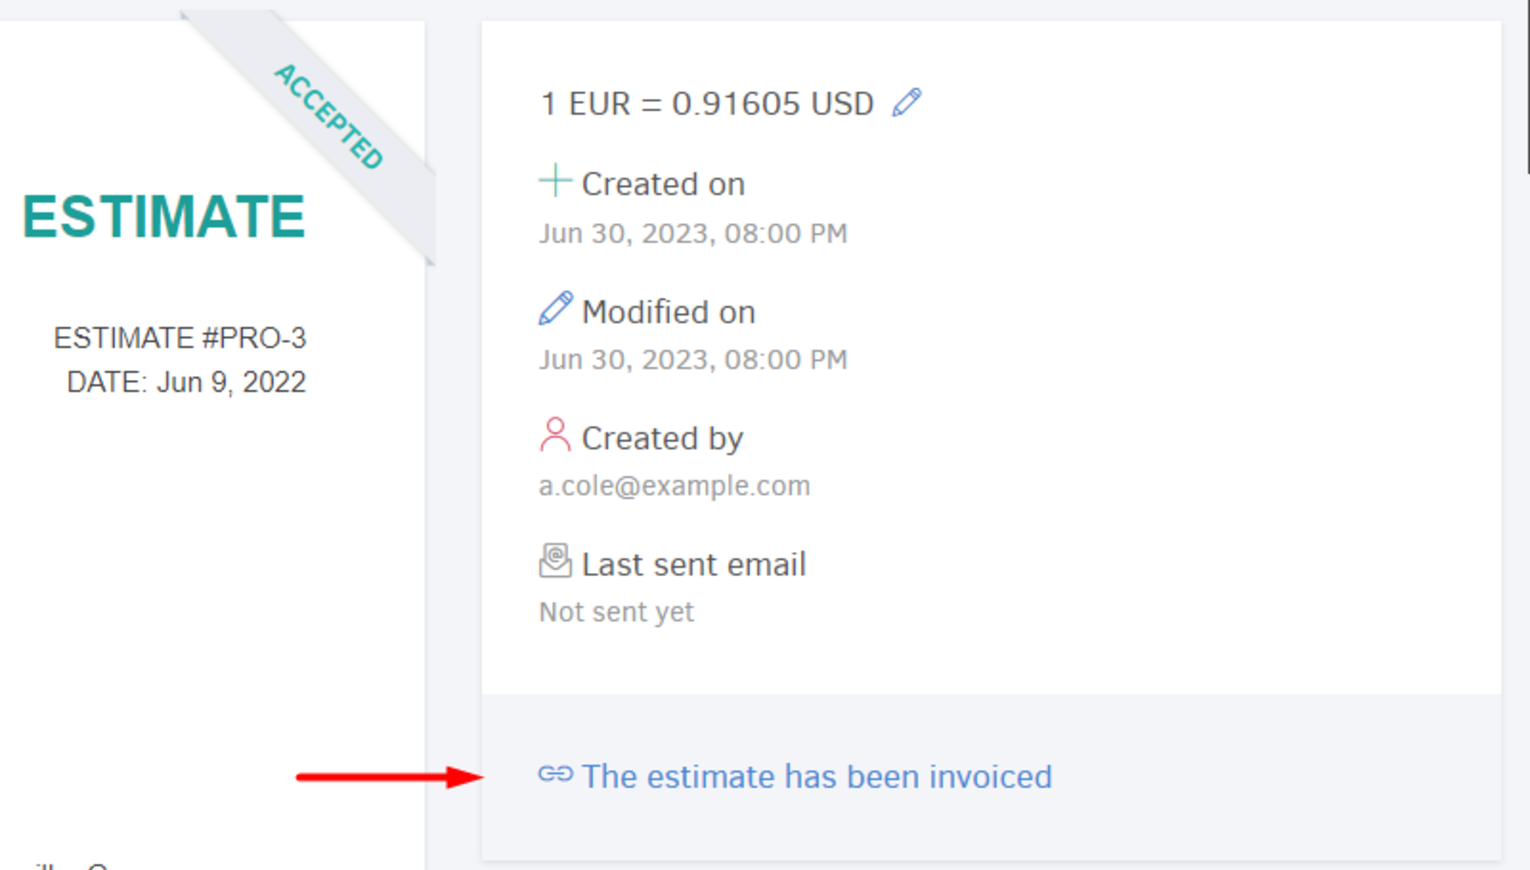
Alongside, "The estimate has been invoiced" link appears on the estimate's view page. Click it and the invoice's preview page opens.
Νote: You can easily create Proforma invoices via the Estimates menu. Click here for instructions.