In Elorus, you can effortlessly upload files from your computer, mobile, tablet, or email to your Inbox files. This enables you to gather and store your files initially and then, at a moment that suits you best - like the end of the month - you can conveniently convert them into expenses or attach them to any entry in Elorus.
This feature aims to reduce the time required for collecting expense documents or other financial records, and to minimize the likelihood of missing out important entries.
Navigation
To navigate to the Inbox files page, while logged in to your organization click on the hard drive icon at the right of the top menu.

Storage
Towards the top of the page, you may monitor your total disk usage in Elorus. The chart visually represents the distribution of storage between your Inbox files and all the uploaded attachments.
Uploading Inbox files
You can gather files in your Inbox using three distinct methods, depending on your specific needs and the tools at your disposal:
Manually
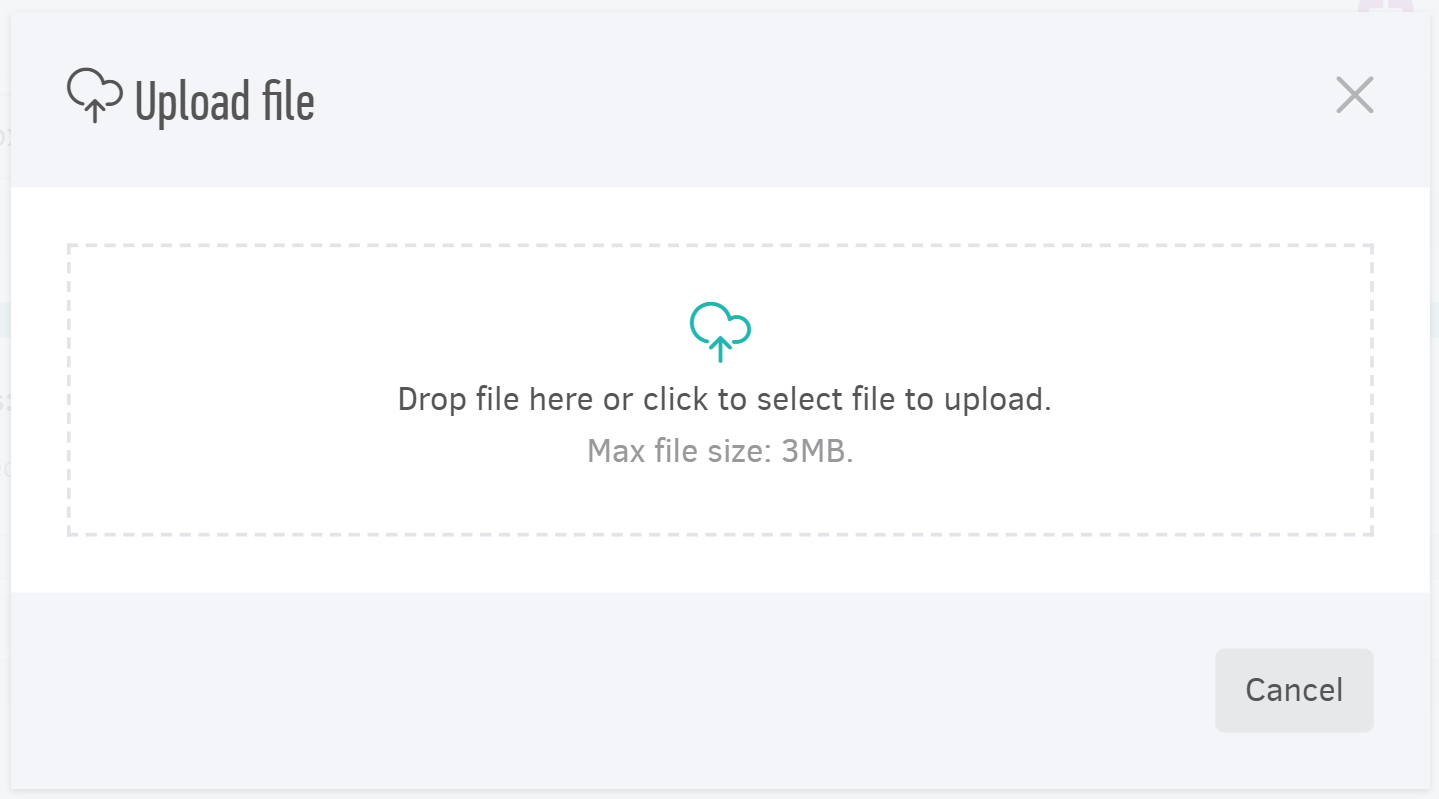
To upload a file, click on the Upload button located in the top-right corner of the page. This action will bring up a pop-up window, similar to the one depicted in the image below, where you can select and upload your desired file. Please note that the file size should not exceed 3MB, and it should be one of the following types:
- Image
- PDF Document
- Text File
- Excel Spreadsheet
- Compressed File (e.g., zip, tar)
Via Email
The second way to upload your files is via Email. Elorus automatically creates a unique inbox email address in the format [unique-id]@inbox.elorus-files.com, where [unique-id] represents a unique identifier specific to your organization. When you send emails with file attachments to this address, the attachments will be automatically uploaded to the Inbox files section of your organization in Elorus.
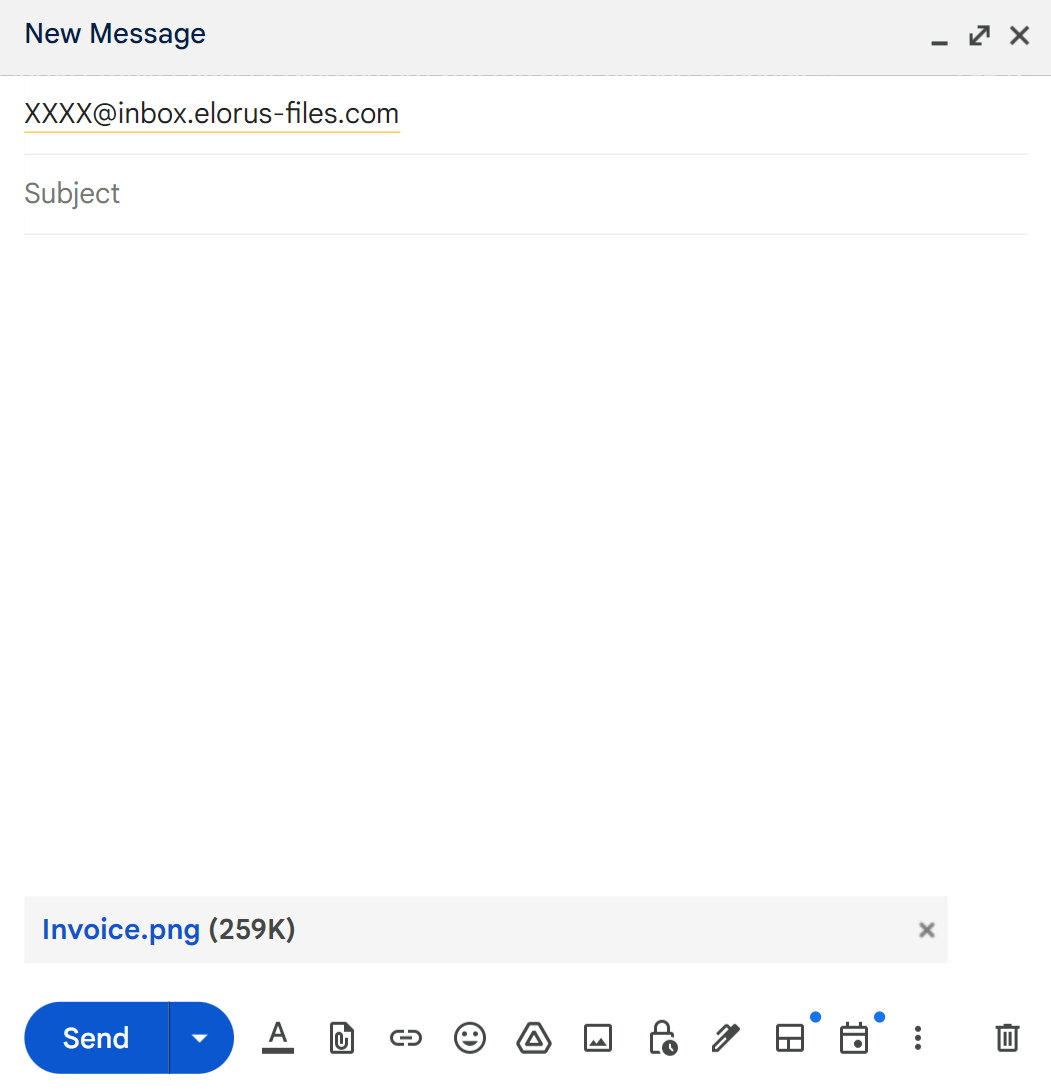

Share your inbox email address with suppliers or designate it as the recipient for invoices from your subscriptions to online services. This will enable you to effortlessly gather expenses and supplier invoices directly in Elorus.
Email attachments should not exceed 2.5 MB in size.
Via Slack
Install the Elorus4Slack application to not only get Elorus notifications in Slack, but to also upload files directly to Elorus. Just add the Elorus4Slack bot to any channel, and every time you share files in that particular channel, you will have the option to upload them to Elorus.
To ensure the file upload functionality operates correctly in organizations that installed Elorus4Slack prior to December 6, 2023, a reinstallation is required. This process involves uninstalling the existing Elorus4Slack application and then reinstalling it via the Settings > Application settings > Integrations menu in Elorus.
File display & Preview
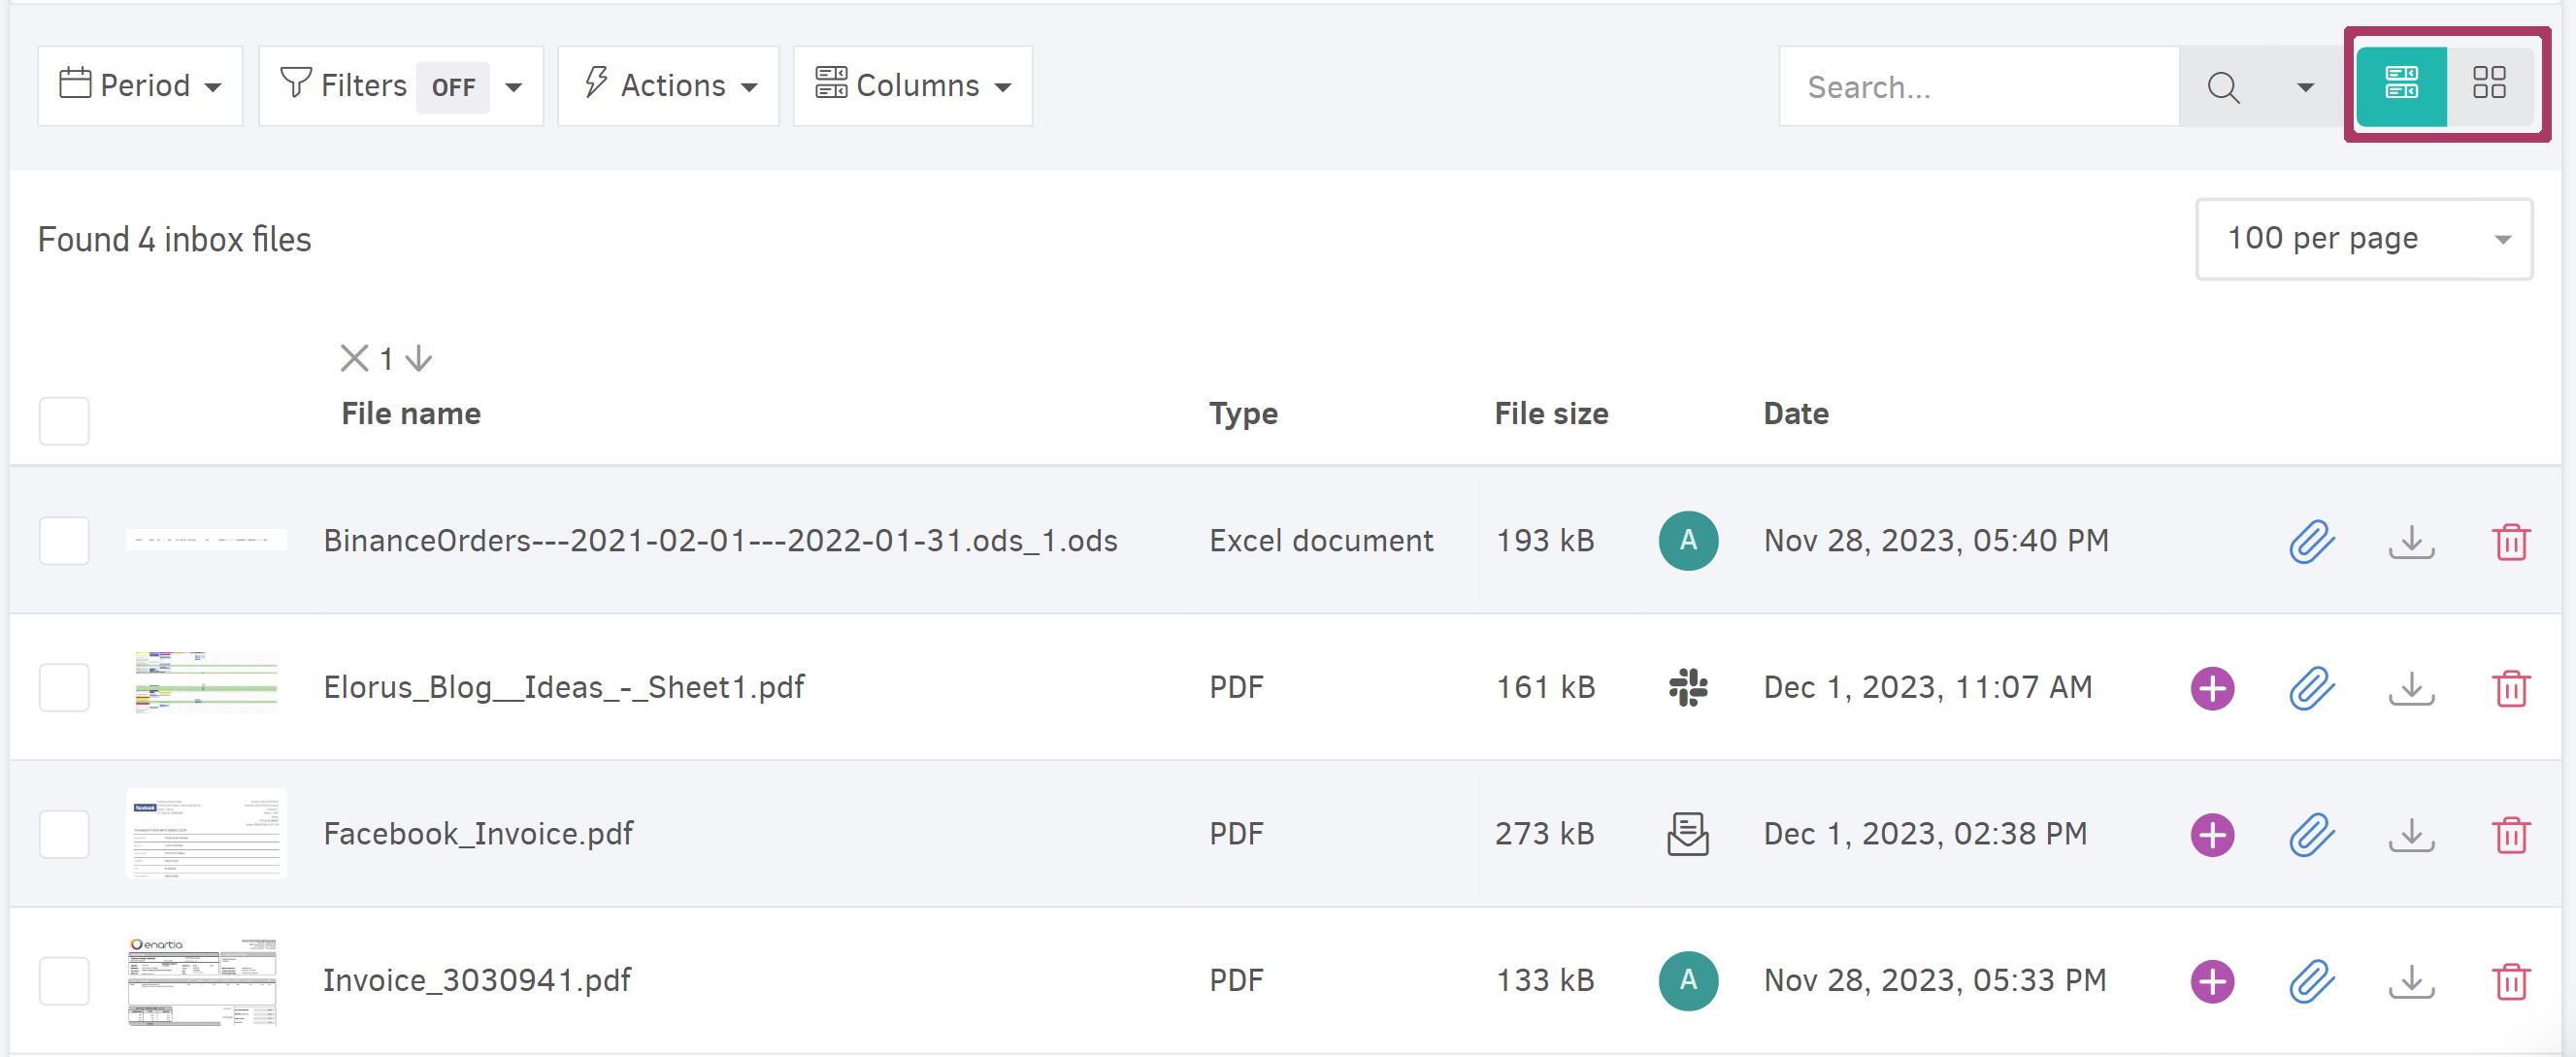
Once you have uploaded some files, they will appear in the corresponding table on the Inbox files page.
You have the option to switch between "List" and "Grid" views. The "List" view offers detailed information about each file, while the "Grid" view displays medium-sized icons, making it easier to identify files at a glance. To toggle between these views, simply click on the relevant option located at the top-right corner of the table, as illustrated in the image below.
Click on a record to get a swift preview of the corresponding file.
Manage Inbox files
For each Inbox file displayed in the results table, the following options are available:
- Add a new Expense, Bill or Supplier credit where the file will be registered as the primary attachment.
- Attach the file to an existing record such as a Contact, a Project, an Invoice, etc.
- Download file for offline use.
- Delete the file permanently. Deleting a file is an irreversible action in the same way as the other records. Once you have deleted a file, there is no possibility to retrieve it.
For the primary attachment, typically an invoice or receipt associated with a purchase or expense entry, it needs to be either an image or a PDF file. If the incoming file is a different type (like a zip file), it won't be possible to generate a new Expense, Bill, or Supplier credit from it. However, you can still attach it to any existing record as usual.

Bulk actions
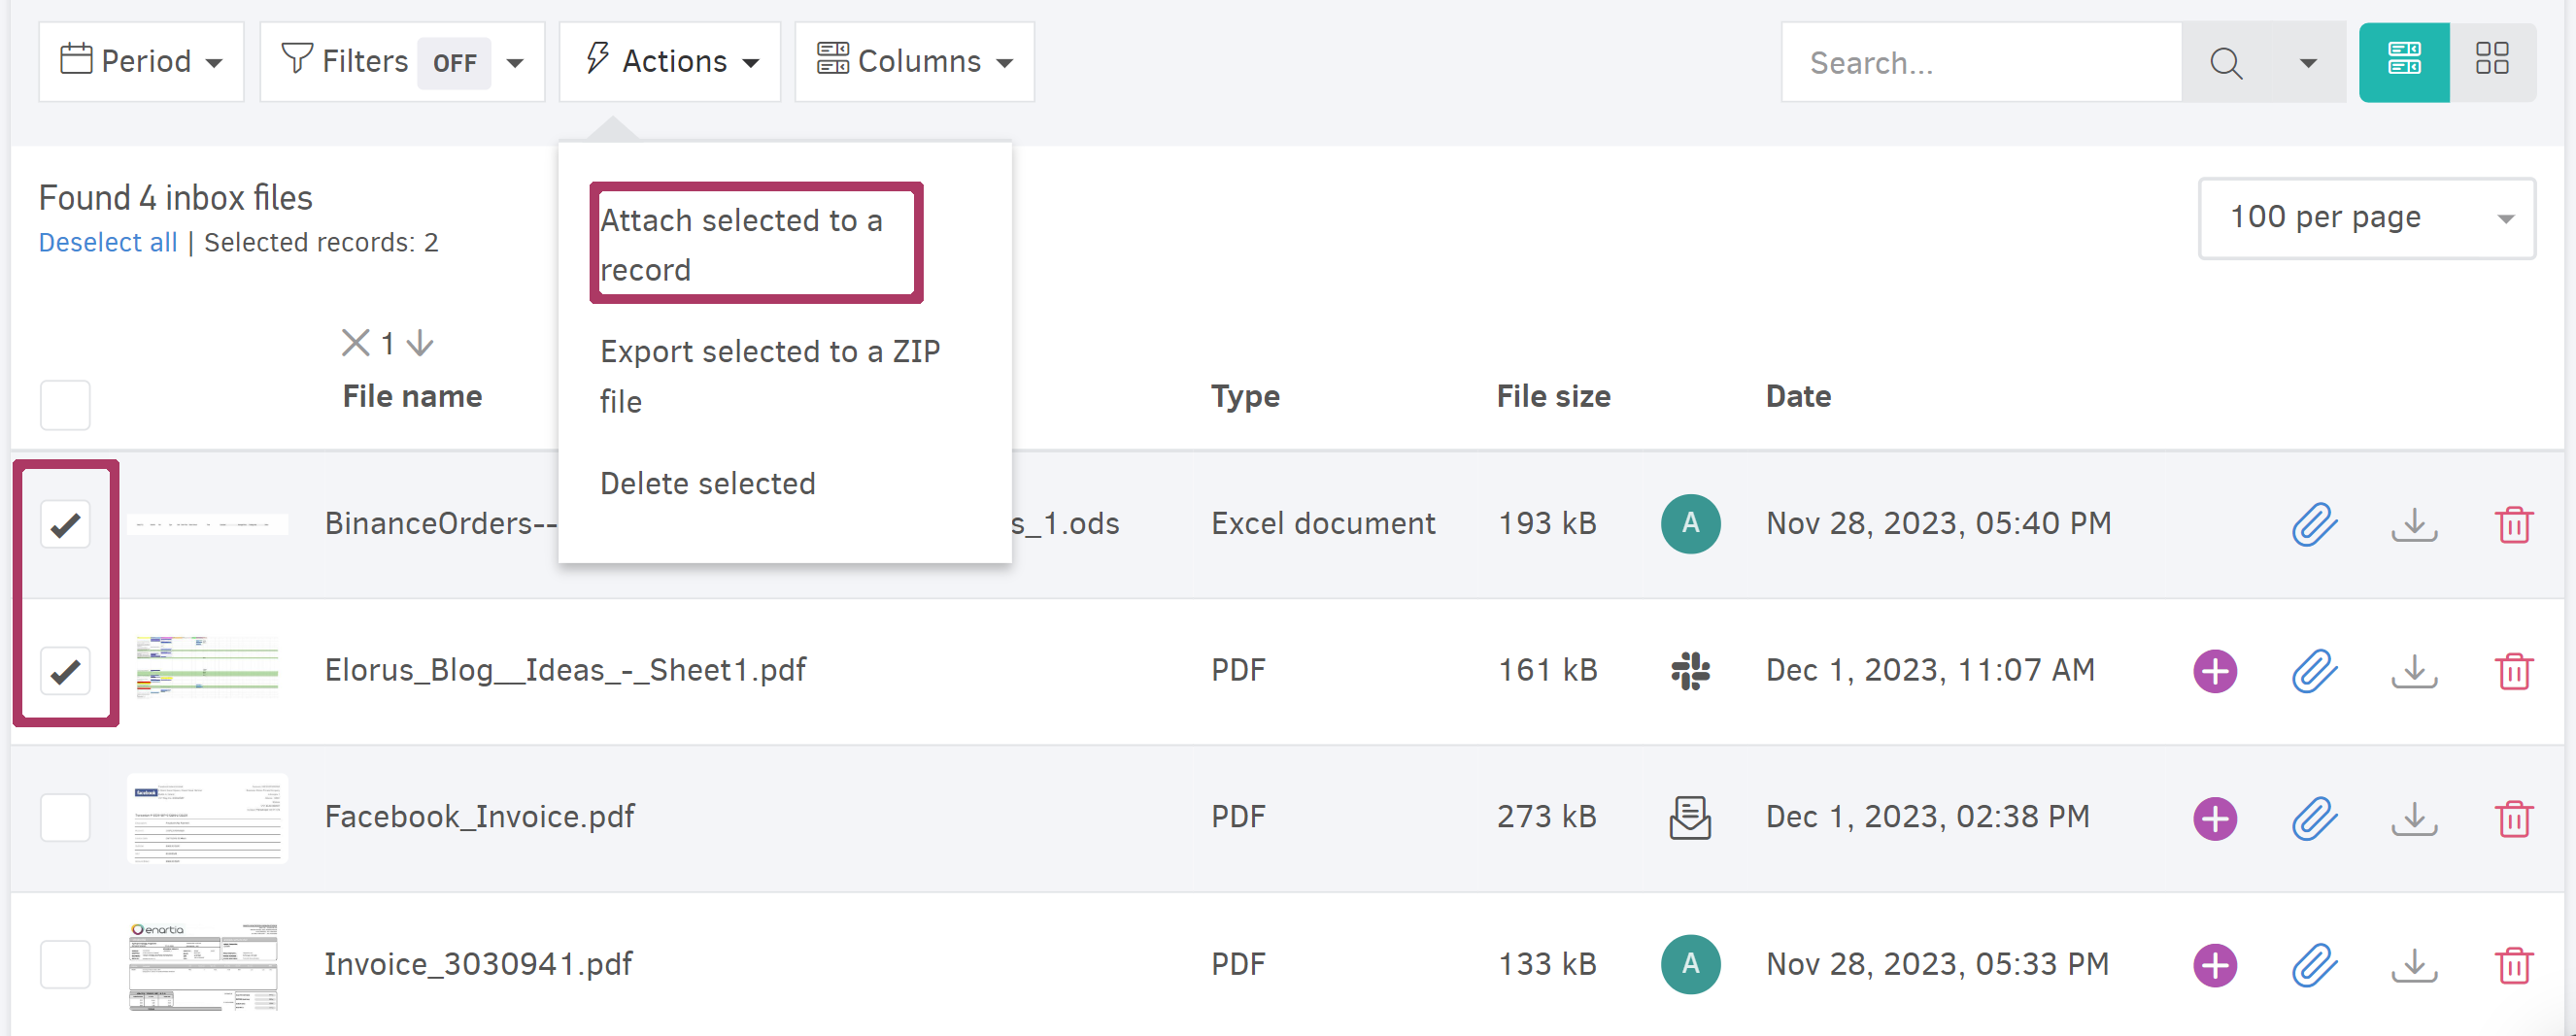
By selecting one or more files from the results table and using the Actions menu, you are able to perform the following actions:
Attach selected to a record
Use Actions > Attach selected to a record to attach all the selected files to a specific record.
In the pop-up window that appears, you first select the type of record you want to attach the files to (Contact, Project, etc.) and then locate and click on the record.
Export selected to a zip file
Select the files and then click Actions > Save selected to a zip file. Elorus will create a zip file containing the requested files.
Delete selected
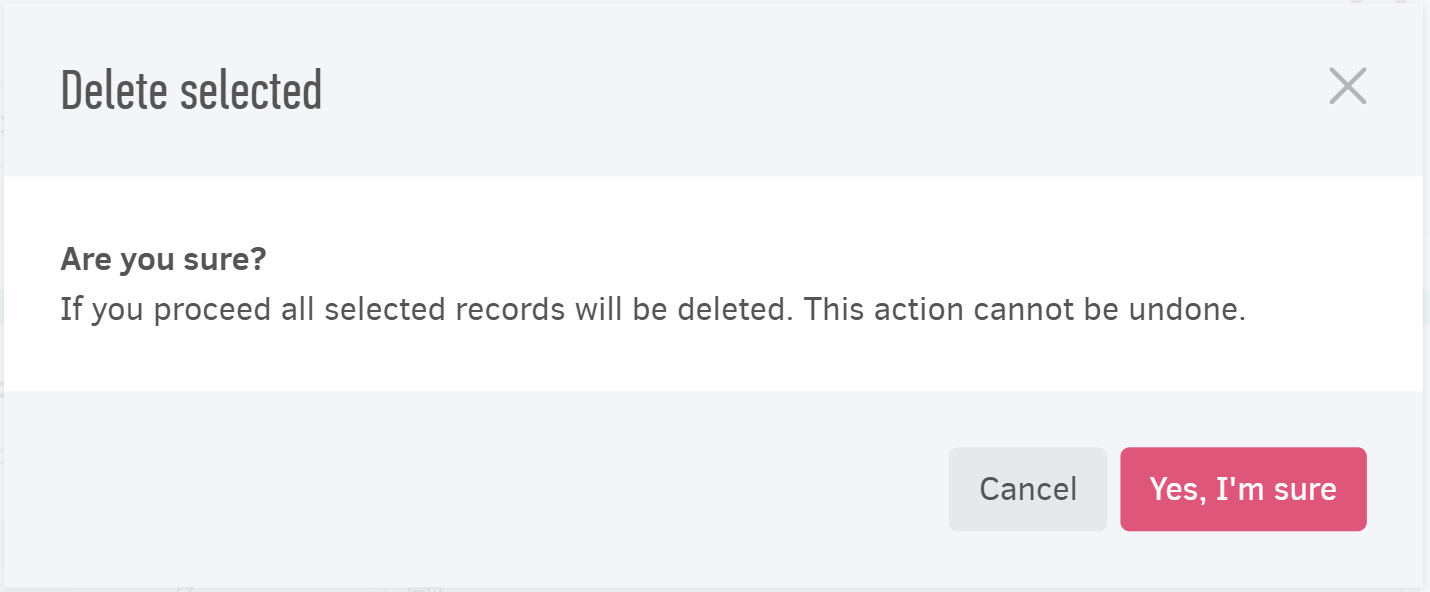
In addition to deleting individual files you can delete multiple files. Select the files, click Actions > Delete Selected, and finally confirm the operation.
